5
Chapter 2: Cisco Connect
User Guide
b. Plug the power adapter into an electrical outlet.
Connect to Electrical Outlet
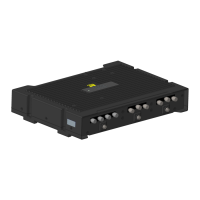
c. Plug one end of a network cable into the yellow
port labeled Internet on the back of the Valet.
The other end of the network cable should plug in
to your broadband modem or existing gateway/
router. Click Next.
Power
12VDC
Internet Ethernet4 3 2 1 Reset
Power
12VDC
Connect Network Cable
NOTE: You can view detailed connection steps
by clicking
in the setup software.
5. Please wait while your Valet is being set up.
Please Wait
6. When you see the Congratulations screen, your
computer is connected to the Internet. Remove your
Easy Setup Key and keep it in a safe place. You can use
it to connect additional computers to your Valet’s local
network. Click OK.
Installation is Complete
NOTE: If you have any trouble during the
installation process, refer to the FAQs in
the setup software or use a computer
with an active Internet connection to visit
www.thevalet.com/support.
Main Menu
The main menu offers four options: Computers and
Devices, Parental Controls, Guest Access, and Valet
Settings. To select an option, click on it.
Main Menu
Local Access versus Guest Access
You can connect computers or devices to your Valet by
giving them local access (Computers and Devices option)
or Guest Access (Guest Access option).
Computers and devices with local access will have
access to the Internet and to other devices on your local
network, including shared computers and printers which
are connected to the Valet. Local access can be given to a
wired or wireless device. Refer to “Computers and Other
Devices” on page 6 for more information.
 Loading...