Crosscutting Defined
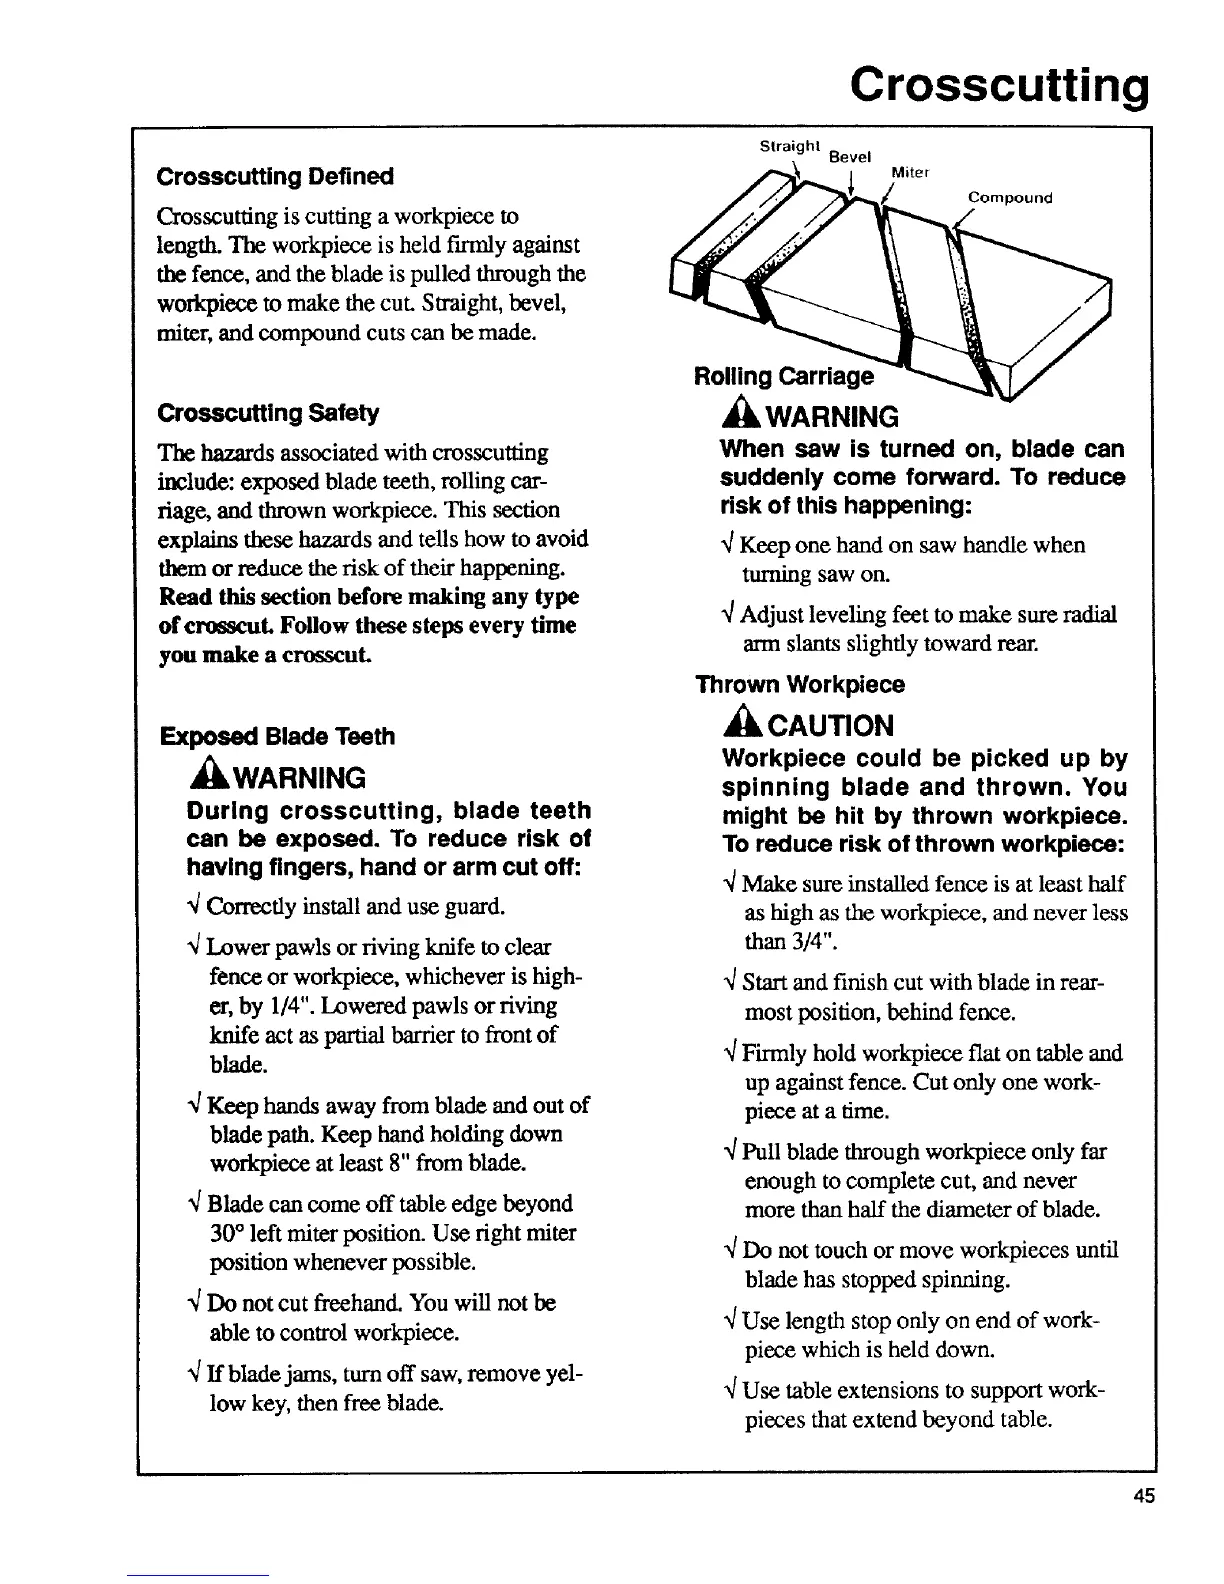
Crosscutting is cutting a workpiece to
length. The workpiece is held firmly against
the fence, and the blade is pulled through the
workpiece to make the cut. Straight, bevel,
miter, and compound cuts can be made.
Crosscutting Satety
The hazards associated with crosscutting
include: exposed blade teeth, rolling car-
riage, and thrown workpiece. This section
explains these hazards and tells how to avoid
them or reduce the risk of their happening.
Read this section before making any type
of crosscut. Follow these steps every time
you make a crosscut.
Exposed Blade Teeth
WARNING
During crosscutting, blade teeth
can be exposed. To reduce risk of
having fingers, hand or arm cut off:
4 Correctly install and use guard.
_1Lower pawls or riving knife to clear
fence or workpiece, whichever is high-
er, by 1/4". Lowered pawls or riving
knife act as partial barrier to front of
blade.
_/Keep hands away from blade and out of
blade path. Keep hand holding down
workpiece at least 8" from blade.
_1Blade can come off table edge beyond
30 ° left miter position. Use fight miter
position whenever possible.
_/Do not cut freehand. You will not be
able to control workpiece.
_/If blade jams, turn off saw, remove yel-
low key, then free blade.
Crosscuttin
Slraighl Bevel
Miter
Compound
Rolling Carriage
WARNING
When saw is turned on, blade can
suddenly come forward. To reduce
risk of this happening:
",/Keep one hand on saw handle when
turning saw on.
_/Adjust leveling feet to make sure radial
ann slants slightly toward rear.
Thrown Workpiece
CAUTION
Workpiece could be picked up by
spinning blade and thrown. You
might be hit by thrown workpiece.
To reduce risk of thrown workpiece:
_/Make sure installed fence is at least half
as high as the work_iece, and never less
than 3/4".
Start and finish cut with blade in rear-
most position, behind fence.
_/Firmly hold workpiece flat on table and
up against fence. Cut only one work-
piece at a time.
_/Pull blade through workpiece only far
enough to complete cut, and never
more than half the diameter of blade.
_/Do not touch or move workpieces until
blade has stopped spinning.
Use length stop only on end of work-
piece which is held down.
Use table extensions to support work-
pieces that extend beyond table.
45
 Loading...