D-Link DNS-343 User Manual
11
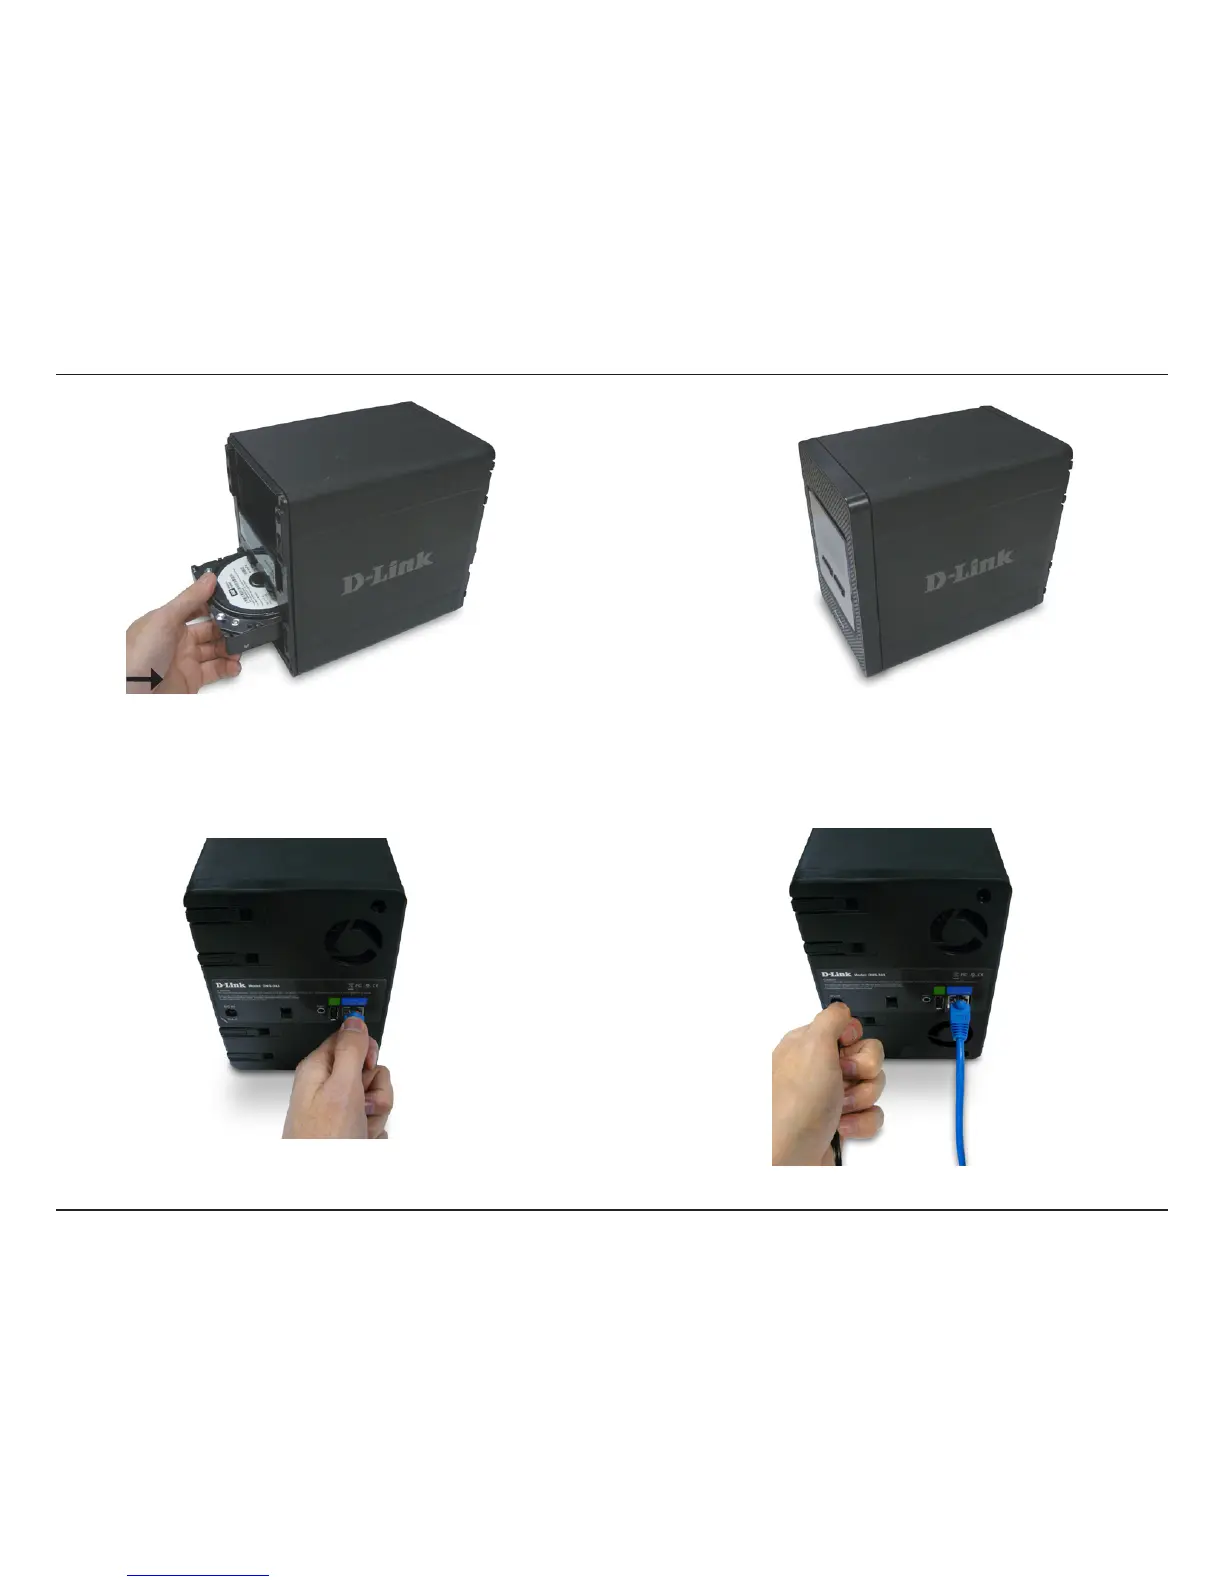
3. Insert a 3.5” SATA hard drive into each available drive bay. Make sure to
align the drive connectors to the SATA connectors on the bottom edge inside
the drive bay of the DNS-343. Gently push the drive in until it connects. When
a drive is inserted properly, you will feel it “seat” into the connector. Some
hard drives that are thin or oddly shaped may need to be guided carefully into
position.
4. Attach the faceplate to the front of the device.
5. Connect an Ethernet cable to the available Ethernet port. This cable should
connect the DNS-343 to your local network via a router or switch, or directly to
a computer for configuration.
6. Connect the supplied power adapter to the power receptacle.
7. Connect a USB printer. (Optional)
 Loading...