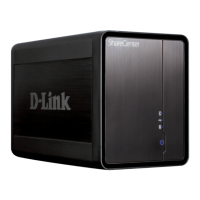
D-Link DNS-343 User Manual
15
Step 6 - Choose whether to use the EXT2 or EXT3 file system on the DNS-343
from the drop-down.
Click Next to continue.
Step 7 - The following window appears to indicate the progress of the disk
formatting.
Step 8 - When formatting of the drive completes, the DNS-343 will display the
results of the disk formatting:
Click Restart to restart the DNS-343.
Step 9 - A warning message informs you that it will take a minute for the DNS-
343 to restart.
Click OK to restart the DNS-343.
Step 10 - When the restart is complete, the login screen will appear:
Note: After logging in to the DNS-343 for the first time it is recommended to add a
password to the admin account. (See Step 3)
 Loading...
