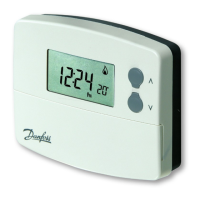
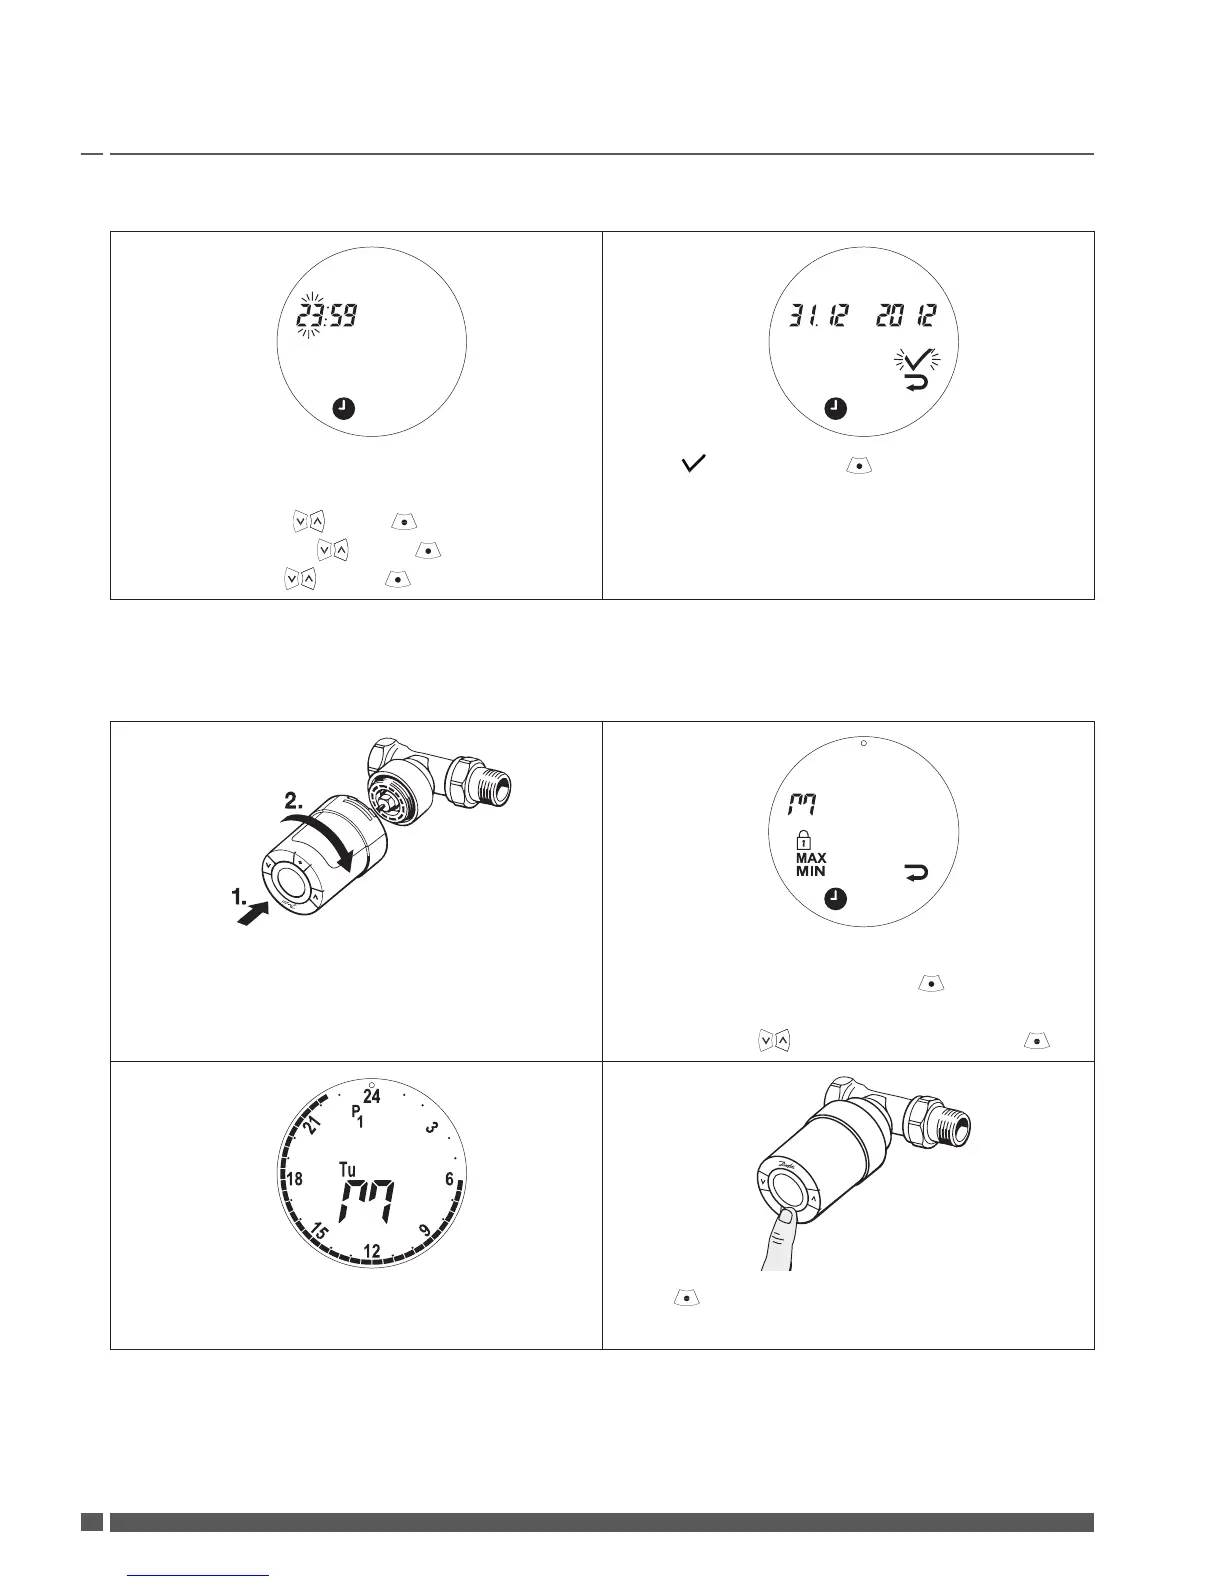
1.7 Setting time and date for the rst time
1. 2.
When the batteries are installed the time
ashes on the display - 23:59.
a. Set hours with , press to confirm.
b. Set minutes with , press to confirm.
c. Set date with , press to confirm.
When ashes, press to confirm your
settings.
The display now switches to the Home Screen
(see chapter 3.1).
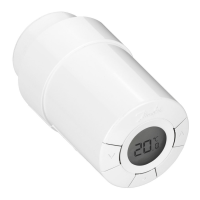
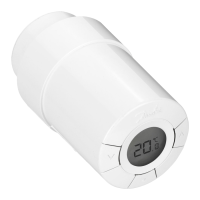
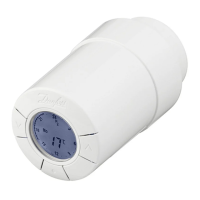
1.8 Installing living eco®
1. 2.
Screw living eco® onto the adapter and tighten
by hand (max. 5 Nm).
While slightly pressing forward, turn living
eco® clockwise untill it locks, then tighten.
Activate Installation Mode to x living eco®
correctly onto the valve: Press for 3
seconds to select the Function Menu.
Select M with . When M flashes, press .
3. 4.
A large M is flashing in the display to indicate
that Installation Mode is activated.
Press to fix living eco®.
Installation Guide living eco® Electronic Radiator Thermostat
 Loading...