EasyManuals Logo

Dell Inspiron 7590 User Manual

Dell Inspiron 7590
84 pages
To Next Page IconTo Next Page
To Previous Page IconTo Previous Page
Page #34 background imageLoading...
Page #34 background image
Steps
1. Slide and place the CPU fan on the palm-rest and keyboard assembly.
2. Align the screw holes on the CPU fan with the screw holes on the palm-rest and keyboard assembly.
3. Replace the two (M2x4) screws to secure the CPU fan to the palm-rest and keyboard assembly.
4. Connect the CPU fan cable to the system board.
Next steps
1. Install the battery.
2. Install the base cover.
3. Follow the procedure in After working inside your computer.
Heat sink
Removing the heat sink—UMA
NOTE: The heat sink type in your computer varies depending on the configuration ordered.
Prerequisites
1. Follow the procedure in Before working inside your computer.
2. Remove the base cover.
3. Remove the battery.
4. Remove the GPU fan.
5. Remove the CPU fan.
About this task
The figure indicates the location of the heat sink and provides a visual representation of the removal procedure.
34
Removing and installing components

Table of Contents

Other manuals for Dell Inspiron 7590

Questions and Answers:

Question and Answer IconNeed help?

Do you have a question about the Dell Inspiron 7590 and is the answer not in the manual?
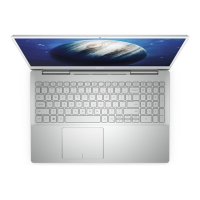
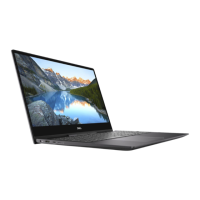
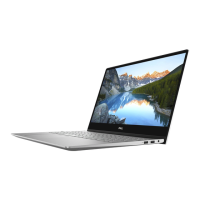
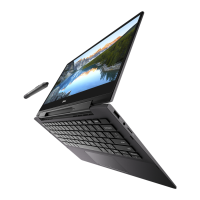
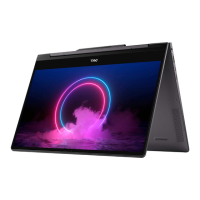
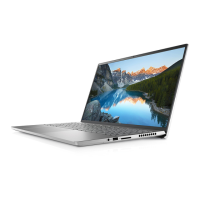
Dell Inspiron 7590 Specifications

General IconGeneral
Weight1.87 kg (4.12 lbs)
ProcessorIntel Core i5-9300H or i7-9750H
Display15.6-inch FHD (1920 x 1080) IPS
GraphicsNVIDIA GeForce GTX 1650
Memory8GB / 16GB DDR4 2666MHz
Storage256GB / 512GB / 1TB PCIe NVMe SSD
Operating SystemWindows 10 Home
Battery3-Cell 56WHr Integrated
Ports1 x SD Card Reader, 1 x Headphone/Microphone Combo
Wireless802.11ac Wi-Fi and Bluetooth
Webcam720p HD

Related product manuals