56 Installing and Configuring Hardware
Replacing the BBU on a PERC H700
1
Perform a controlled reboot of the system and enter the
PERC H700
BIOS Configuration Utility
to ensure that there is no data present in
cache. See the "Cache Data Recovery" on page 37 for more details. Later,
shut down the system.
WARNING: Running a system without the system cover installed may cause
damage due to improper cooling.
2
Disconnect the system from the electrical outlet and remove the
system cover.
NOTE: The locations of the PERC H700 and BBU vary from system to system.
For more information on PERC H700 card and BBU locations, see the
Hardware Owner’s Manual
shipped with your system or see the appropriate
documentation available at support.dell.com/manuals.
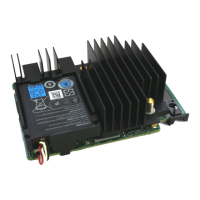
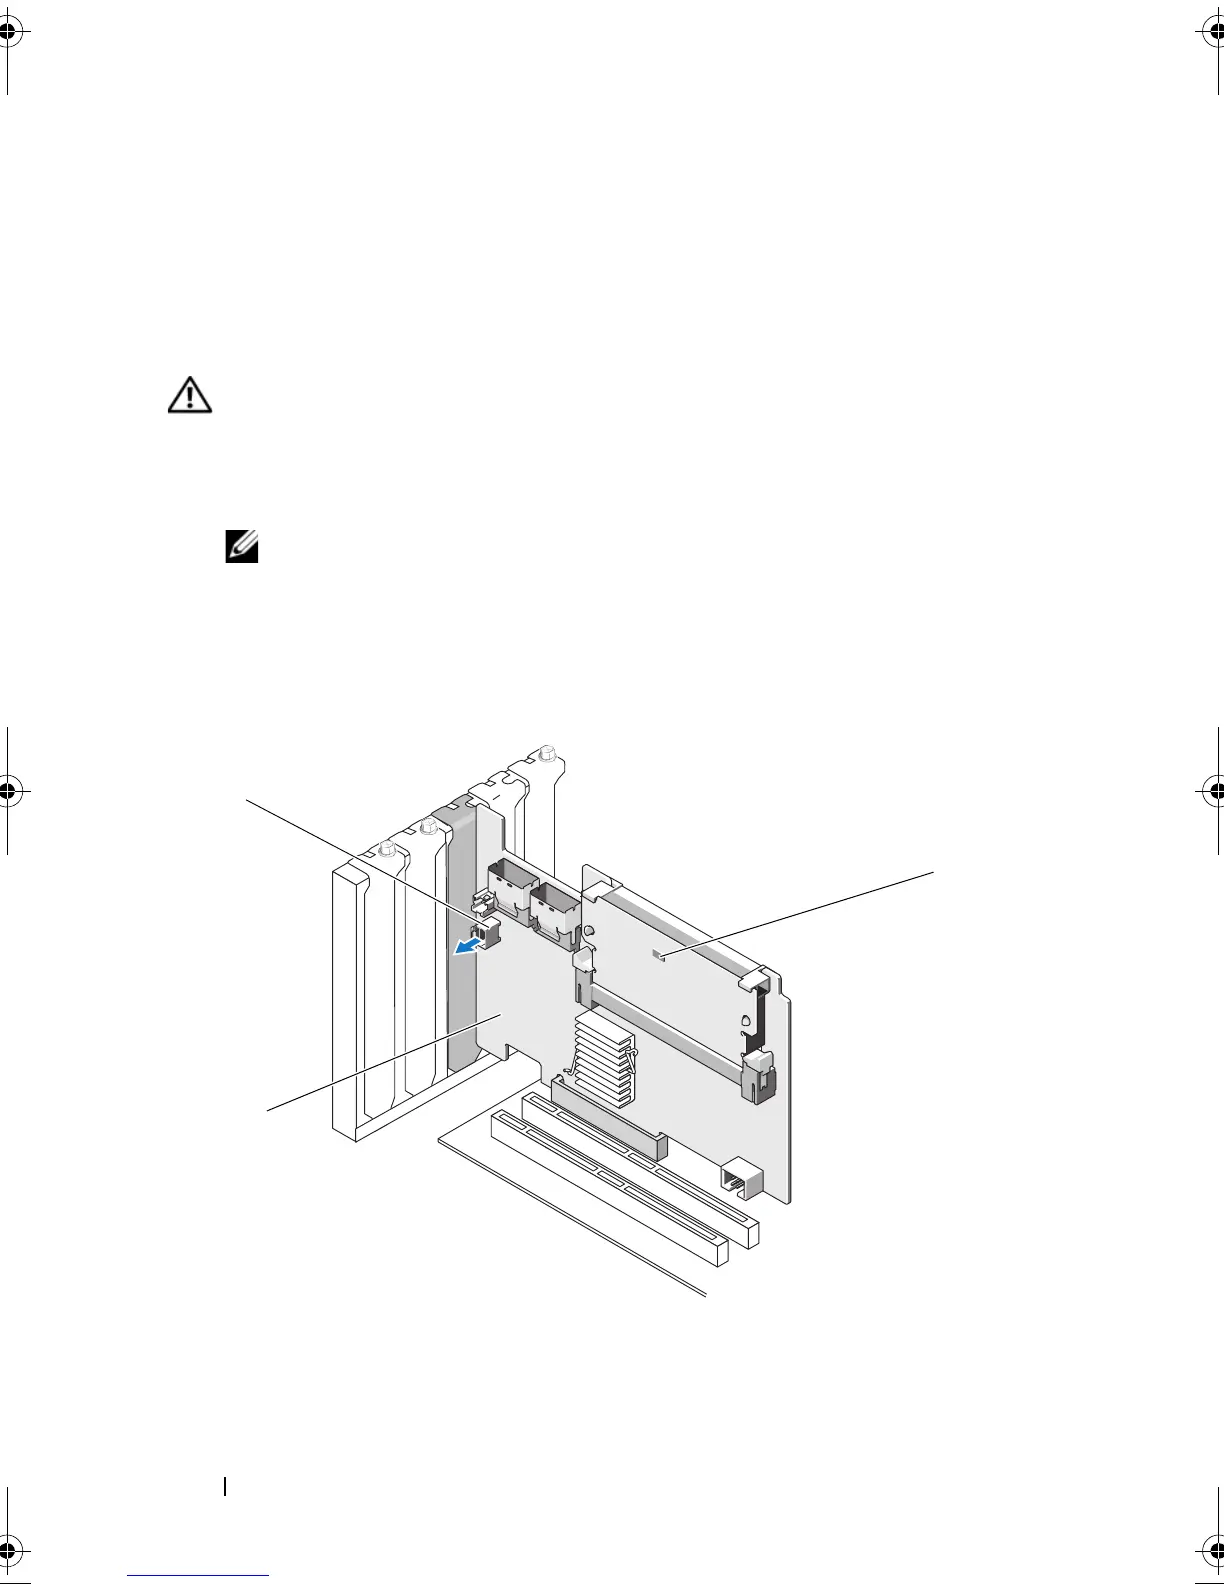
Figure 4-12. Dirty Cache LED and Battery Cable Connector
1 battery cable connector 2 PERC H700 Adapter
3 dirty cache LED
PERC7.2_UG.book Page 56 Thursday, March 3, 2011 2:14 PM
 Loading...