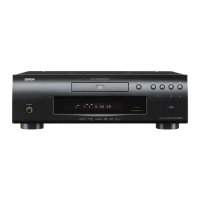
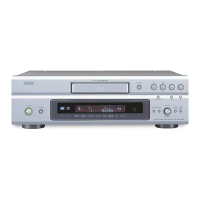
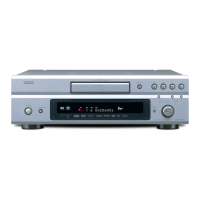
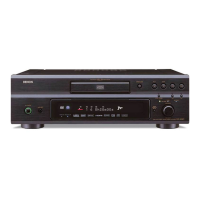
ENGLISH
44
11
ADJUSTING THE PICTURE QUALITY
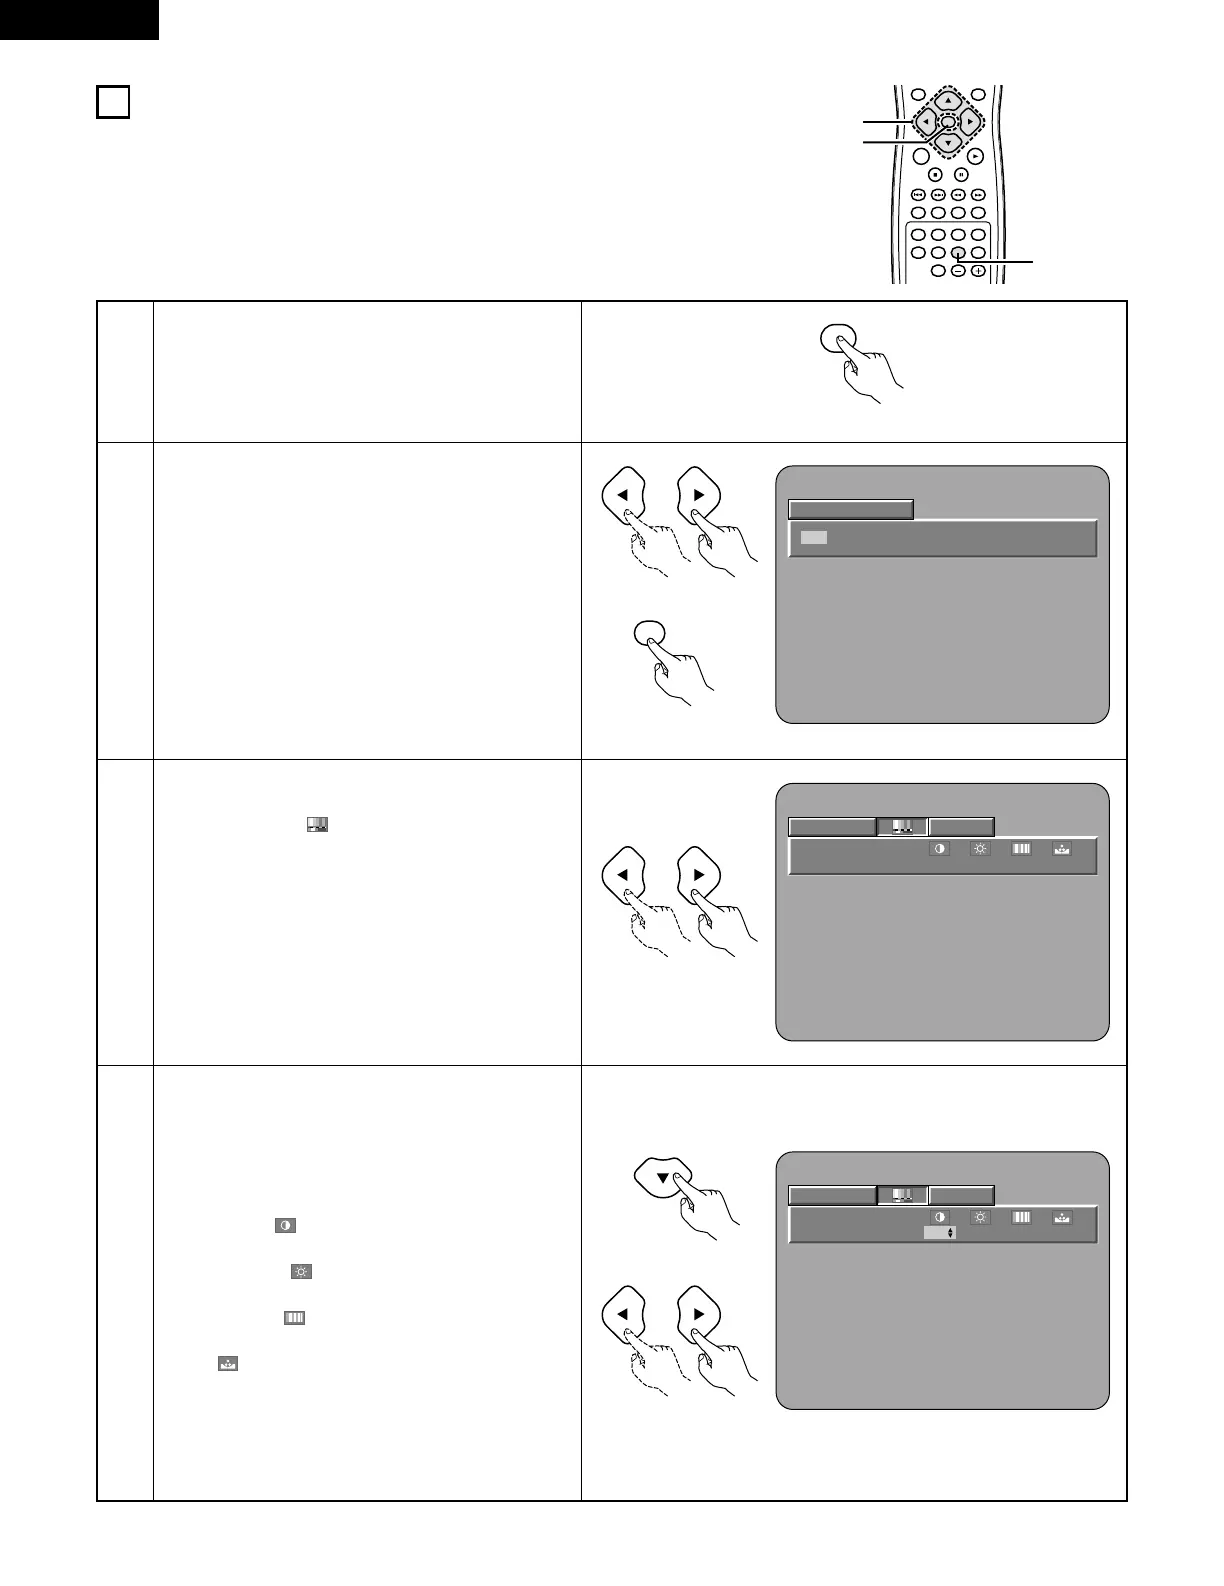
1
3
Use the 0 and 1 cursor buttons to select the
picture memory, then press the ENTER button.
• The display switches as follows:
STD (STANDARD) ´ M1 (MEMORY 1) ´ M2 ´
M3 ´ M4 ´ M5
STD (Factory default)
When this is selected, both the picture quality and
function are reset to factory setting.
M1 to M5
Picture quality settings you have adjusted can be
stored here.
Select the item to change using 0 and 1 buttons.
ADJUST MODE
• The contrast , brightness , sharpness and color
(HUE) can be adjusted.
• Perform steps 4 and 5 to adjust the picture quality
(ADJUST MODE).
GAMMA
• Select this if dark portions of the picture are too
dark or bright portions are too bright.
• Perform steps 7 and 8 to adjust the gamma
correction (GAMMA).
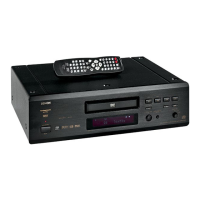
Remote control unit
2
4
Press the ª cursor button to select the adjust mode,
then use the 0 and 1 cursor buttons to select the
image quality adjustment item.
CONTRAST (-6 ~ +6)
Adjusts the contrast of the image.
BRIGHTNESS (0 ~ +12)
Adjusts the picture’s brightness.
SHARPNESS (-6 ~ +6)
Adjusts the sharpness of the picture.
HUE (-6 ~ +6)
Adjusts the balance of the green and red. (This does
not affect Progressive Scan images.)
 Loading...