14
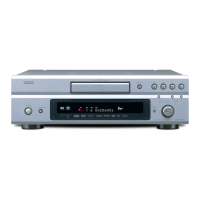
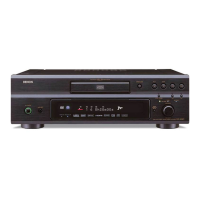
DVD-3910
(d)
(c)
Loader
Bearing Plate
Plate Gear
Boss
Groove
4. Assembly (1)
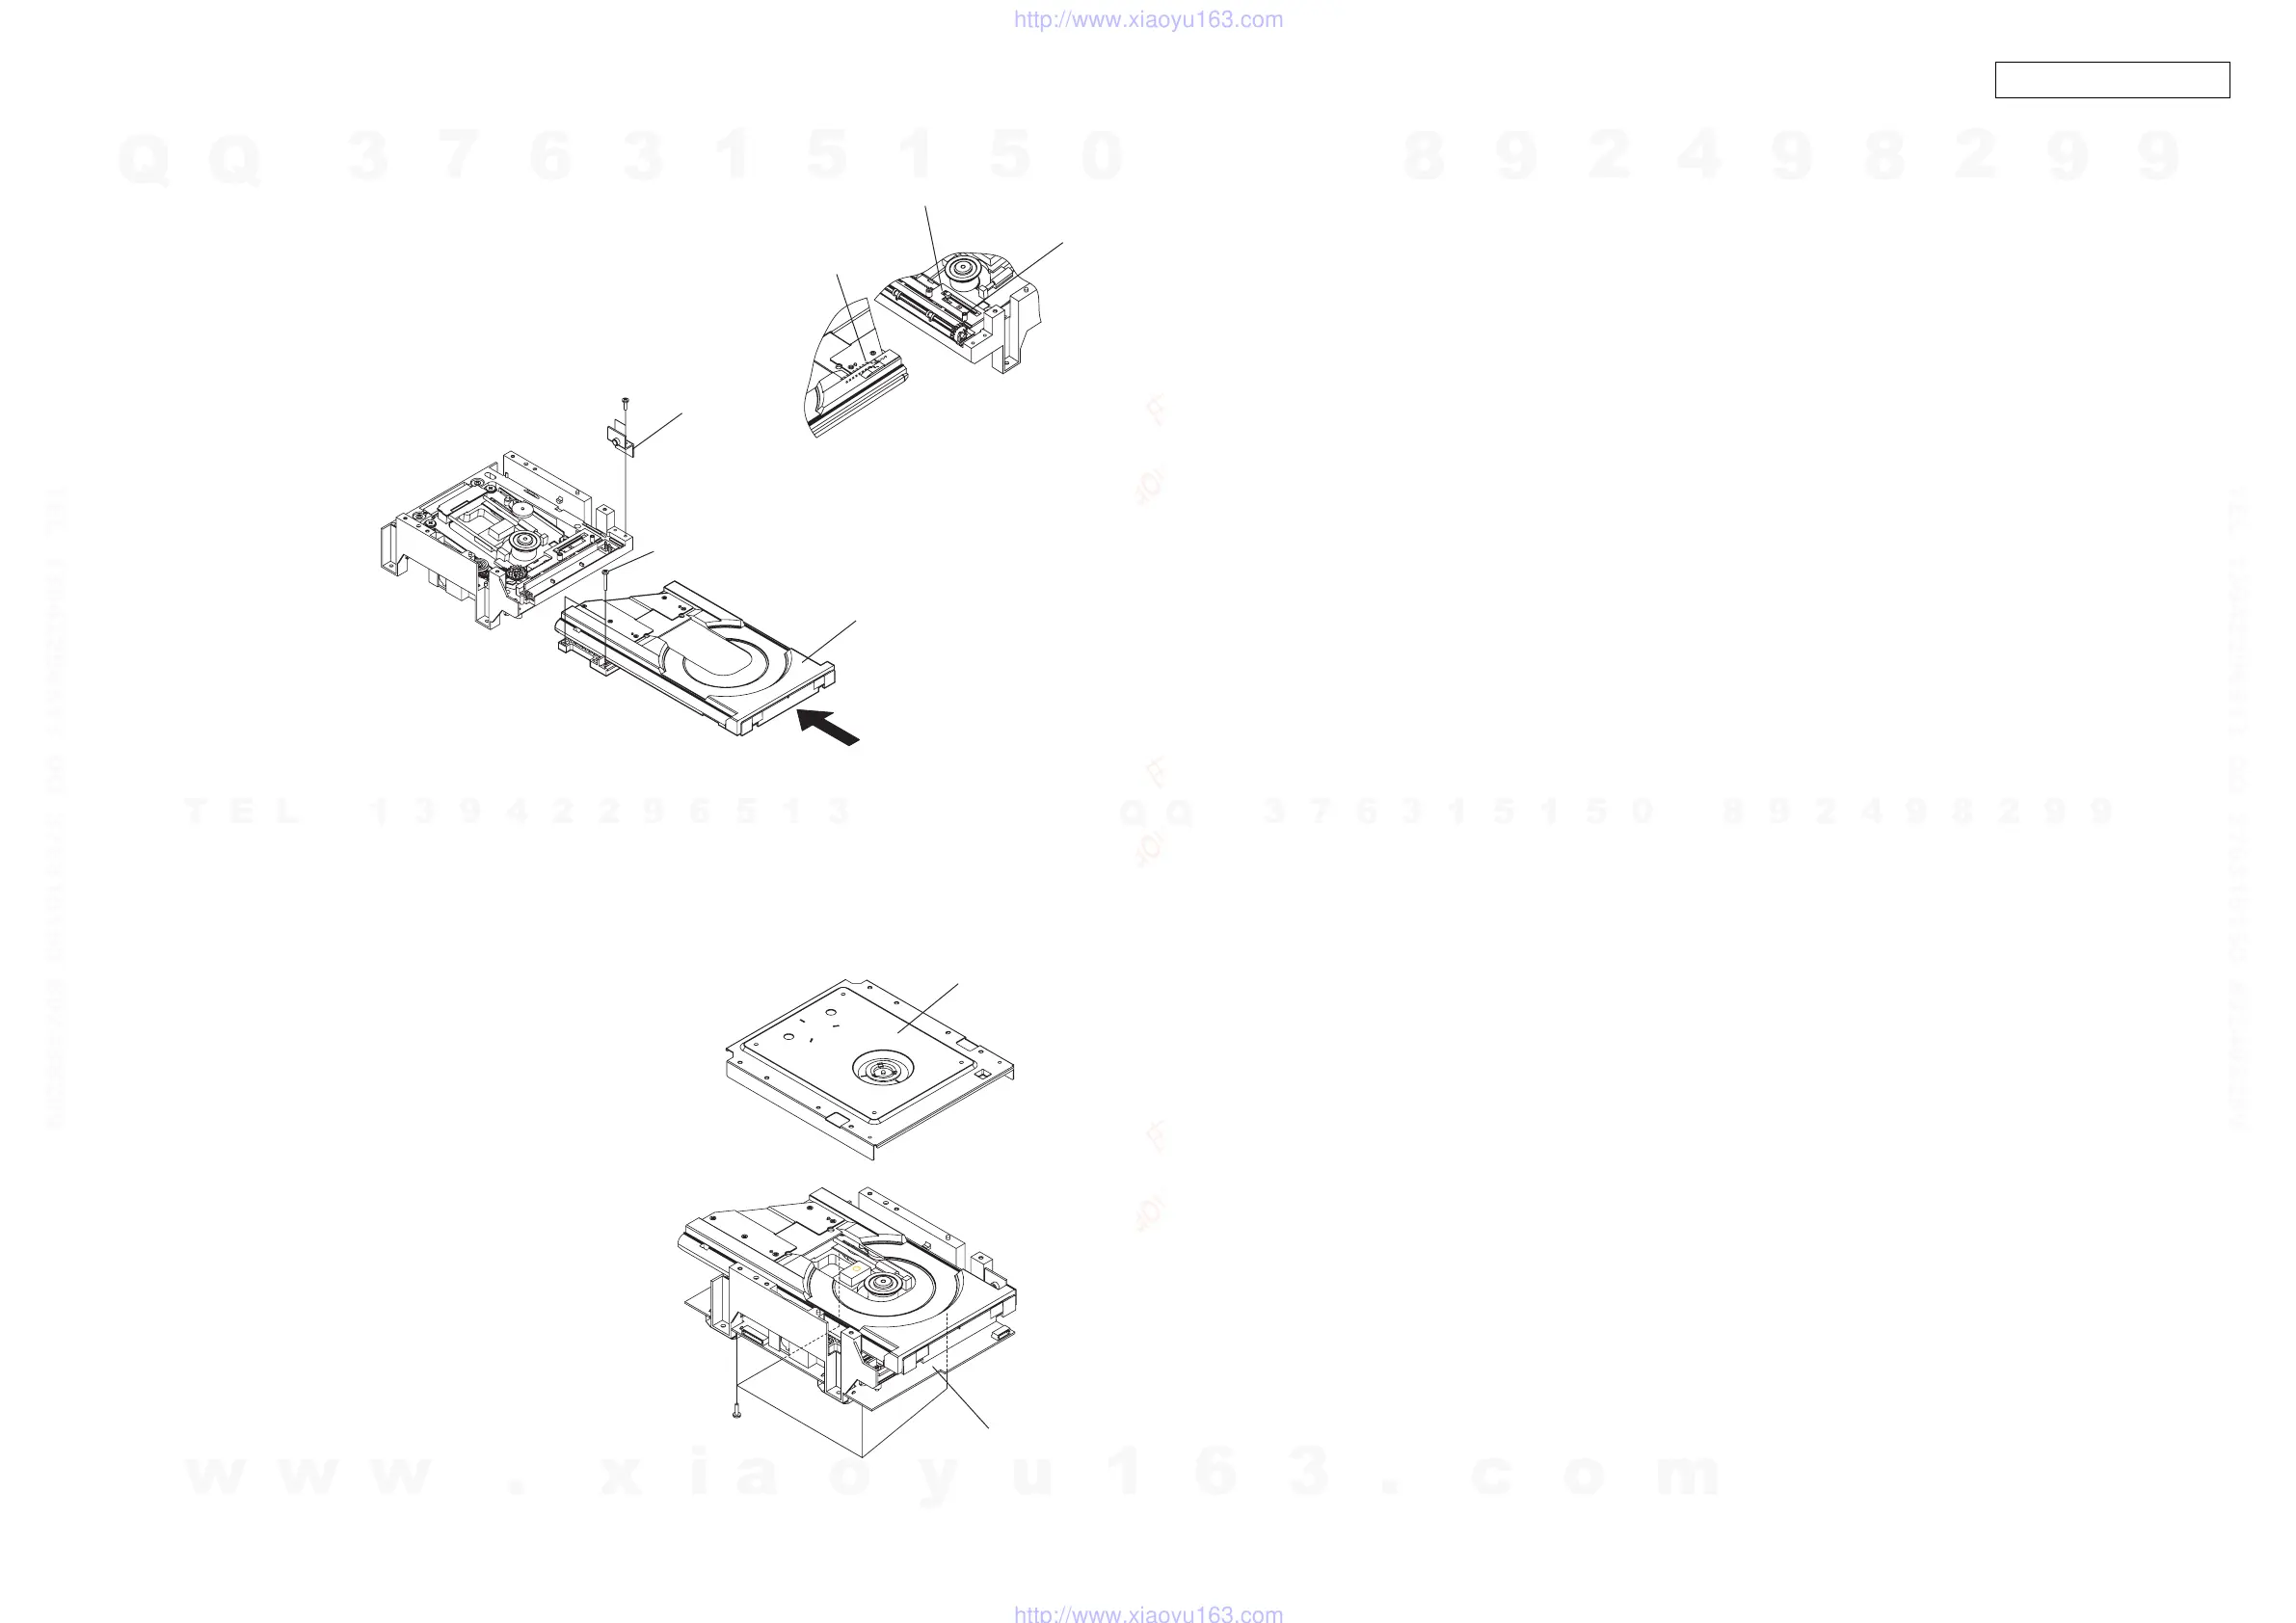
(1) Assembling Main P.W.B. Ass'y
Fix the Main P.W.B. Ass'y with 4 pcs of 3mm P-tight
screw (e).
(2) Removing Pickup-short Solder
After connecting 24P-FFC of the Pickup with P.W.B.,
remove solder from 2 shorted positions.
(3) Temporary Positioning Clamp Base
To protect your eyes from laser light, put the Clamp Base
temporarily.
(4) Positioning up Traverse Unit
Connect the following wires of the Mechanism Unit, and
operate it.
• CX141: 14P-PH wire for power
• CX131: 13P-FFC wire from Display P.W.B.
Turn on the power to the unit, and press "OPEN/CLOSE"
button to close the Loader.
The Traverse Unit rises up. (display: 0h00m00s)
Pull out the Loader forward, and lift up to take it out.
3. Installing Loader
(1) Inserting Loader
Set and push the Loader to the arrow direction until it
stops. When installing the Loader, move the Plate Gear
to right beforehand so as that the boss of the Plate Gear
fits in the backside groove of the Loader. (See figure right)
(2) Fixing Loader
Fix the Loader with each 2 screws (c) and (d).
(e)
Clamp Base
Main P.W.B. Ass'y
4.
⚵┙
(1)
(1)
メイン基板
ASS'Y
の取付
3mmP
タイトネジ
(e)4
本で基板を取付けます。
(2)
ピックアップのショートはずし
ピックアップの
24PFFC
を基板へ接続後、
2
ヶ所のショー
トをはずします。
(3)
クランプベースの仮置き
レーザーから目を保護する為、クランプベースを仮置き
します。
(4)
トラバースユニットをアップする。
メカユニットの下記ワイヤーを接続し、メカを動作させ
ます。
・
CX141
:電源用の
14P-PH
ワイヤー接続
・
CX131
:ディスプレイ基板からの
13P-FFC
ワイヤー接続
セットの電源を入れ、ローダー開閉ボタンで、
CLOSE
さ
せます。トラバースユニットがアップします。
(
0h00m00s
:表示)
ローダーを前面へ引出し、止まった所で上へはずしま
す。
3.
ࡠ࠳ߩ⚵┙
(1)
ローダーの挿入
ローダーを矢印方向へ止まるまで押しこみます。
ローダを組込時、プレートギアのボスがトレイ裏
面の溝に合う様にプレートギアを右側へ寄せてお
きます。(右図参照)
(2)
ローダーの取付
(c)
、
(d)
のネジ各
2
本を取付ます。
w
w
w
.
x
i
a
o
y
u
1
6
3
.
c
o
m
Q
Q
3
7
6
3
1
5
1
5
0
9
9
2
8
9
4
2
9
8
T
E
L
1
3
9
4
2
2
9
6
5
1
3
9
9
2
8
9
4
2
9
8
0
5
1
5
1
3
6
7
3
Q
Q
TEL 13942296513 QQ 376315150 892498299
TEL 13942296513 QQ 376315150 892498299
http://www.xiaoyu163.com
http://www.xiaoyu163.com
 Loading...