Administration tasks Enable pass-through port
Digi One IAP Family User Guide
22
Reset the Digi One IAPusing the reset button
1. Use a pen or other object that is pointed but not sharp to press and hold the recessed reset
button, which is located on the side with the Ethernet connection.
2. While holding down the button, power on the device server.
3. When a 1-5-1 LED pattern appears, release the button. The device boots up and restores to the
default configuration.
Enable pass-through port
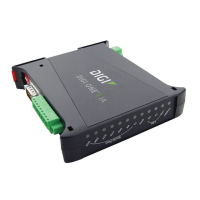
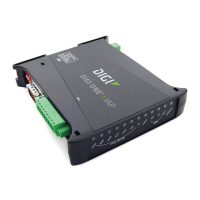
The Digi One IAP has a second DIP switch on the top of the device for enabling the pass-through port.
When the pass-through port DIP switch is enabled (ON), the DIP switch bank for EIA-232/422/485
operates for the screw terminal port only. The screw terminal port is port 1. The DB-9 serial port
operates as the second port supporting only EIA-232.
The following are the procedures to enable the pass-through port as well as diagnostic and
troubleshooting tips for using the pass-through port.
Enable the pass-through port
1. While the unit is off, slide the pass-through switch to ON.
2. Power up the unit.
3. Install RealPort from the Access Resource CD under Software.
Note If the unit has already been configured and you are adding the pass-through port, reboot the
unit after enabling the pass-through port. If RealPort is installed before the pass-through port is
enabled, the driver must be reinstalled. Configure the pass-through port as the Master port. See
Configure a serial-connected slave: other IA protocol.
Run diagnostics
The following diagrams are for the screw terminal loopback used when testing two port functionality
with the user diagnostics. When running diagnostics, connect to the DB-9. When running user
diagnostics in single port mode, remove the TS-9 loopback.
 Loading...