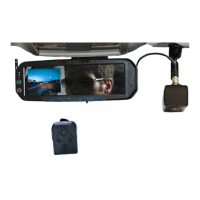
DVM-500 User’s Guide Digital In-Car Video System
Digital Ally DVM User Guide Rev. F (334/1.6.2) Page 20 of 36
Synch Wireless Microphone Menu
The Wireless Microphone (RMT) must be synchronized with the DVM to
operate properly. Please refer to the “Wireless Microphone” section (page
5) for the synchronization process.
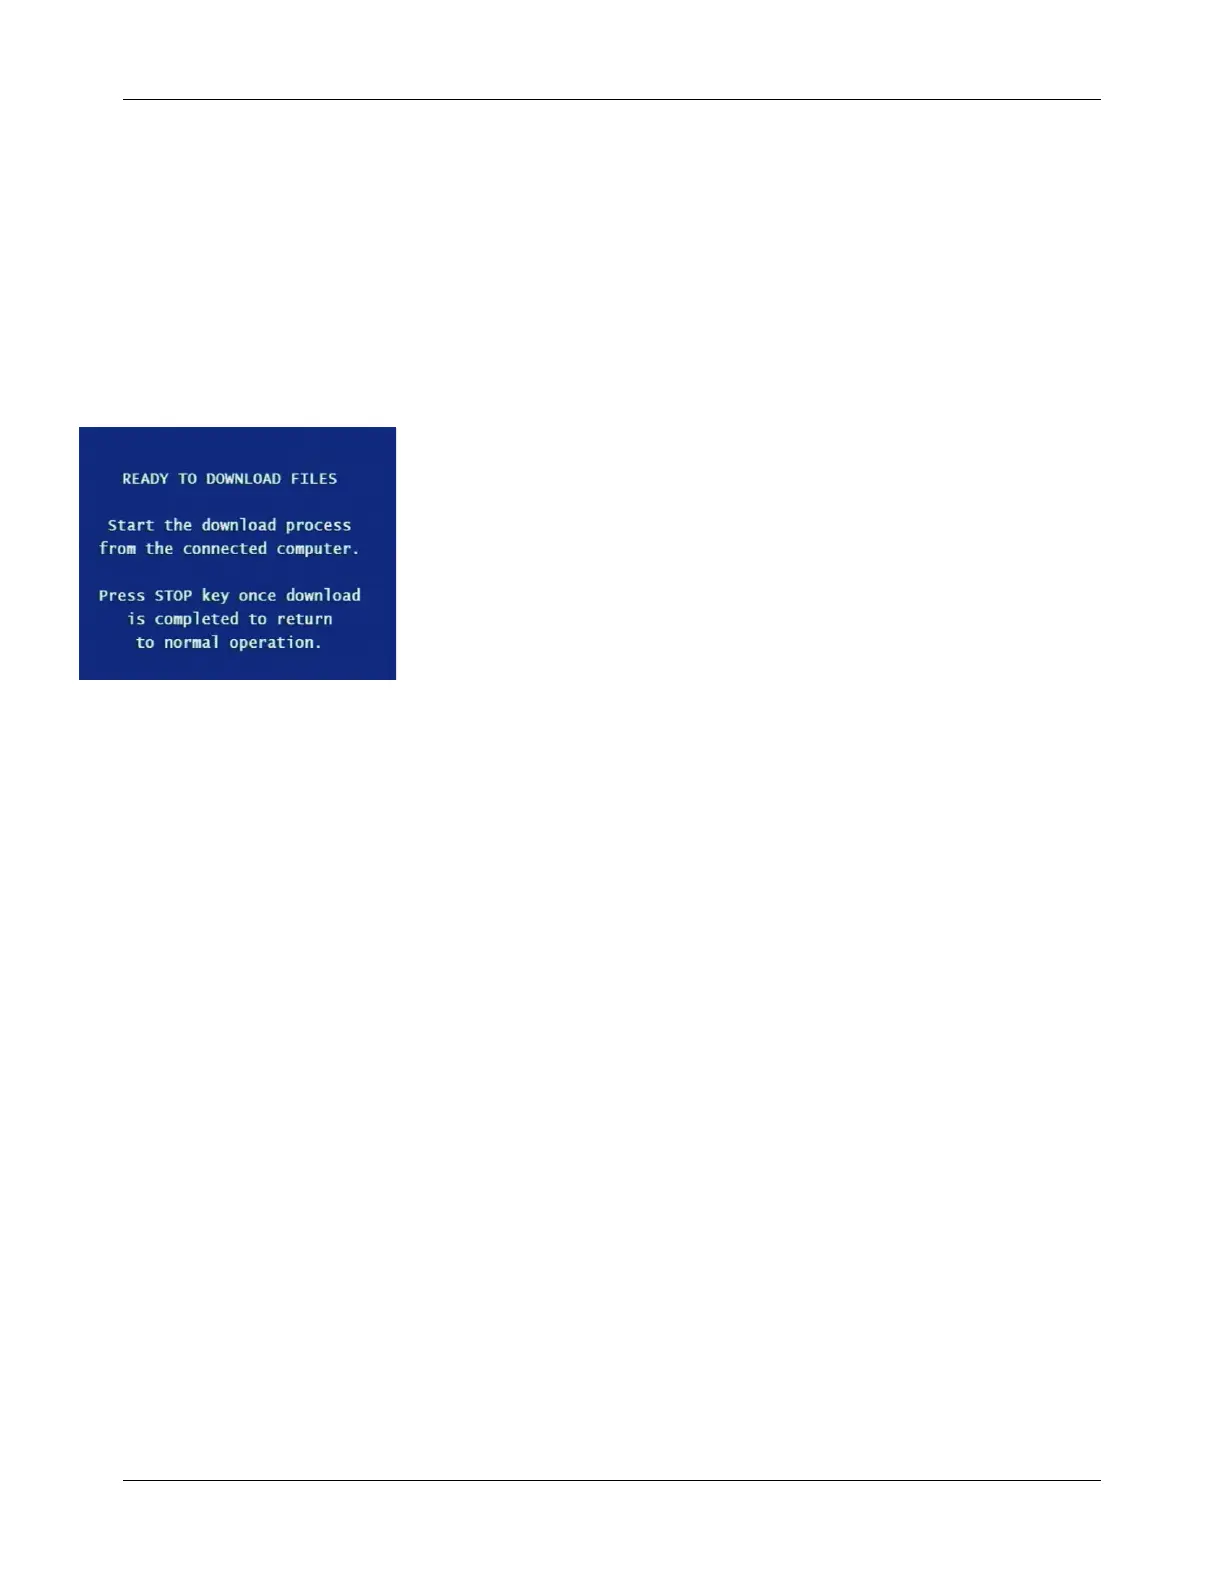
Download Via USB Port
This menu option can be used to download recordings directly from the
DVM to a Laptop or MDT in the vehicle. This option must first be enabled
on the settings menu before it can be used. To use this option, a USB cable
must be connected from the computer to the DVM. The USB connection
on the DVM is a 5 pin Mini-B connector. To transfer recordings, select the
Download Via USB Port option from the Main Menu. The DVM will
appear on the computer as a removable disk drive. Use VideoManager to
upload the recordings. When the download has completed, press the STOP
button to return to normal operation.
Note: The DVM cannot record audio/video while it is in Download
mode.
Logout
The Logout Menu can be used to switch users without having to power
down the DVM. It is not necessary to log out of the unit before powering
off, as the user will automatically be logged off at shutdown. To Logout of
the DVM, select the Logout option. The next user can now Login to the
DVM.
 Loading...