Digital Ally, Inc. | Installation Instructions
3-11
DVM-800 Installation Guide | 860-00185-00 Rev L
Go Back To Table of Contents
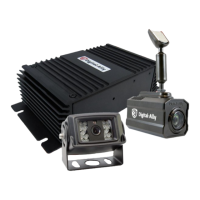
Mounting the License Plate Backup Camera (Option 3A)
8.
Remove the top two screws holding the rear license plate to the
vehicle.
9. Use the screws to attach the backup camera bracket along the top
edge of the license plate.
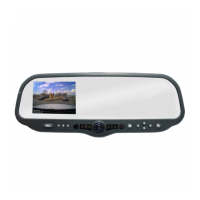
Mounting the Mini Backup Camera (Option 3B)
10.
Using the supplied self-drilling screws, mount the camera to an
appropriate location on the back of the vehicle where it will not
obscure any part of the license plate.
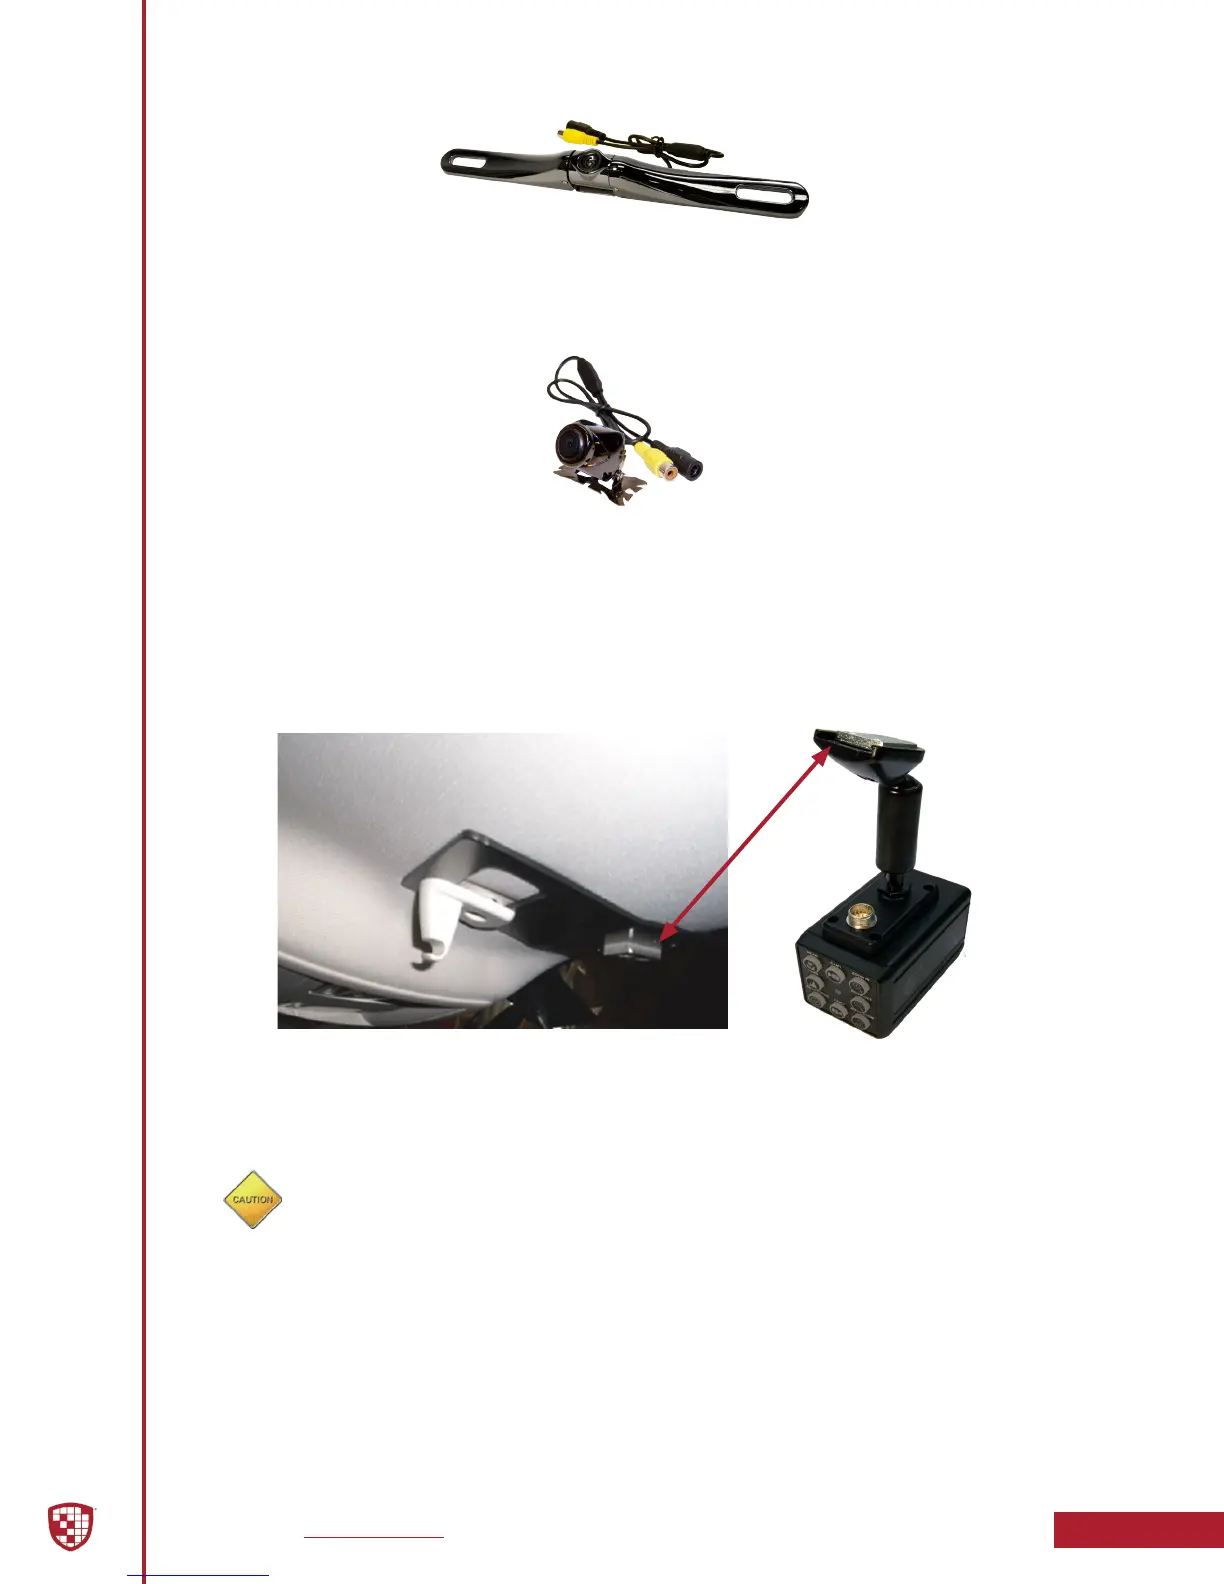
Option 4: 12XC Camera & Backseat Camera - with Y-Cable
1. Attach the visor mount through the visor clip and attach front camera
to the mounting plate as shown below. Attach the camera Y-Cable
(008-01443-00) to the DVM-800 CAM 1 input.
2. Determine a mounting location for the back seat camera. The example
on page 3-8 has the camera mounted in the center of the cage. This
gives a wide angle view of the entire back seat. Secure the camera
using the supplied hardware.
DO NOT install the backseat camera behind plexiglass (or glass); The
infrared lights will reect back into the camera lens and completely obscure
any video.
3. Route the remaining portion of the camera cable to the backseat
camera and connect. Secure extra cable in the headliner away
from any other existing cabling and/or airbags. Leave slack in the cable
as a service loop and for DVM adjustment. To conceal the cable it may
be necessary to loosen interior trim and other components within the
vehicle.
 Loading...