Instruction Manual IM01005031E - rev.7
Effective December 2020
Eaton www.eaton.com 11
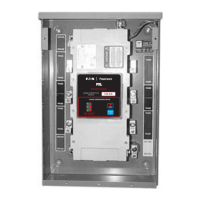
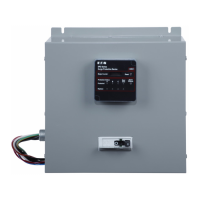
Eaton SPD Series for mounting external
to electrical distribution equipment
4.0 Power Xpert SPD display menu
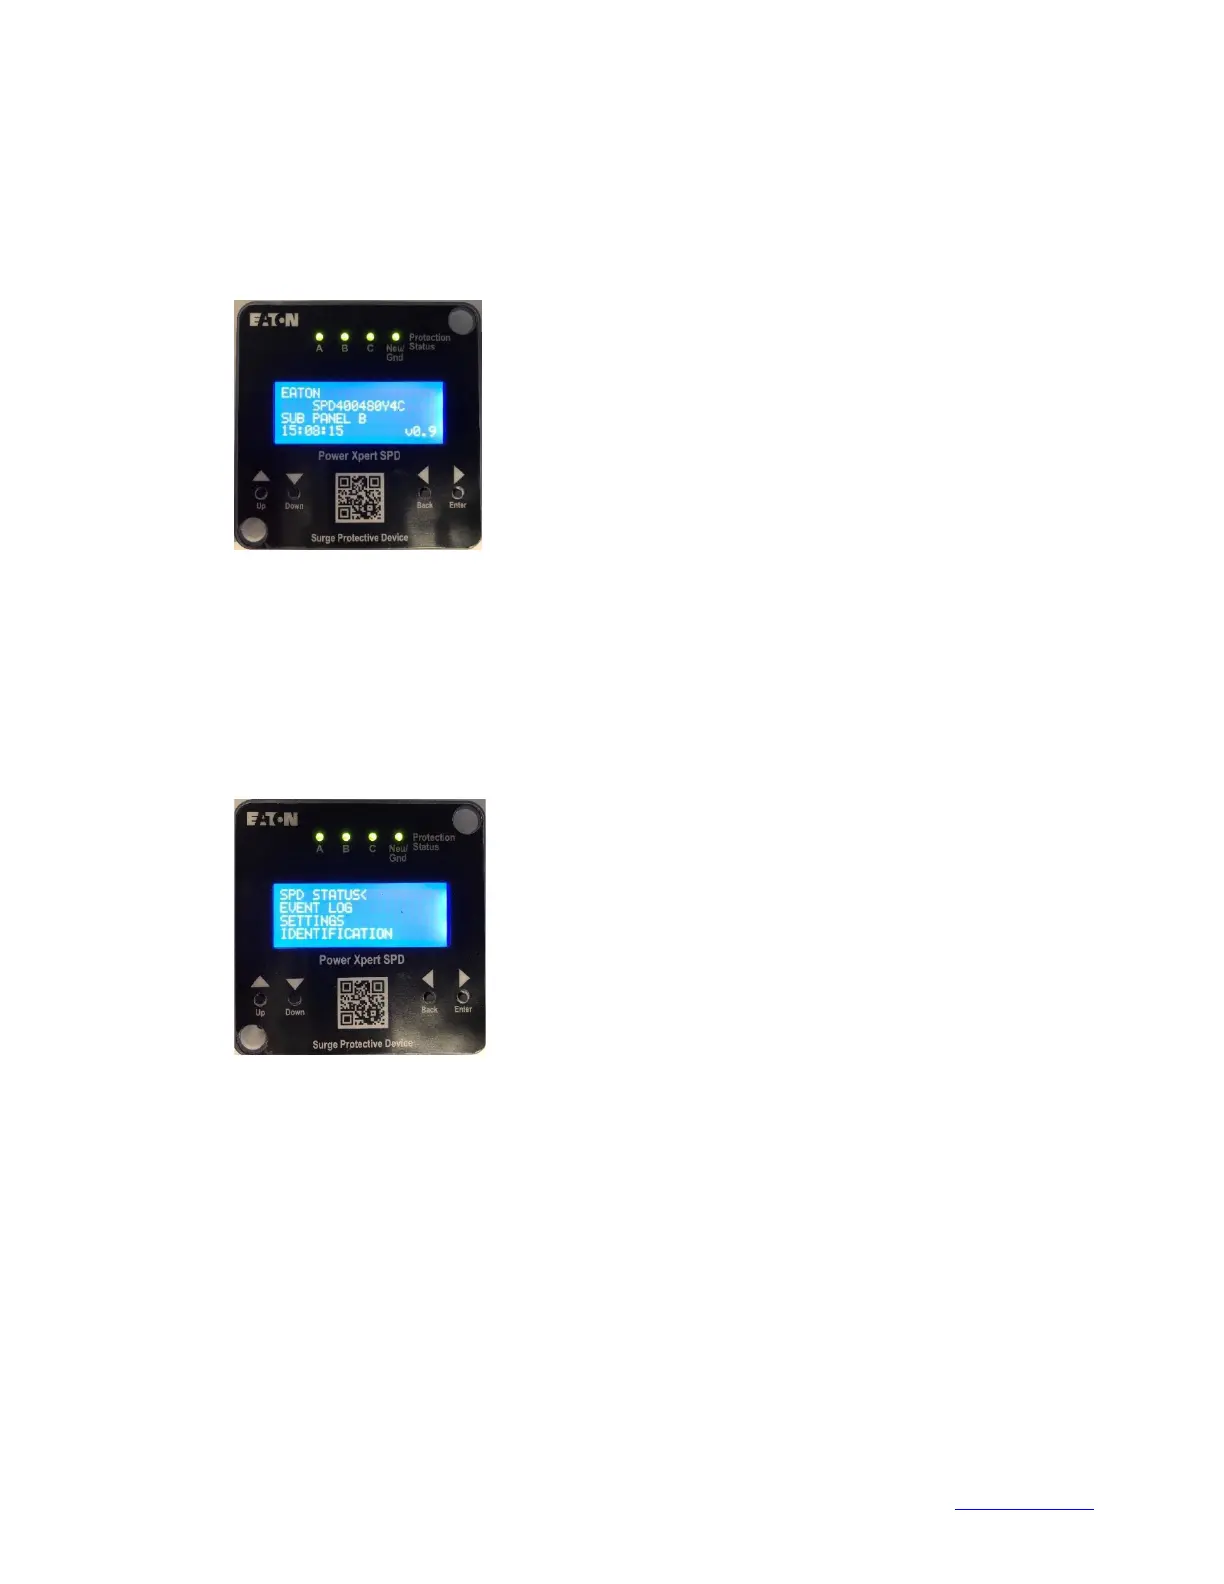
The Eaton Power Xpert SPD feature package includes a 20x4
LCD display which on power up displays the device’s home
screen which includes the following: catalog number, device
name (which is editable by the user), time, and firmware ver-
sion.
Figure 18. Power Xpert SPD home screen
To enter the main menu from the home screen, push the enter
key. The following selections will then appear on the screen.
The less than symbol “<” represents the cursor location and will
appear to the right of the selected menu category. Press the
down arrow to scroll down through the selections or press the
up arrow to move up. Press the enter button to select a menu
item or press the back button to return to the previous menu
screen.
Figure 19. Power Xpert SPD main screen
SPD main menu selections
The main menu consists of four menu selections.
1. SPD status
Includes the following sub-menu selections.
Surge events – which contains a subset of menu selections
that includes events that occurred on each phase, the level of
the surge event (low, med, high) on each phase, the total num-
ber of surges on each phase and the total surges and their level
(low, med, high)
Protection level – percentage of surge protection remaining in
the device per phase.
Alarm status – status of the alarm “Protected” or “Active Alarm
Replace SPD”.
2. Event log
All events - Up to 40 events which include surges, power up,
power loss, protection reduced (%), protection loss, and alarm
silence with time and date stamps of when the event occurred
are viewable to the user.
Low, med and high surges - Up to the last 20 date stamped
events. See Appendix B also.
3. Settings
A valid User password must first be entered and confirmed
before a user can access the following selections.
Set date and time – set the current time and date for accurate
date and time stamped events. (Automatically synced when
connected to a network). Temperature variations and other
factors can affect accuracy. Also, if the unit has been without
power for an extended period the date and time will have to be
re-entered..
Set device name – name the device to distinguish it from other
devices on your network. Device name can be up to 20 alpha
numeric characters.
Start display test – cycles through the LED states and then
turns on and off the LCD pixels and tests the alarm.
Change password – changes the device password. Requires a
6-digit numeric password.
Clear surges & logs – Clears all surge counts and event logs
Sensitivity setting – Increase or decrease the low surge sensi-
tivity. It is not recommended for the user to modify this setting
without first contacting Eaton Customer Support at 1-800-809-
2772 or email SPD@eaton.com.
Communications – Configure Modbus TCP, ethernet, and IP,
subnet mask, and MAC addresses. BACNet must be configured
through the web UI. See Appendix F for the Modbus register
map. See Appendix H for the BACnet register map.
4. Identification
This section contains information about the device itself. It
includes the following:
•
Catalog number
•
Style number
•
Serial number
•
Date code
•
Firmware version
•
PCB serial number
•
Device name
•
MAC address
•
Customer support information
This information is necessary when contacting customer sup-
port concerning the device.
 Loading...