20
Removing and replacing components
DIMMs
Each DIMM (dual in-line memory module) is held in place by levers at each end of its
socket on the Fiery X3eTY.
The memory capacity for the Fiery X3eTY is 512MB. The standard configuration is one
256MB DIMM installed in socket DIMM2. To upgrade, install another 256MB DIMM
in socket DIMM1.
Approved DIMMs are available from your authorized service support center.
TO REPLACE OR UPGRADE A DIMM
1. To release a DIMM, push outward on the lever on each side of the DIMM (see Figure J).
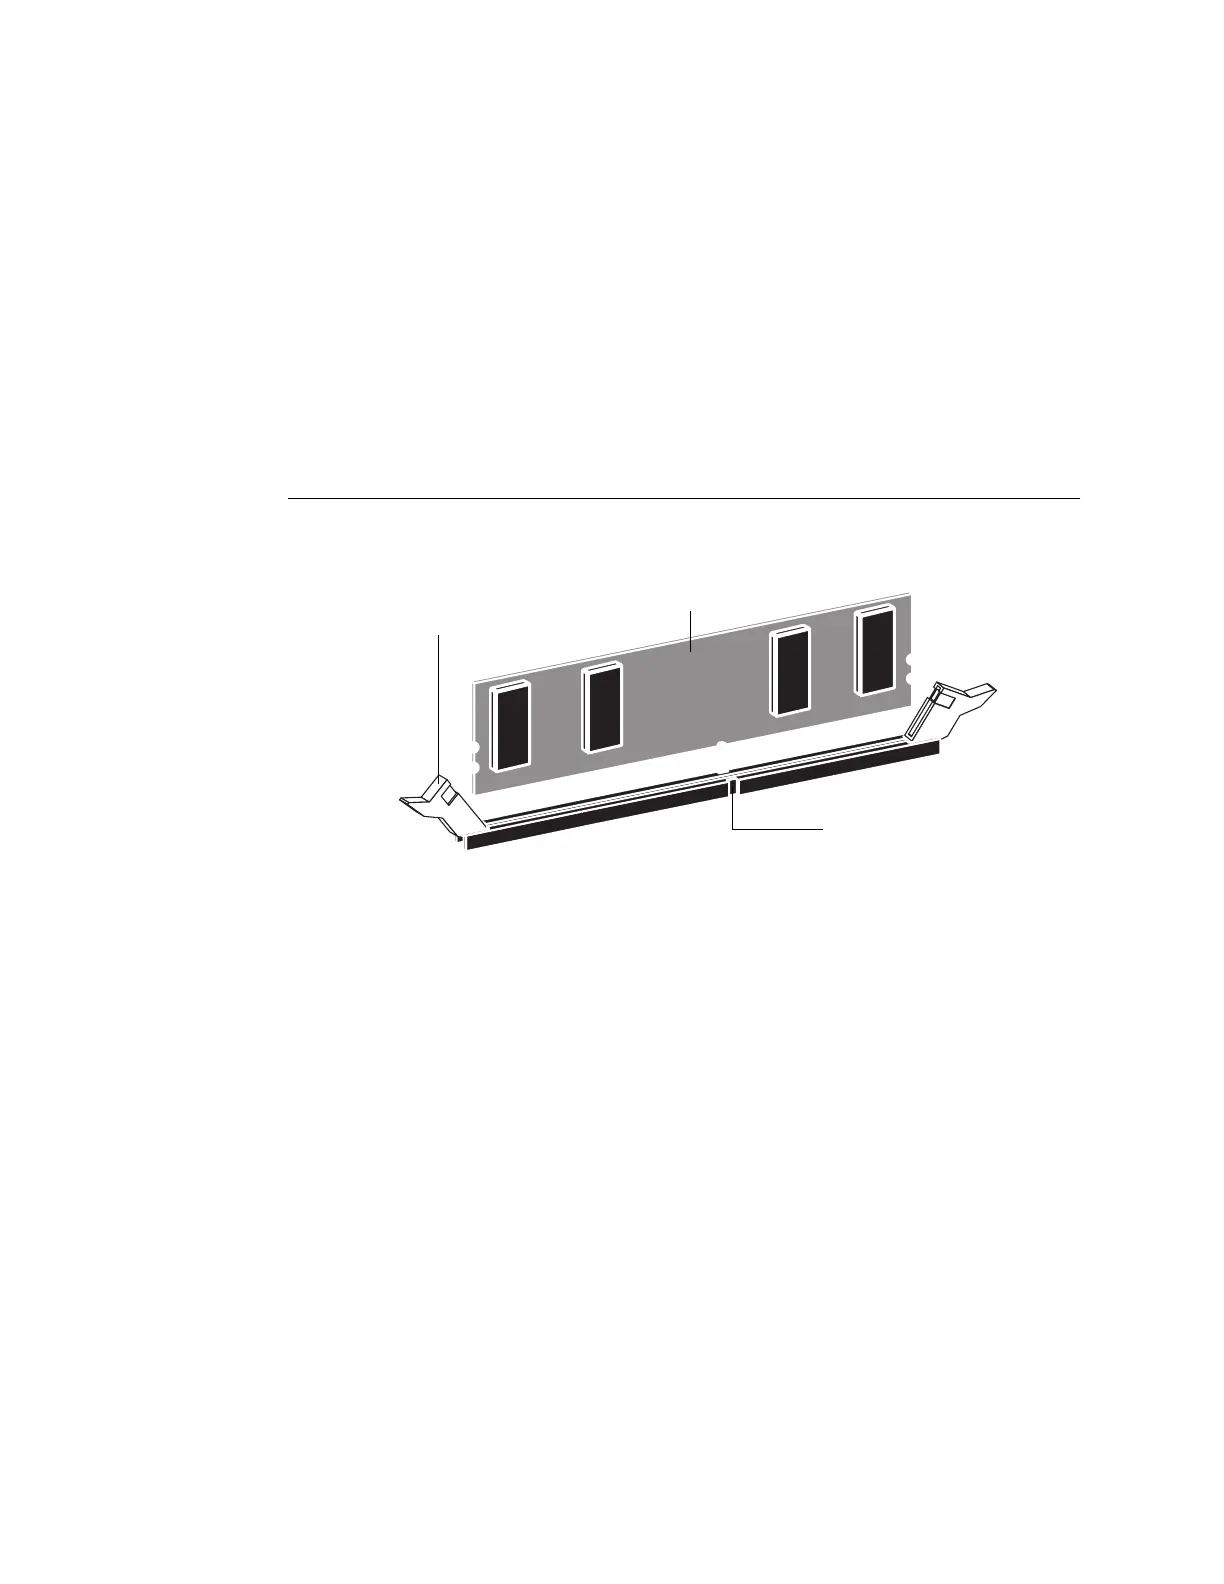
F
IGURE J Releasing a DIMM
2. Slide the DIMM straight out of the socket to avoid damaging the DIMM or the socket, and
set the DIMM aside.
3. To install a DIMM, insert it straight into the socket. Push the DIMM into the socket until
the levers snap into place.
The DIMM fits the socket only one way. The notch on the bottom of the DIMM should
line up with the notch in the socket.
Make sure that the levers close securely around the ends of the DIMM and that the
DIMM is fully seated in its socket. Avoid flexing the board while you firmly seat the
DIMM in its socket.
4. Reassemble the unit and verify functionality (see page 34).
To verify memory capacity, print a Configuration page to check the amount of memory
recorded.
Lever
Socket notch
DIMM

 Loading...