27
Removing and replacing components
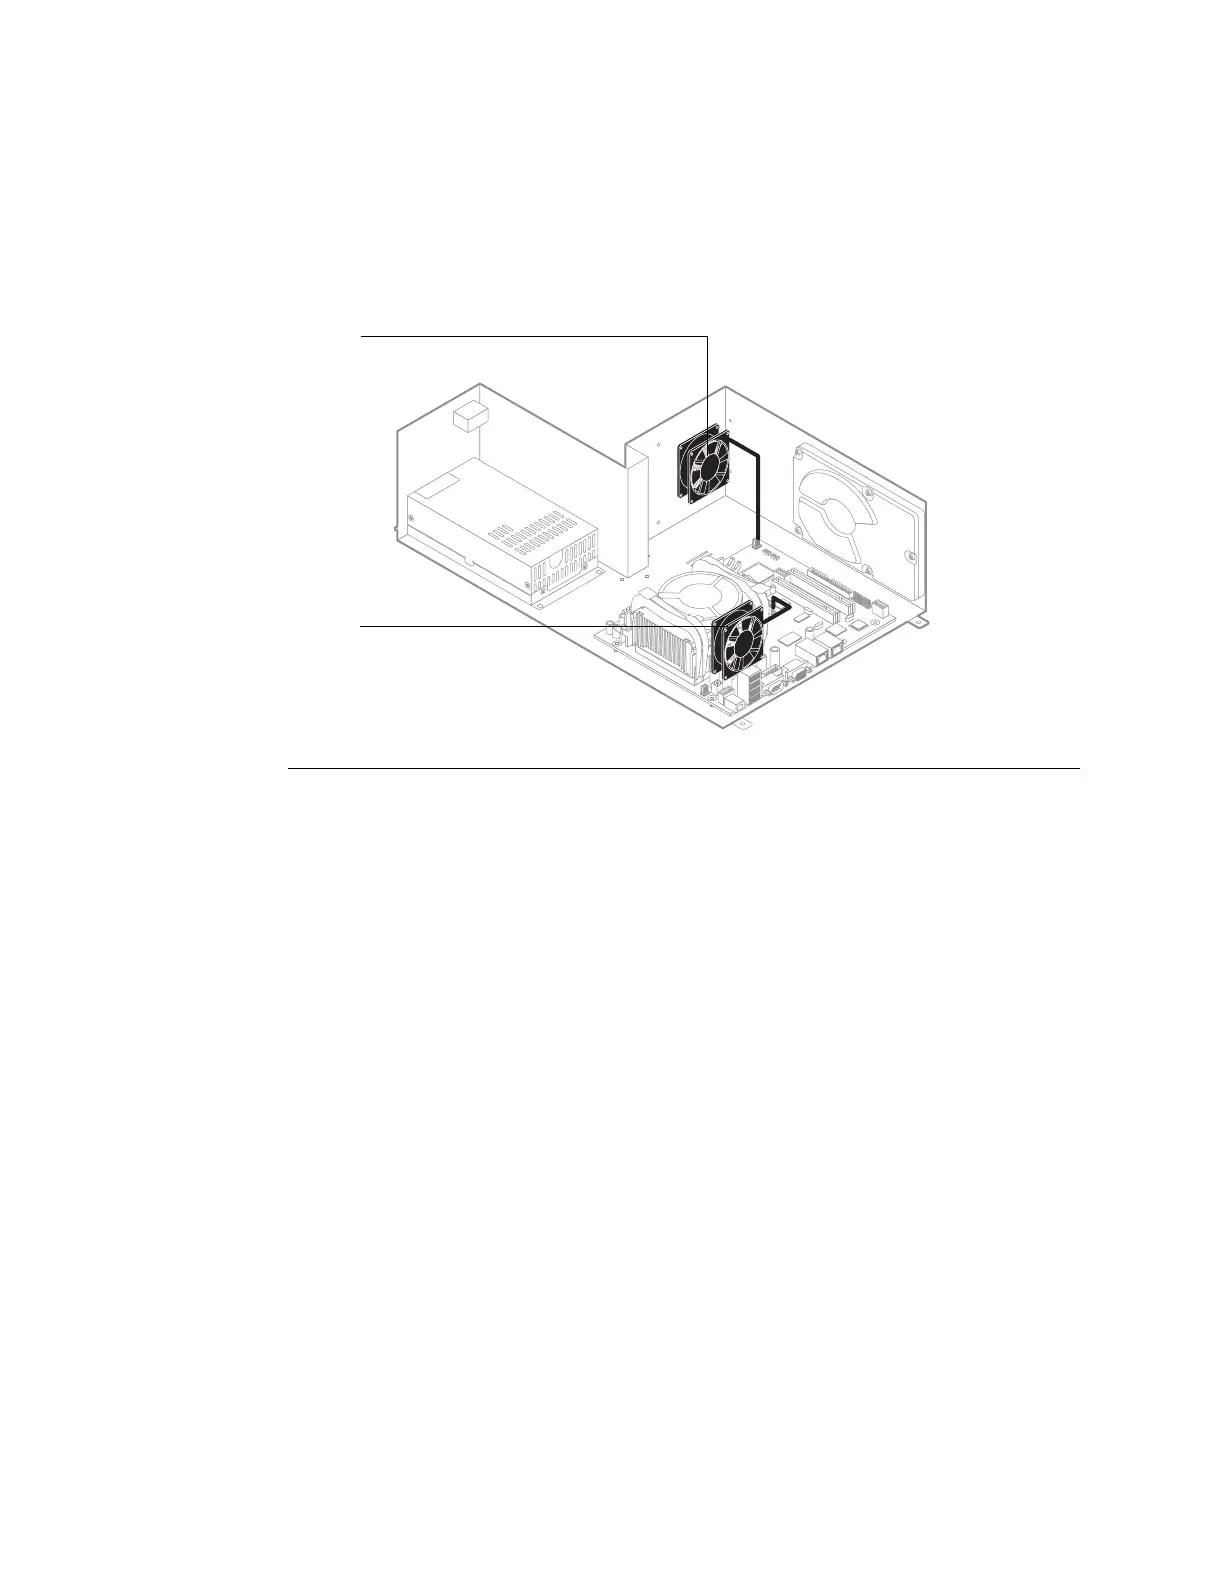
Enclosed fans
Two enclosed fans are attached to the pan to cool the system. The bottom fan sucks air
into the system and the top fan blows air out of the system
TO REPLACE ENCLOSED FAN
1. Remove the Fiery X3eTY from the print engine, as described on page 10.
2. Note the orientation of the fan inside the pan. See the arrows on the fan:
• Bottom fan—one arrow indicates the air is sucked into the vent
•Top fan—one arrow indicates the air blows out the vent
3. Disconnect the fan cable from the appropriate connector:
• Bottom fan—FAN3
•Top fan—FAN2
4. Remove the rivets that secure the fan to the back of the pan and remove the fan.
You can place metal (such as the stem of a screwdriver) between the rivet and your thumb
and then press to dislodge the rivet.
5. Secure the new fan inside the pan using the rivets just removed. Make sure the new fan
is in the same orientation as the old fan (see step 2).
6. Connect the fan cable to the appropriate motherboard connector (see step 3).
7. Reassemble the unit and verify functionality as described on page 34.
Enclosed fan, bottom, to FAN3,
sucks air into the system
Enclosed fan, top, to FAN2,
blows air out of the system

 Loading...