22
STEP 1 Lift the unit by the sides of the bottom base until it clips onto the two prongs of the bracket. In order to
ease the operation, slightly tilt the unit towards you.
STEP 2 If using a hardwired connection prop the unit away from the wall on the bottom and make necessary
connections. Do not activate turn the breaker on until installation is completed.
STEP 3 Connect the condensate drain pipe according to the method selected.
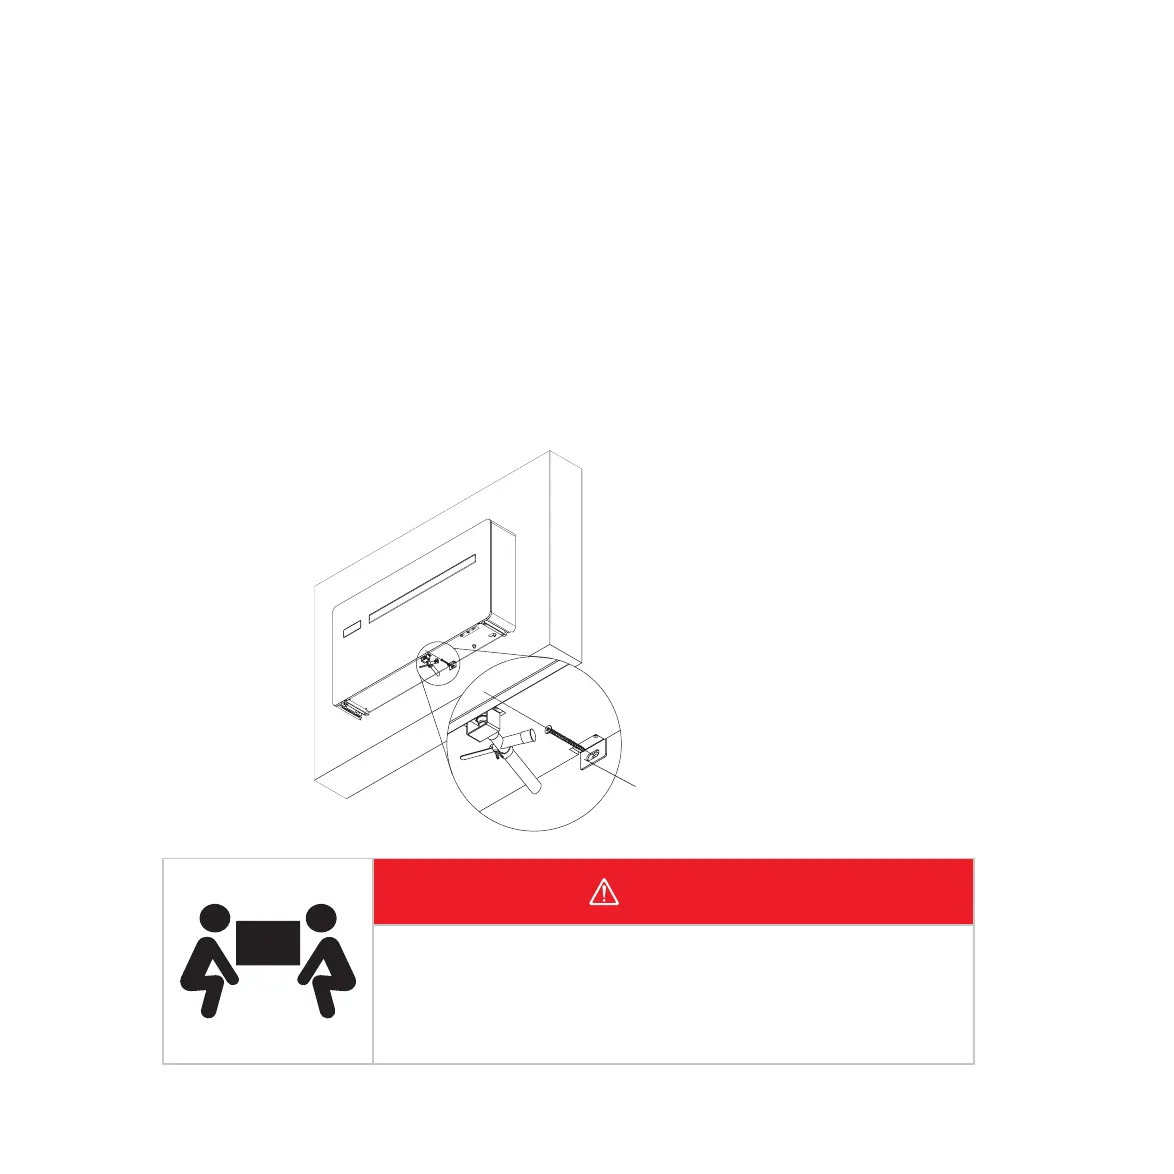
STEP 4 Fasten a screw into the anti-lifting hole.
Anti-lifting bracket
WARNING
EXCESSIVE WEIGHT HAZARD
Use two people when lifting and installing the unit. The unit is
unbalanced on the right (compressor side) Failure to do can result in
back or other injury.
3
MOUNTING THE UNIT
After checking that the bracket is securely anchored to the wall and that all necessary electrical connections and
condensate drain preparations are completed, you can mount the unit on the wall.
 Loading...