Integrated Network Analyzer
Using the Analyzer
15
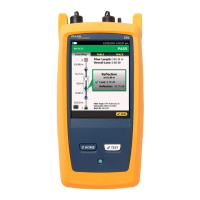
aww52s.bmp
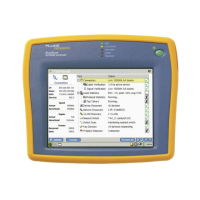
Figure 7. Power Management Window
Pressing the analyzer battery/power icon in the Windows taskbar opens the
Power Options Properties screen. Press the Power Meter tab to see the current
battery charge state.
Using the Front Panel Touch Display
A stylus or your finger can be used on the touch panel display. The target size can
be adjusted through the analyzer user interface by selecting Setup | Display and
changing the Component Size to either large or small.
The Graphics Controller… button lets you customize the display setup.
Brightness and contrast are adjusted under the Color tab in the Graphics
Controller screen.
Touch target calibration can also be performed from the Display screen by
pressing the Touch Screen Controller… button and then pressing Calibrate. The
calibration screen provides a simple test that will ask you to touch several targets
on the screen to perform the calibration.
 Loading...