OptiView
TM
Series II
Getting Started Guide
12
Charging the Internal and External Batteries
The external battery and AC adapter/charger (hereafter referred to as the charger)
are shipped with every OptiView
TM
analyzer. The charger will charge both the
internal and external batteries while operating the analyzer.
The internal battery takes approximately 5 hours to fully charge (see note on page
8 about initially charging the batteries). It will take longer if the analyzer is on
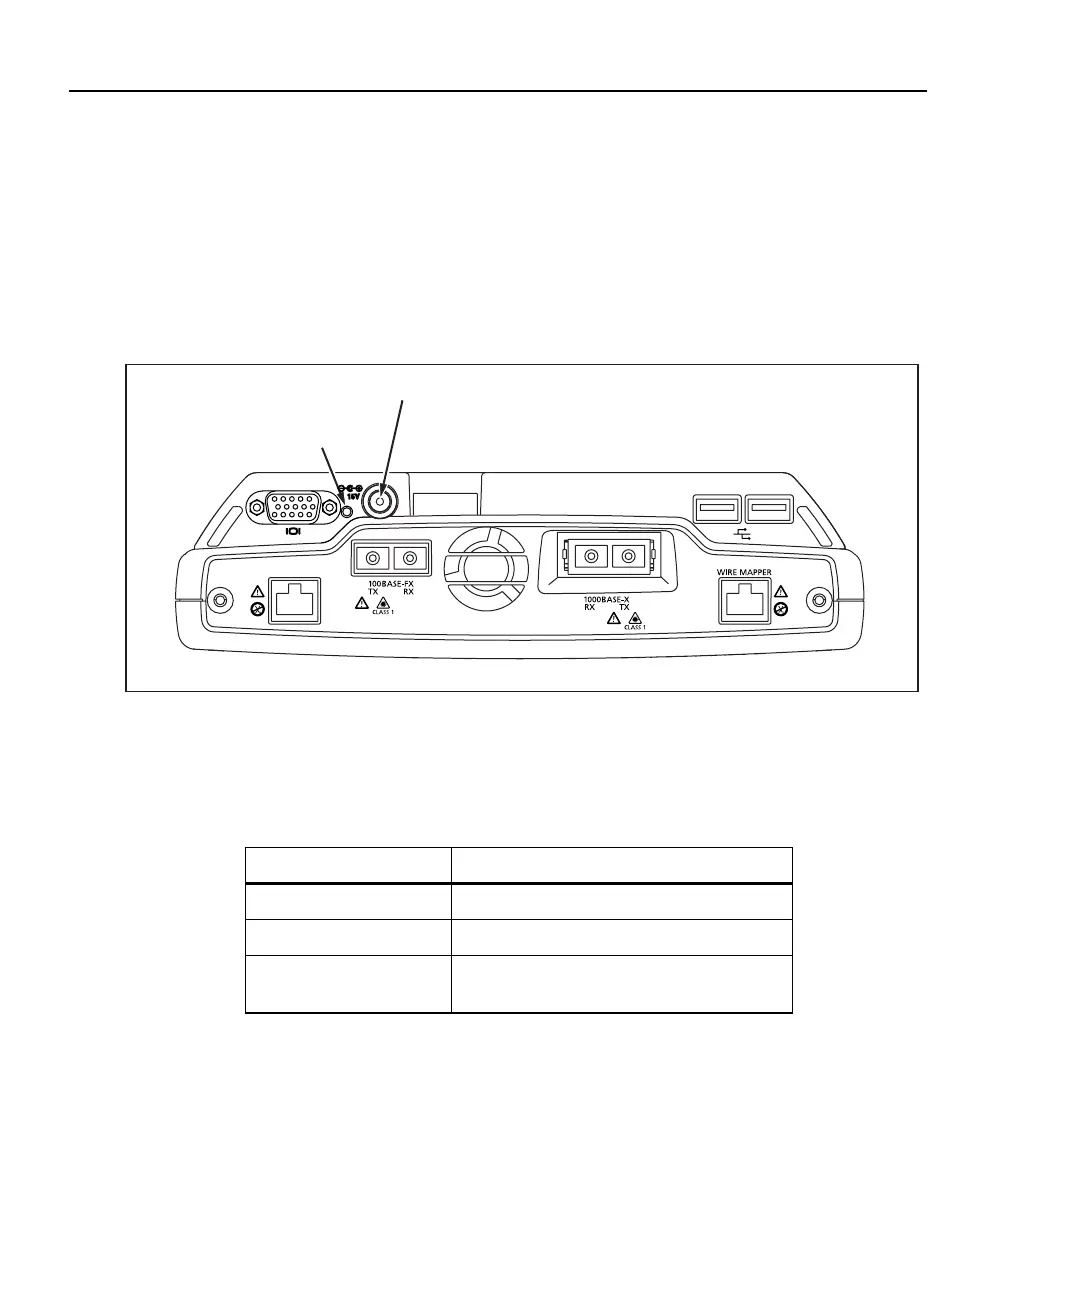
while the battery is charging. Figure 5 shows the internal battery charging jack and
charging status LED.
Charging Jack
Charging LED
10BASE-T
100BASE-TX
aww02f.eps
Figure 5. Charging Jack and LED Location for Internal Battery Only
The charging LED states are as follows:
Table 3. Red Charging LED States
Status Description
Off Charger not connected
Flashing Charging
Continuous on, solid Battery is fully charged, AC power
applied
 Loading...