04-l 5
Charaincr Svstem
04-I 5
OVERHAUL (Continued)
Front Bearing Installation
Bearing installation is not the reverse of the removal
procedure, because the snap ring which retains the front
bearing cannot be installed with the bearing in place on the
rotor shaft.
1.
Seat the bearing in the front housing.
2. Install the snap ring.
Pressing Front Bearing Onto Shaft
1.
Using a suitable sleeve, such as a 17mm (1 l/l 6 inch)
deep socket, press the bearing (with front housing)
onto the rotor shaft.
Apply force to the inner race
only.
2.
Press the bearing on until the inner race touches the
shoulder on the shaft.
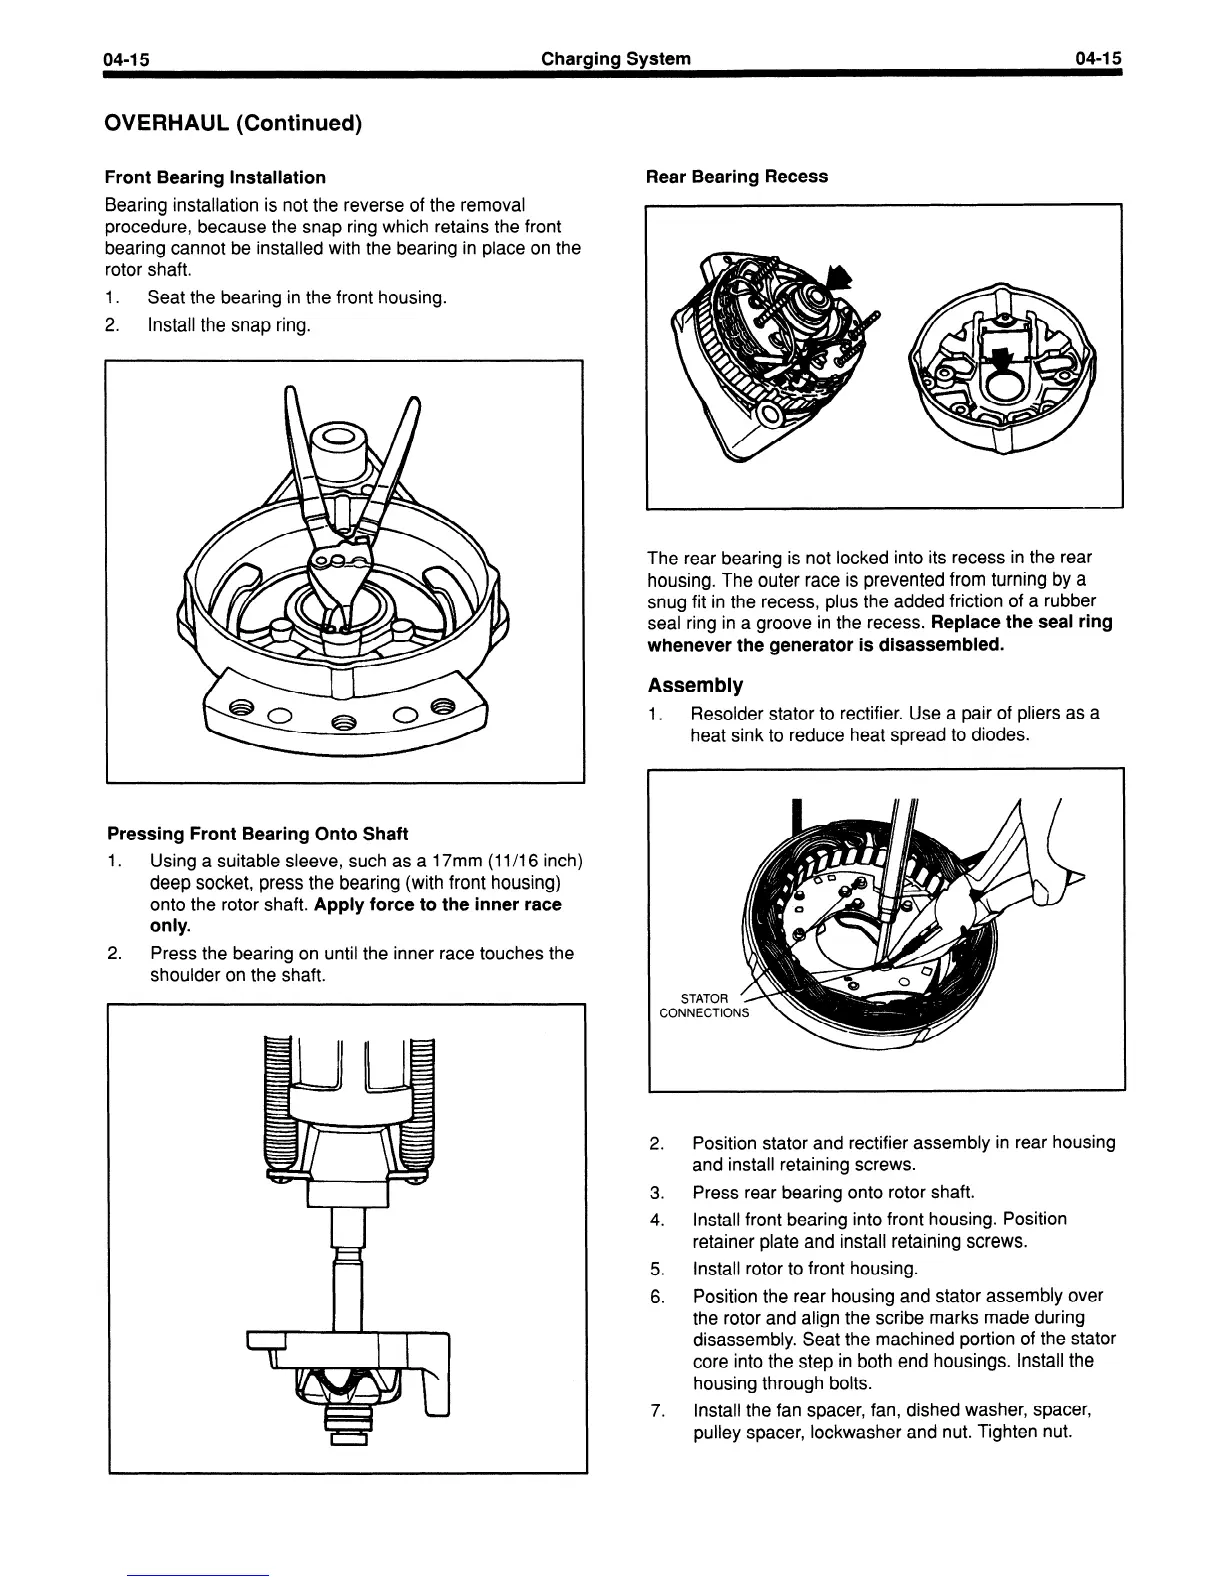
Rear Bearing Recess
The rear bearing is not locked into its recess in the rear
housing. The outer race is prevented from turning by a
snug fit in the recess, plus the added friction of a rubber
seal ring in a groove in the recess.
Replace the seal ring
whenever the generator is disassembled.
Assembly
1. Resolder stator to rectifier. Use a pair of pliers as a
heat sink to reduce heat spread to diodes.
STATOR
CONNECT10
2. Position stator and rectifier assembly in rear housing
and install retaining screws.
3. Press rear bearing onto rotor shaft.
4.
Install front bearing into front housing. Position
retainer plate and install retaining screws.
5. Install rotor to front housing.
6. Position the rear housing and stator assembly over
the rotor and align the scribe marks made during
disassembly. Seat the machined portion of the stator
core into the step in both end housings. Install the
housing through bolts.
7.
Install the fan spacer, fan, dished washer, spacer,
pulley spacer, lockwasher and nut. Tighten nut.
 Loading...


