9
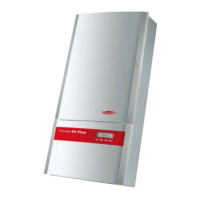
TORCH CONTROL SOCKET
- Plug in the control plug for the welding torch, and latch in
place.
CONNECTING SOCKET for remote control unit
- Plug the remote control cable plug into the socket, the right
way round, and tighten the swivel nut
- The desired welding current is set on the remote control unit.
- The machine automatically recognizes the fact that the
remote control unit has been plugged in
- The short-circuit-proof supply voltage to the remote control
units protects the electronics in the event of any damage to
the remote control cable.
GAS CONNECTION FOR TORCH
- for welding torch central connection GWZ
CONNECTION FOR WATER RETURN-FLOW
- for Fronius welding torch central connection F
CONNECTION FOR WATER FORWARD-FLOW
- Only on water-cooled machines
GAS CONNECTION
- Screw the terminal nut of the gas hose onto the connection-
fitting and tighten it
GAS TEST BUTTON
- For testing and adjusting the gas flow-rate with the current
switched off
- For setting the required gas flow-rate on the pressure
regulator
MAINS CABLE WITH STRAIN-RELIEF GRIP
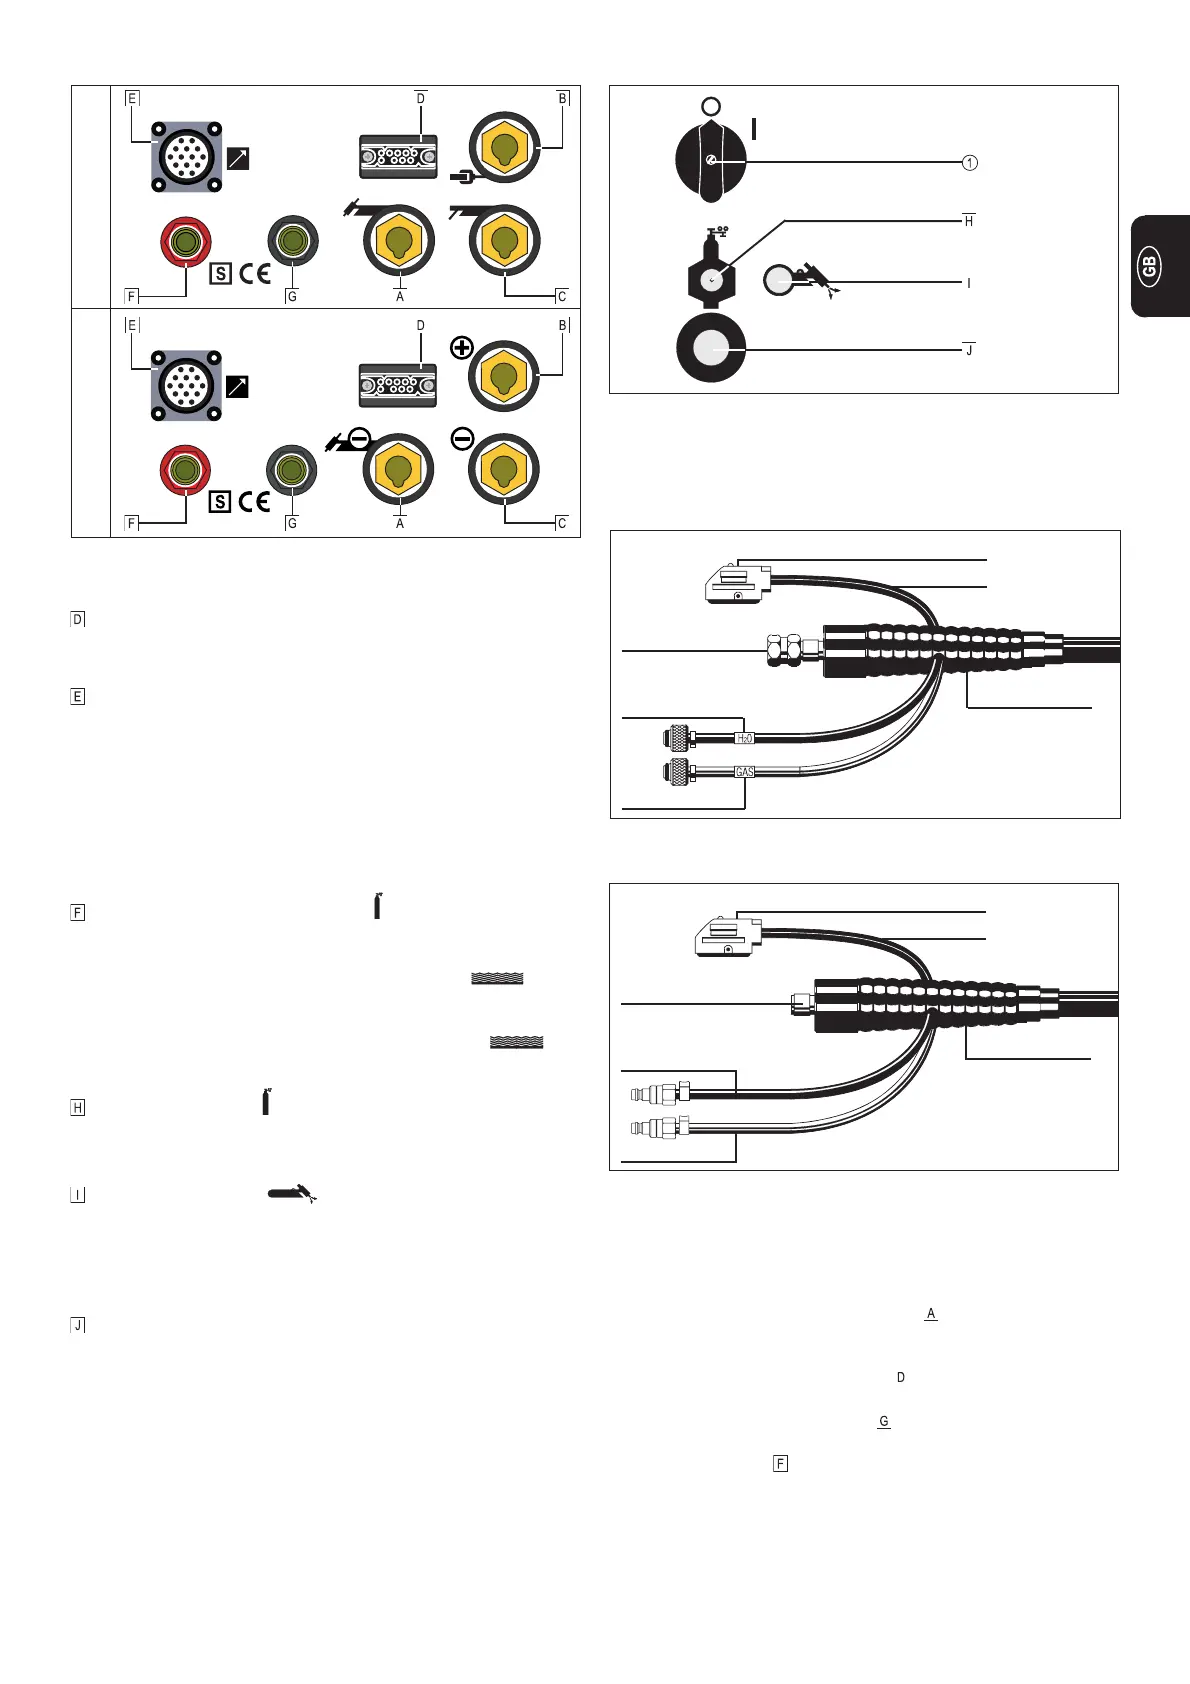
Gas hose
Water flow
Control cable
Fig.10 Design with central welding torch connection GWZ: Torch connection
water-cooled
Control plug
Hose sleeve
ASSEMBLING A WATER-COOLED TIG TORCH
Water and current
connection
Design with central burner connection GWZ:
- Pull back the tubular rubber sleeve of the torch
- Screw the hexagon nut (width 21, current and water connec-
tion) to the torch connection-fitting on the machine, and
tighten it.
- Push the rubber sleeve back over the hex nut
- Plug the control plug into socket and secure it
- Screw the knurled nut of the water connection onto the water
forward-flow connection-fitting , and tighten it
- Screw the knurled nut of the gas connection onto the gas
connection-fitting , and tighten it
Important! Please see your torch’s instruction manual for techni-
cal details on the torch and for information on torch assembly, care
and maintenance.
Fig.8a Design with Fronius central welding-torch connection F: Connection
points on front of machine
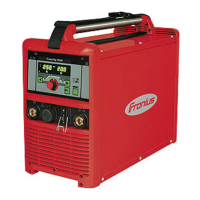
TRANSTIG MAGIC WAVE
Fig.9 Rear side of the machine
Fig.10a Design with Fronius welding torch central connection F: Torch connection
water-cooled
Gas and current
connection
Water connection
Water connection
Control cable
Control plug
Hose sleeve
 Loading...