Installing the Print Driver 52
Installing the Driver
The following procedure uses Mac OS X 10.6 as an example.
1 Run the Software Pack CD-ROM on the Mac OS X.
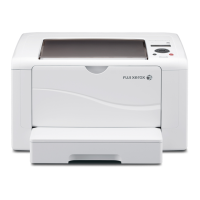
2 Double-click the DocuPrint P205 b icon.
3 Click Continue on the Introduction screen.
4 Select a language for the Software License Agreement.
5 After reading the Software License Agreement, click Continue.
6 If you agree to the terms of the Software License Agreement, click Agree to continue the
installation process.
7 Click Install to perform the standard installation.
If you want to change the installation location, click Change Install Location.
8 Enter the administrator's name and password, and then click OK.
9 Click Close to complete the installation.
Adding a Printer on Mac OS X 10.5.8/10.6 or Later Version(s)
1 Turn off the printer and your computer.
2 Connect the printer and your computer with the USB cable.
3 Turn on the printer and your computer.
4 Display the System Preferences, and then click Print & Fax.
5 Confirm your USB printer is added to Print & Fax in System Preferences.
If your USB printer is not displayed, execute the following procedures.
6 Click +, and then click Default.
7 Select the printer connected via USB from the Printer Name list.
Name, Location, and Print Using are automatically entered.
8 Click Add.
 Loading...
