DigitalFlow™ Multipurpose Ultrasonic Liquid Flowmeter Service Manual 3
Chapter 1. Calibration
1.3.1 Accessing the Calibration Menu
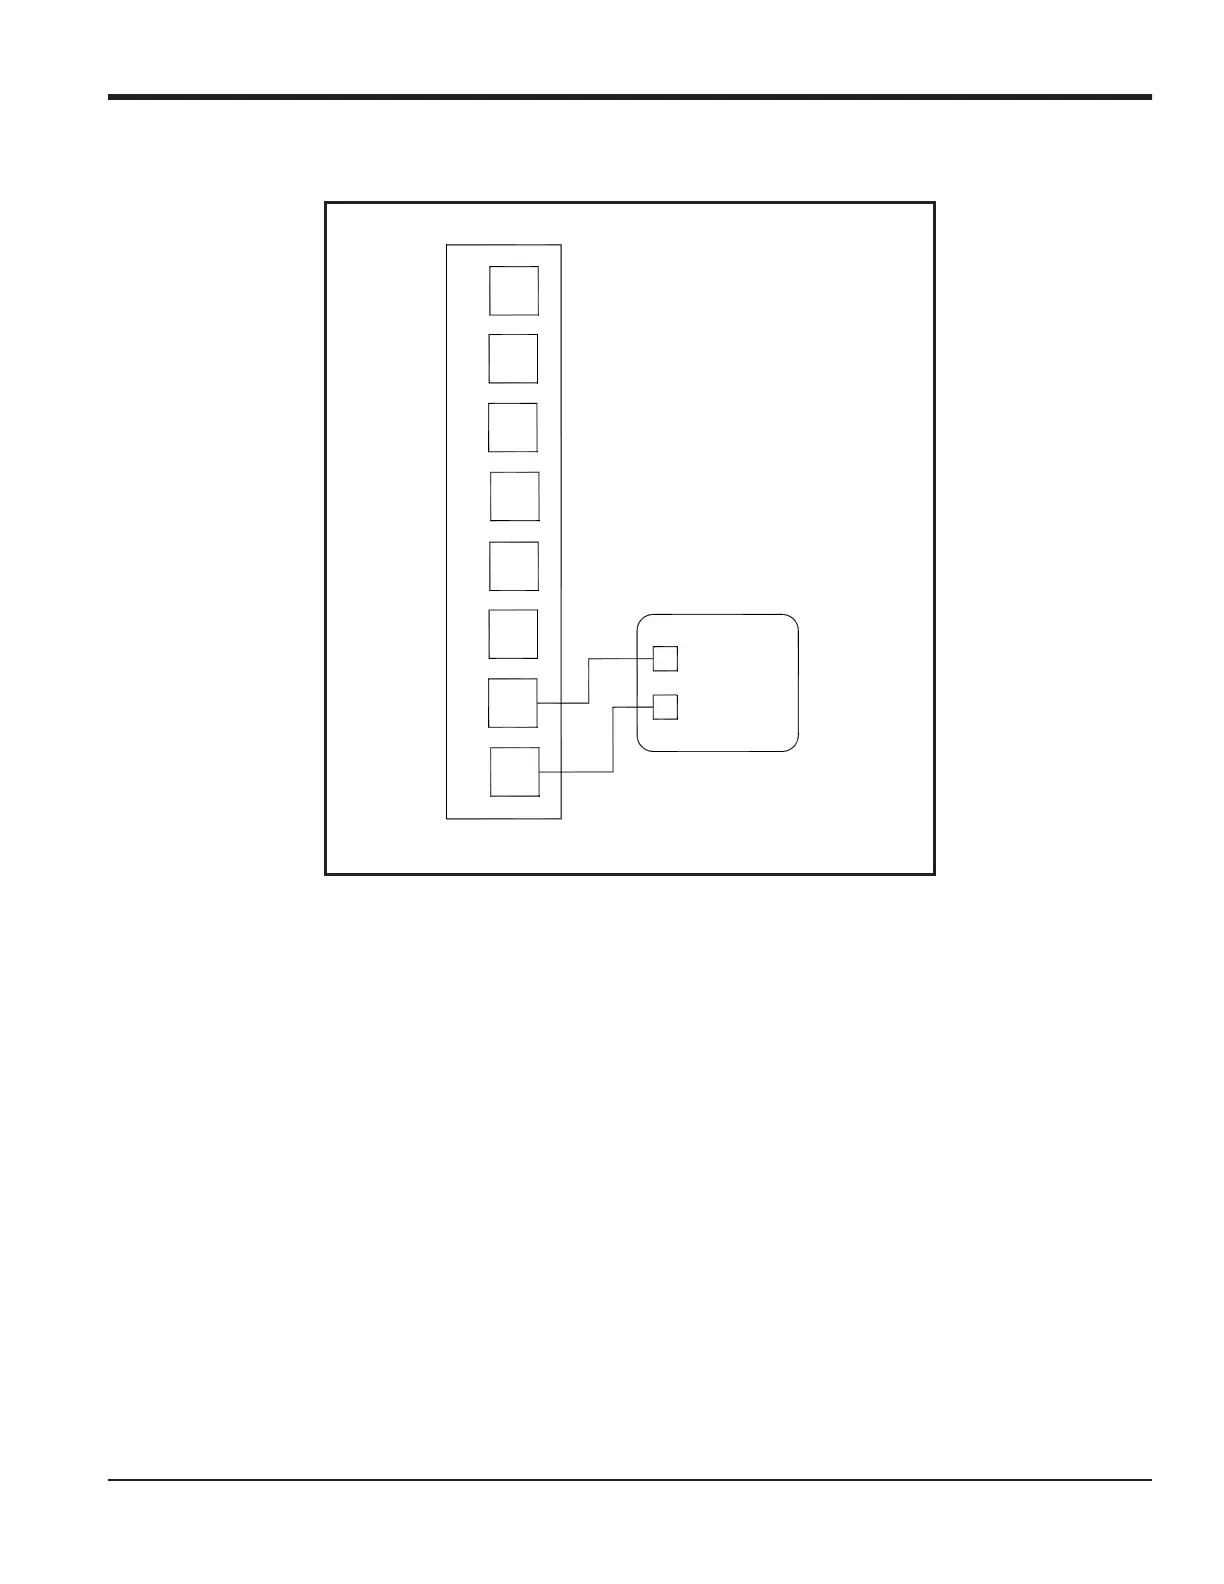
Figure 2: Ammeter Connection (Output A)
1. Press the [CAL] key to enter the Calibration Program.
2. Press [Fx] to calibrate the desired slot. (The option bar will include a slot listing for each installed option card.)
3. Press [Fx] to select the desired output.
IMPORTANT: The procedure for calibrating all outputs is the same. However, when calibrating a different output, be
sure to reconnect the ammeter to the appropriate pins on terminal block I/O. See Figure 1 on page 2 or
Figure 2 above for the correct pin numbers.
1.3.2 Calibrating the Low End of the Output Range
1. Press [F1] to calibrate the low end of the output range.
2. Press [F1] or [F2] to adjust the ammeter reading UP or DOWN, until a 4 mA reading is achieved. If you press [F3],
Numer, enter the numeric value and press [ENT].
3. Press [F4] to STORE the setting or press [ and [F1] to ABORT the calibration.
Note: If the ammeter reading cannot be adjusted within 5.0 A of the 4 mA setting, contact the factory for assistance.
Terminal Block (Option Card)
B
RTN
B
SIG
A
RTN
A
SIG
8
1
+
–
Ammeter
D
RTN
D
SIG
C
RTN
C
SIG

 Loading...