GE HEALTHCARE
DIRECTION 5245279, REVISION 3 LOGIQ™ P6/P6 PRO SERVICE MANUAL
8 - 204 Section 8-7 - Mechanical Option Installation instruction
Section 8-8
Final Procedures
1.) After all peripherals have been installed, ensure that all cables are neatly and properly routed to the
system back and front panel. Use tiewraps, if necessary.
2.) Properly store excess cable in the back panel cavity behind the door.
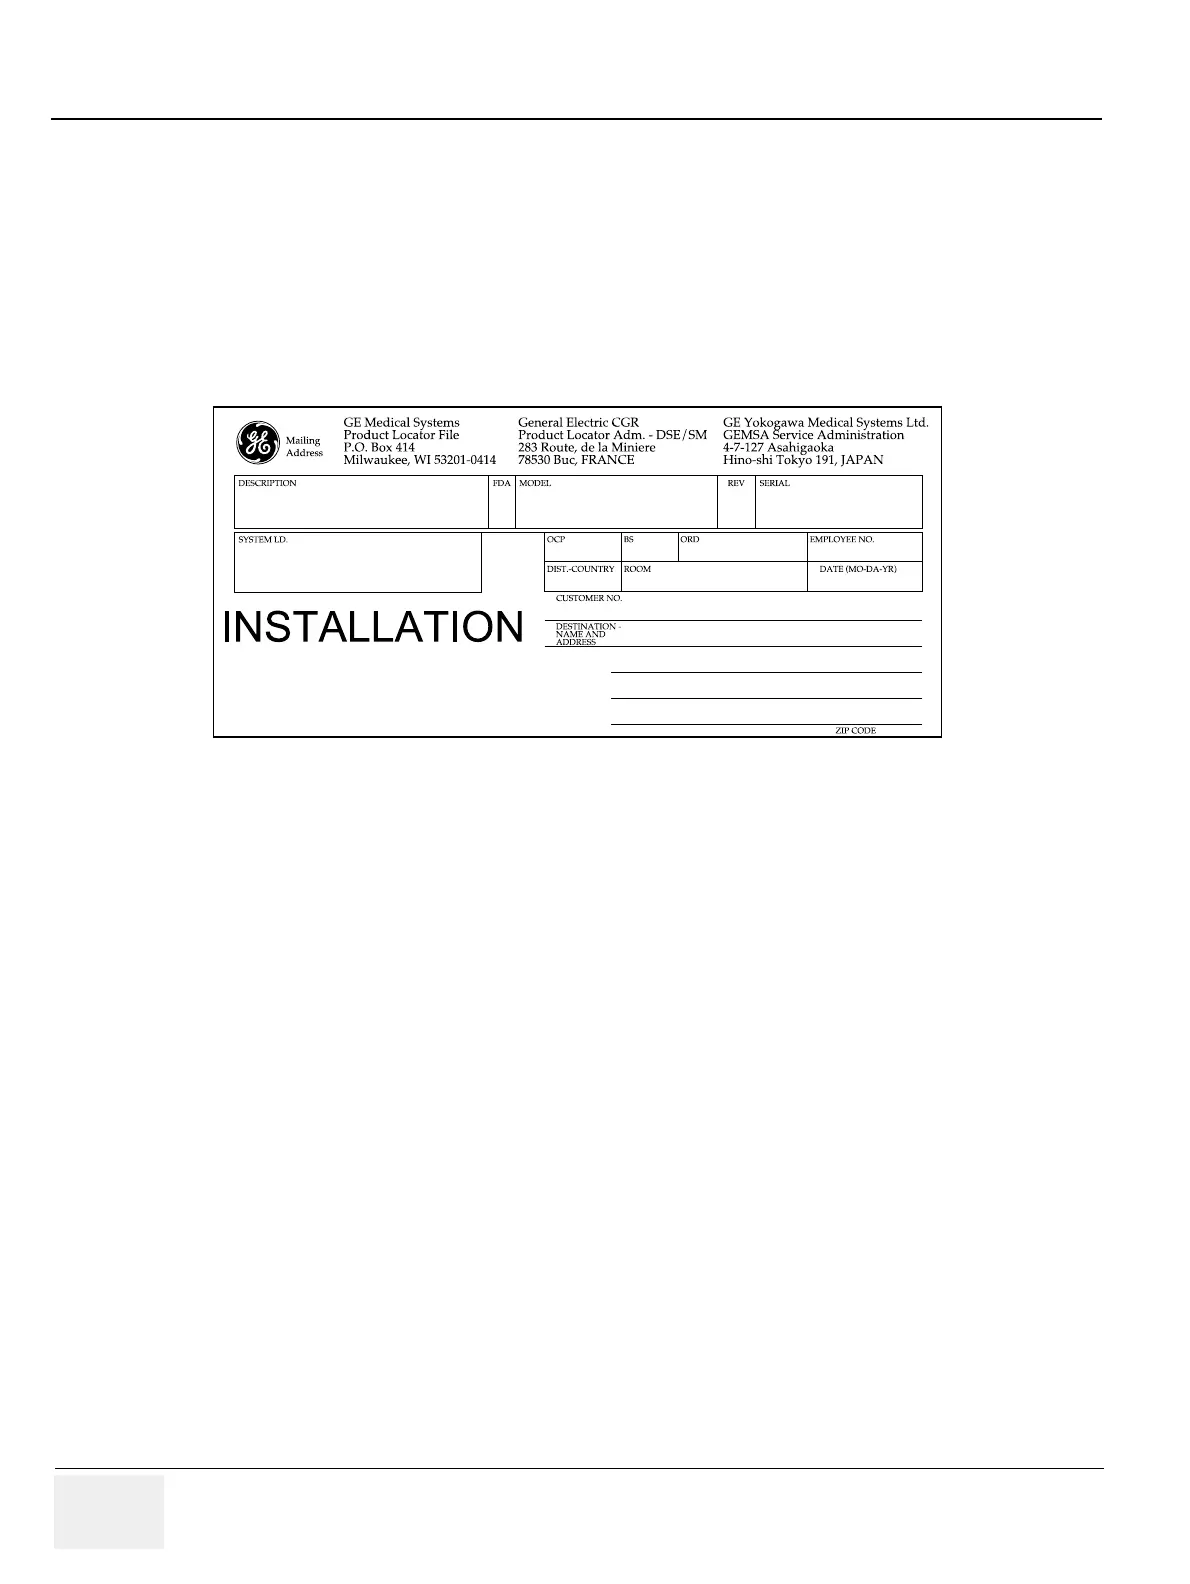
3.) Fill out the proper customer information on the Product Locator Card. Mail the installation card
“Product Locator” to the address corresponding to your region. Refer to the Figure 8-338.
NOTE: The Product Locator Card indicated in Figure 8-338 may be different from the actually provided
on.
4.) Properly dispose of any excess material in accordance with current GE Medical System policy.
5.) Once all peripherals are installed, ensure that the operation of the system is verified once again by
performing the functional checks. Refer to Functional Checks in Chapter 4, LOGIQ™ P6/P6 Pro
Service Manual.
6.) Ensure that each peripheral operates properly from the LOGIQ™ P6/P6 Pro keyboard, monitor,
peripheral’s own front panel or remote controls. Inform the customer of proper peripheral operation.
7.) Keep this documentation with LOGIQ™ P6/P6 Pro Service Manual. for feature reference.
8.) This completes the installation of the Mechanical Options.
Figure 8-338 Product Locator Card

 Loading...