www.gemu-group.com36 / 46GEMÜ 550
10 Installation in piping
CAUTION
Use as step.
▶ Damage to the product.
▶ Risk of slipping-off.
● Choose the installation location so that the product can-
not be used as a foothold.
● Do not use the product as a step or a foothold.
NOTICE
Suitability of the product!
▶ The product must be appropriate for the piping system
operating conditions (medium, medium concentration,
temperature and pressure) and the prevailing ambient
conditions.
NOTICE
Tools
▶ The tools required for installation and assembly are not
included in the scope of delivery.
● Use appropriate, functional and safe tools.
1. Ensure the product is suitable for the relevant application.
2. Check the technical data of the product and the materials.
3. Keep appropriate tools ready.
4. Wear appropriate protective gear, as specified in the plant
operator's guidelines.
5. Observe appropriate regulations for connections.
6. Have installation work carried out by trained personnel.
7. Shut off plant or plant component.
8. Secure plant or plant component against recommission-
ing.
9. Depressurize the plant or plant component.
10. Completely drain the plant (or plant component) and let it
cool down until the temperature is below the media vapor-
ization temperature and cannot cause scalding.
11. Correctly decontaminate, rinse and ventilate the plant or
plant component.
12. Lay piping so that the product is protected against trans-
verse and bending forces, and also from vibrations and
tension.
13. Only install the product between matching aligned pipes
(see chapters below).
14. Please note the flow direction (see chapter "Flow direc-
tion").
15. Please note the installation position (see chapter "Installa-
tion position").
10.3 Installation position
The installation position of the product is optional.
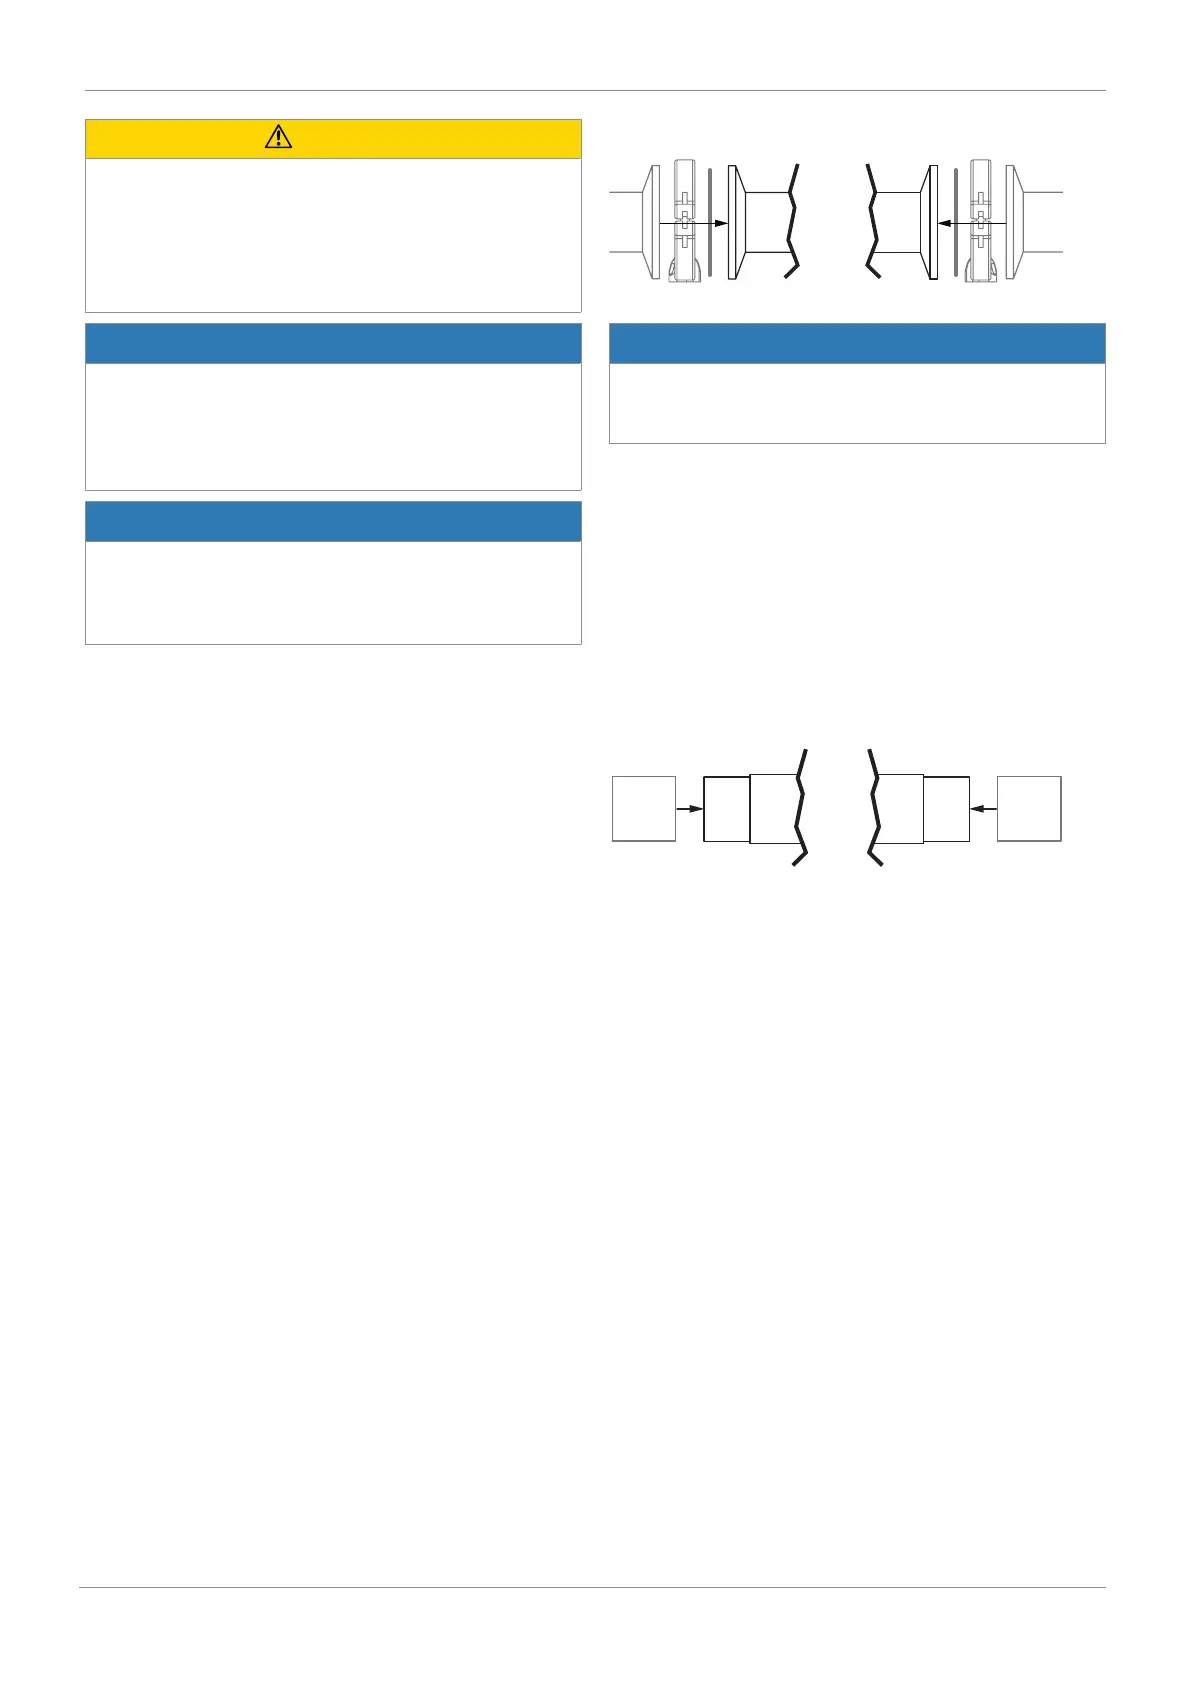
10.4 Installation with clamp connections
Fig.4: Clamp connection
NOTICE
Gasket and clamp
▶ The gasket and clamps for clamp connections are not in-
cluded in the scope of delivery.
1. Keep ready gasket and clamp.
2. Carry out preparations for installation (see chapter "Pre-
paring for installation").
3. Adhere to good welding practices!
4. Insert the corresponding gasket between the body of the
product and the pipe connection.
5. Connect the gasket between the body of the product and
the pipe connection using clamps.
6. Re-attach or reactivate all safety and protective devices.
10.5 Installation with butt weld spigots
Fig.5: Butt weld spigots
1. Carry out preparations for installation (see chapter "Pre-
paring for installation").
2. Adhere to good welding practices!
3. Remove actuator A (see chapter "Removing the actuator").
4. Weld the body of the product in the piping.
5. Allow butt weld spigots to cool down.
6. Mount actuator A (see chapter "Mounting the actuator").
7. Re-attach or reactivate all safety and protective devices.
8. Flush the system.
 Loading...


