EasyManua.ls Logo

Gendex ORALIX AC User Manual

Gendex ORALIX AC
97 pages
To Next Page IconTo Next Page
To Previous Page IconTo Previous Page
Page #50 background imageLoading...
Page #50 background image
E-5Gendex Dental Systems
ORALIX AC SYSTEMPREVENTIVE MAINTENANCE
(h)
(l)
(h)
4.2.2. Maintenance of the Extension Arm
For the maintenance of the Extension Arm follow the
procedure below:
Unscrew the two friction screws (h).
Extract slightly the arm base to access the ball
bearing (i): inspect for wear and lubricate it.
Screw back the friction screws (h).
Remove the snap-out caps (l) and inspect for wear the bush (m): replace it if required and remount the
caps (l).
Lift slightly the Extension Arm at the side of the Wall Support and grease the spigot (n).
Inspect for wear ring (o) and replace it if required.
Inspect for wear the cabling and check the protective earth connection.
4.2.3. Maintenance of the Mobile Stand
For the maintenance of the Mobile Stand follow the
procedure below:
Check for wear the wheels (a) and verify the
correct rotation: replace them if necessary.
Inspect the wheel brakes (b) and verify the effi-
ciency of their action: replace the complete
wheels with brakes if required.
Inspect for wear the mains cable and its attach-
ment to the column.
(i)
mains power cable
(a)(a) (b) (b)
(m)
(l)
(n)
(o)
2
4
5
1
3
6
7
1
2
3
Printed on: 22 Mär 2012, 09:28:10 am; Printed by: TOBIAS BAUER

Table of Contents

Question and Answer IconNeed help?

Do you have a question about the Gendex ORALIX AC and is the answer not in the manual?

Gendex ORALIX AC Specifications

General IconGeneral
BrandGendex
ModelORALIX AC
CategoryDental equipment
LanguageEnglish

Summary

3. Description of Major Components

3.3. Tubehead Oralix AC

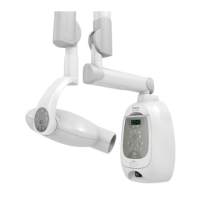
High voltage transformer, X-ray tube in shielded case.

4. Technical Data

4.2. Tubehead

Specifications for peak tube potential, tube current, radiation output.

2. Installation Procedure

2.6. Mounting of the Tubehead

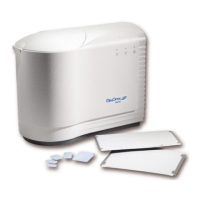
Instructions for attaching the tubehead.

3. Mobile System Mounting

3.7. Mounting of the Tubehead

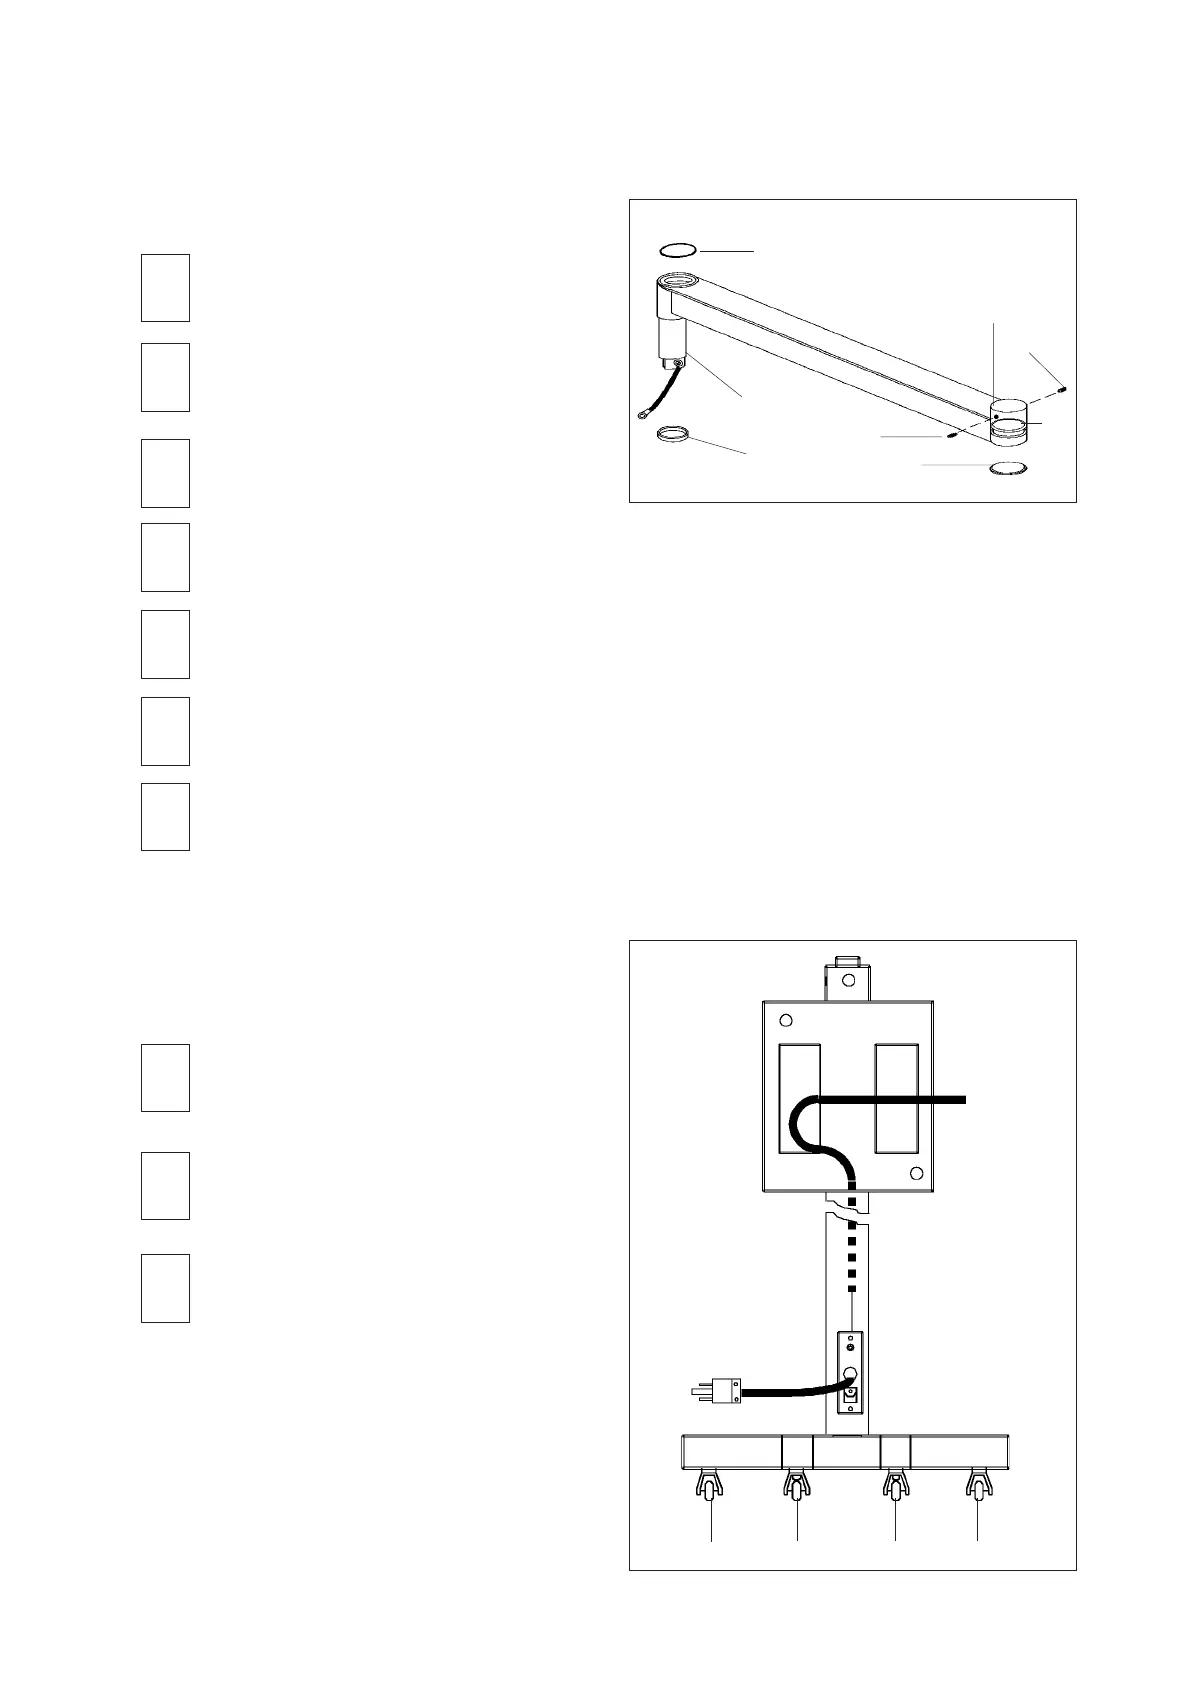
Attaching the tubehead to the mobile unit.

6. Functional Test

6.1. Functional Test on Timer Secondent

Step-by-step functional test for the Secondent timer.

6.2. Functional Test on Timer Densomat

Step-by-step functional test for the Densomat timer.

3. Acceptance Tests

3.2. Accuracy of kVpeak

Measuring kVp accuracy using a non-invasive KV meter.

3.5. Radiation Leakage

Measuring radiation leakage at 100 cm from the focus.

4. Preventive Maintenance Instructions

4.2. Mechanical Checks

Procedures for maintaining the tubehead.

6. Troubleshooting

6.1. System equipped with Timer Densomat

Corrective actions for alarm indications on the Densomat timer.

Related product manuals