10
FROM THE FACE
OF THE BASE
PLATE TO THE
TIP OF THE
CUTTING BIT
EQUALS THE
DEPTH OF THE
JOINT PLUS 1/2"
Fig. 20
Fig. 17
TIP: It may be advisable to size the mortise slightly longer than the tenon (or the tenon slightly
shorter than the mortise) for ease of insertion, adjustment and gluing.
The Alignment Tool (Fig. 18) is used to help center
the uncut wood in the jig. Before securing the
wood in the jig, place the Alignment Tool as
shown and align it with the Centering Marks [1A]
on the jig (Fig19).
The Alignment Tool can also be used to more
accurately align the Adjustable Sliding Templates
[#2 & #3] to the Template Positioning Indicators
[1C].
Fig. 18
Fig. 19
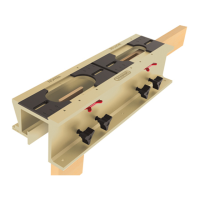
Both the tenon and mortise sections have has two Centering Marks [1A] (Fig. 17) which indicate
the longitudinal center of the templates. There are also Centering Notches [1B] on the deployed
Positioning Bars [6]; they indicate the center of the template’s width.
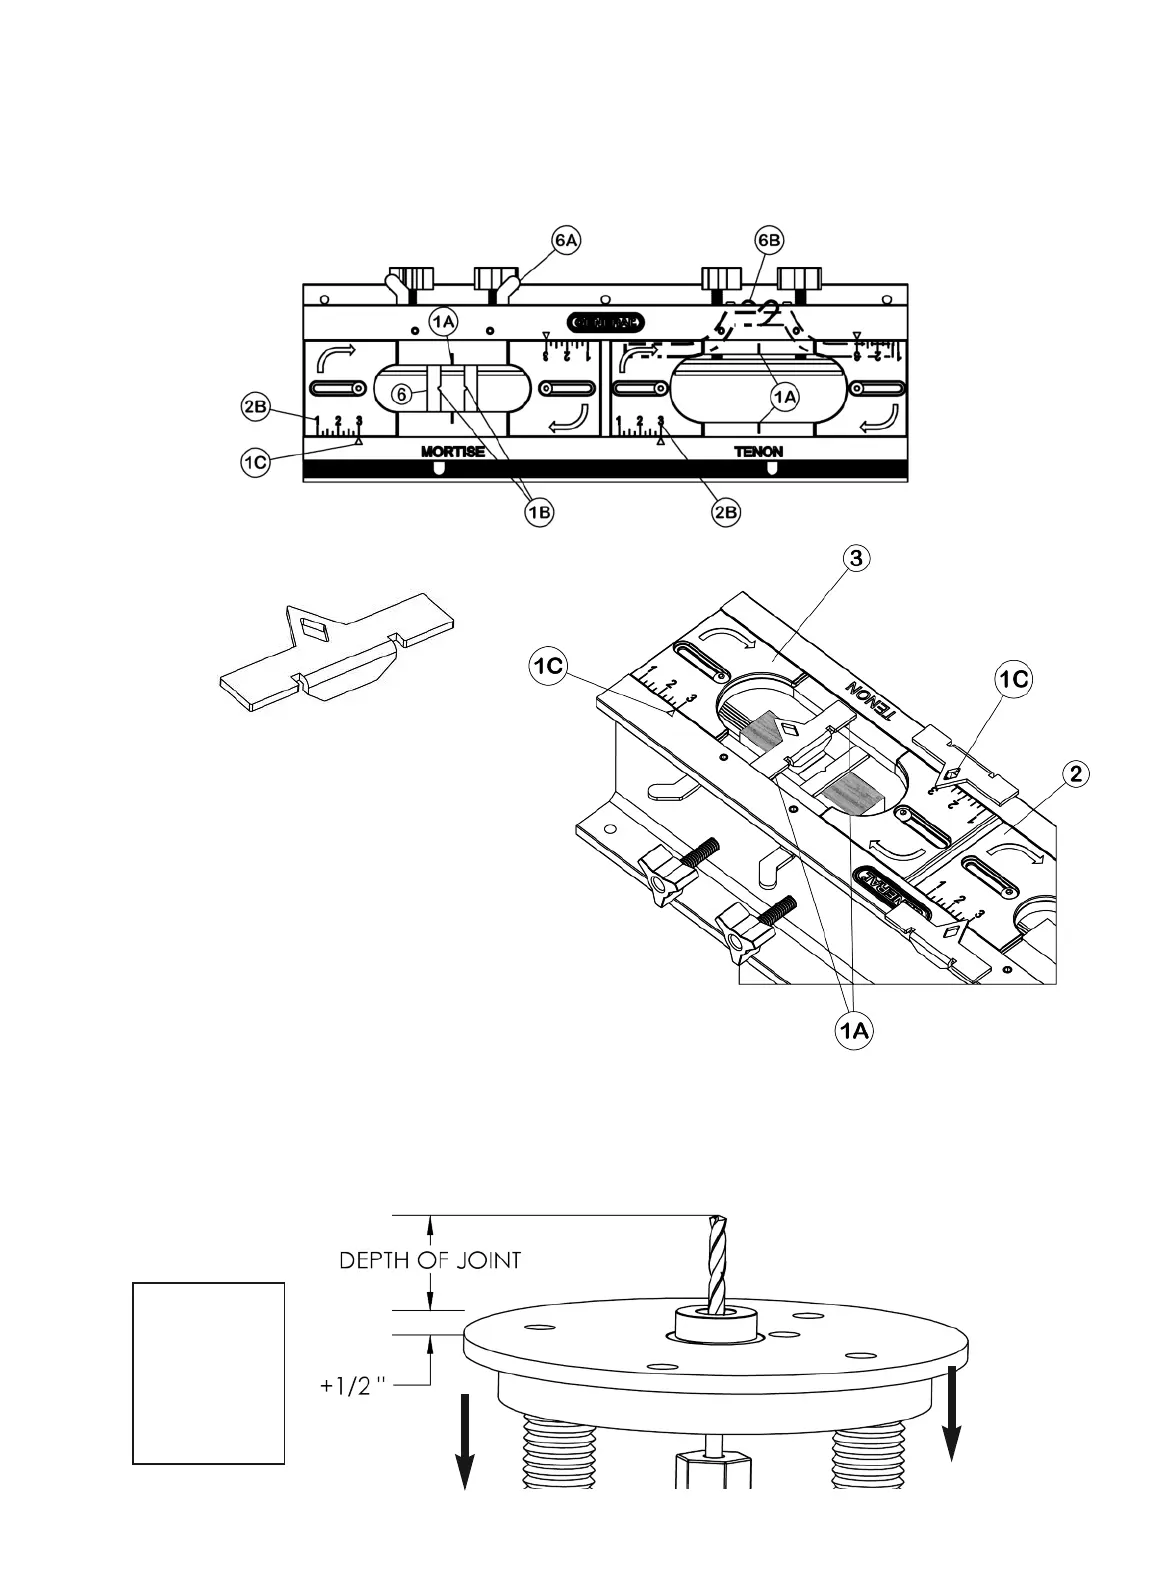
5. Set the Depth of the Router Bit
(See also “Setting the Cutting Depth” on page 6)
To set the “plunge” depth of the router (Fig. 20) and subsequently the cutting depth of the bit,
remember to add 1/2" to the desired depth of the joint. Therefore, if you’re setting the joint depth
to be 1" then your measurement would be a total of 1-1/2" from the face of the base plate to the
tip of the bit.
 Loading...