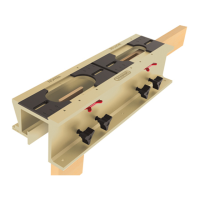
• Once you have completed this centering
operation, remove the Centering Pin from the
router and replace it with the router bit (Fig. 6).
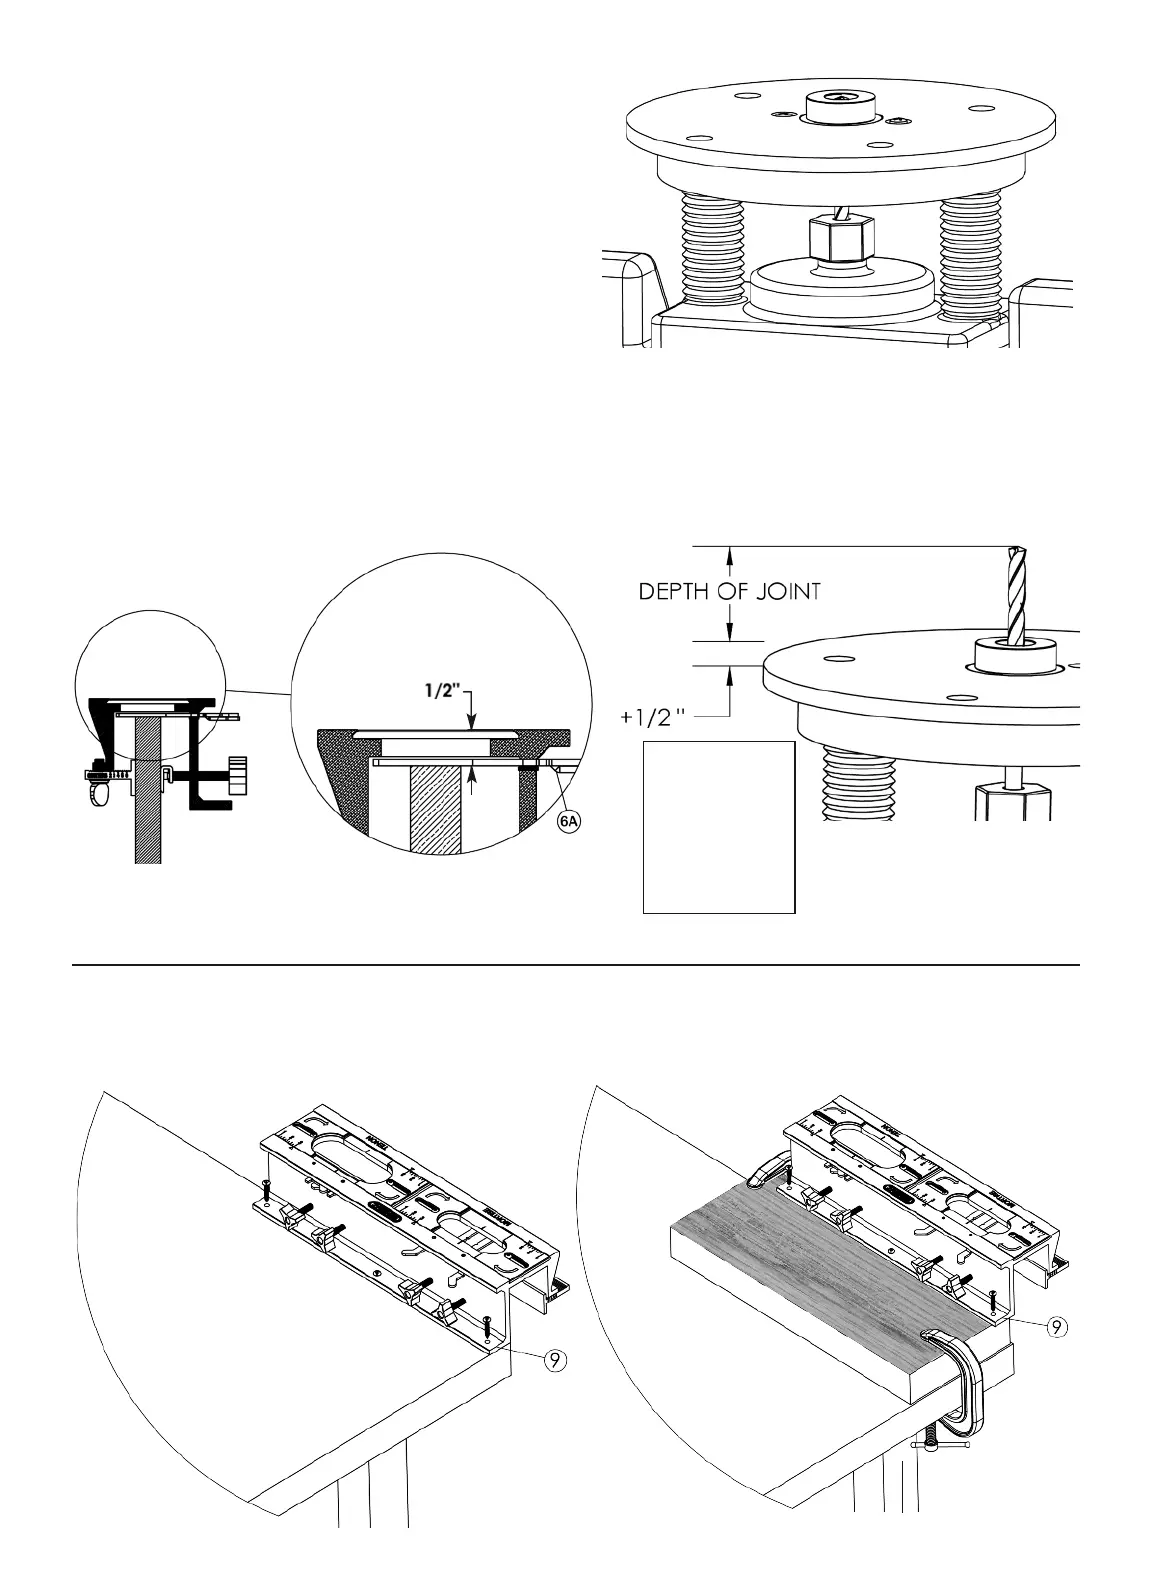
Setting the Cutting Depth
• Set the depth of your plunge router for the desired depth of your mortise and tenon.
• When the stock is correctly mounted in the jig, its top edge will be 1/2" below the top (working)
surface of the jig (Fig.7a).
• Accordingly, add 1/2" to the desired depth of the mortise and tenon when setting the “plunge”
depth of the router (Fig.7b).
MOUNTING THE JIG
The M&T Jig can be mounted directly on the edge of a bench using the integral mounting flange [9]
(Fig. 8A), or secured to a mounting board which can then be clamped to a bench (Fig. 8B).
Fig. 6
Fig. 7B
POSITIONING ARM
SHOWN DEPLOYED
Fig. 7A
ROUTER IN THE FULLY
PLUNGED POSITION
FROM THE FACE
OF THE BASE
PLATE TO THE
TIP OF THE
CUTTING BIT
EQUALS THE
DEPTH OF THE
JOINT PLUS 1/2"
Fig. 8B
Fig. 8A
WORK BENCH
WORK BENCH
6
 Loading...