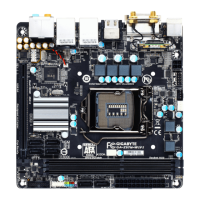
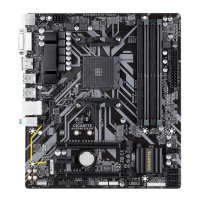
Line Out Jack (Green)
The line out jack. This jack supports audio amplifying function. For better sound quality, it is recommended
thatyouconnectyourheadphone/speakertothisjack(actualeffectsmayvarybythedevicebeingused).
Use this audio jack for a headphone or 2-channel speaker. This jack can be used to connect front speakers
ina4/5.1/7.1-channelaudioconguration.
Mic In Jack (Pink)
The Mic in jack. Microphones must be connected to this jack.
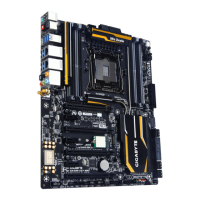
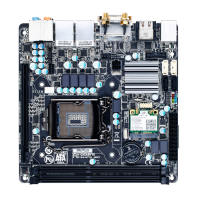
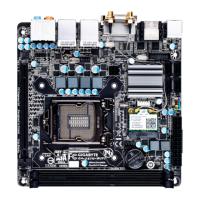
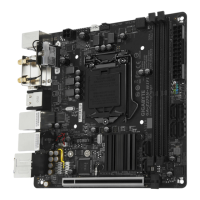
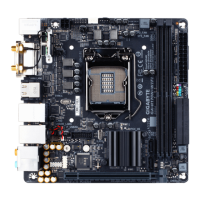
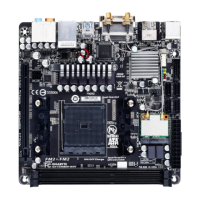
Wi-Fi Antenna Connector Holes
Secure the antenna connectors, washers, and nuts onto the holes.
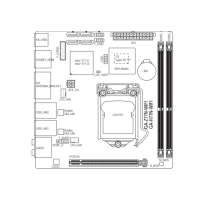
1-8 Installing the I/O Shield
Step 1:
InstalltheincludedI/Oshieldintothechassis.(Foractualinstallation,
pleaserefertotheuserguideforyourchassis.)
Step 2:
Place the motherboard into the chassis, aligning the back panel
connectors with the installed I/O shield. Connect the power cable
from the I/O shield to the LED_CON1 connector on the motherboard.
For how to turn on/off the I/O shield LED indicators, refer to the instructions on in Chapter 2, "BIOS
Setup," "Peripherals," or Chapter 5, "Unique Features," "APP Center\Ambient LED."
Theaudiojackscanbereconguredtoperformdifferentfunctionsviatheaudiosoftware(supported
functionsmayvarybasedonhardwarespecication). If you install a Side Speaker, you need to
retask other audio jack to be Side Speaker out. Only microphones still MUST be connected to the
default Mic in jack. Refertotheinstructionsonsettingupa2/4/5.1/7.1-channelaudioconguration
inChapter6,"Conguring2/4/5.1/7.1-ChannelAudio."
 Loading...