Calibration
34
4. Push the CAL/MCLR key to enter calibration mode. The CAL, BUFFER and 7
icons appear. The value displayed is for the uncalibrated sensor.
Note: If a wrong buffer is added (outside of pH 6-8), 7 and BUFFER will flash and the
meter does not adjust. The uncalibrated pH value that shows in step 4 assists in
determining the accuracy of the pH sensor. If the pH reading is below pH 6 or above pH 8
with pH 7 buffer solution, the sensor cup needs more rinses, or the pH sensor is defective
and needs to be replaced.
5. Push UP/MS or MR/DOWN until the display reads 7.00.
Note: Attempted calibration of > 1 pH point from factory calibration causes the FAC icon
to appear. This means that either sensor replacement (see Section 6 on page 41) or a
fresh buffer solution is needed. Push the CAL/MCLR key to accept the preset factory
value.
6. Push the CAL/MCLR key to accept the new value.
The pH zero calibration is now complete. It is recommended that the user performs
the multiple point pH calibration (see section 4.10). If the user does not wish to
continue, push any measurement key to exit.
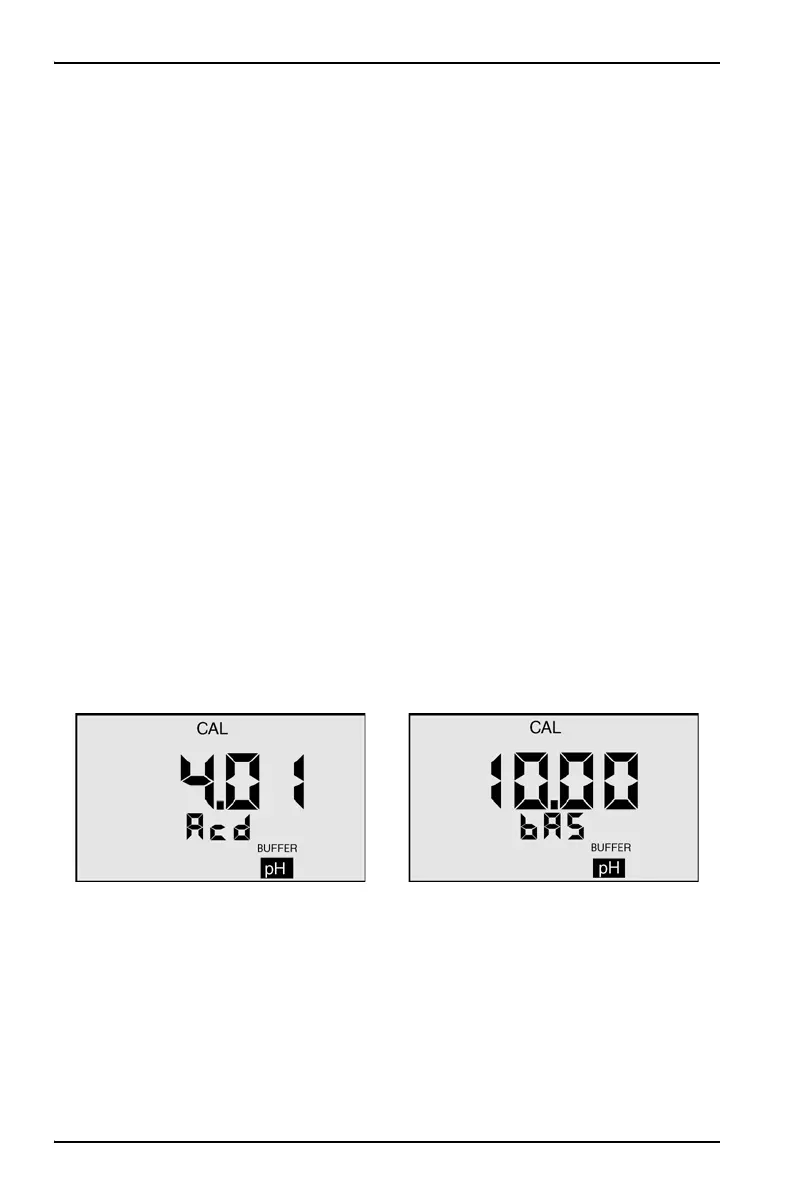
4.10 Set multiple point pH calibrations
Important Note: Acid or base solution can be used for the second point calibration
and then use the other solution for the third point. To verify that a buffer is in the
sensor cup, the display shows either the Acd icon or the bAS icon.
Note: If the Acd icon or the bAS icon flash, fill the sensor cup with either an acid or base
solution to resolve the error.
1. Push the CAL/MCLR key twice while in the pH measurement mode to
complete the pH zero calibration or verify the pH 7 buffer. The CAL, BUFFER
and Acd or bAS icons are displayed.
2. Rinse the sensor cups three times with acid or base buffer solution.
3. Fill both sensor cups again with the same solution.
4. Push UP/MS or MR/DOWN until the display agrees with the buffer value.
5. Push the CAL/MCLR key to accept the second point of calibration. The display
indicates the next type of buffer to be used.
The two point calibration is complete now. The user can continue with the third
point of the calibration or exit the calibration process. Push any measurement
 Loading...