430 Touch Probe Cycles: Automatic Workpiece Inspection
16.11 MEASURE COORDINATE (Cycle 427, DIN/ISO: G427)
16.11 MEASURE COORDINATE
(Cycle 427, DIN/ISO: G427)
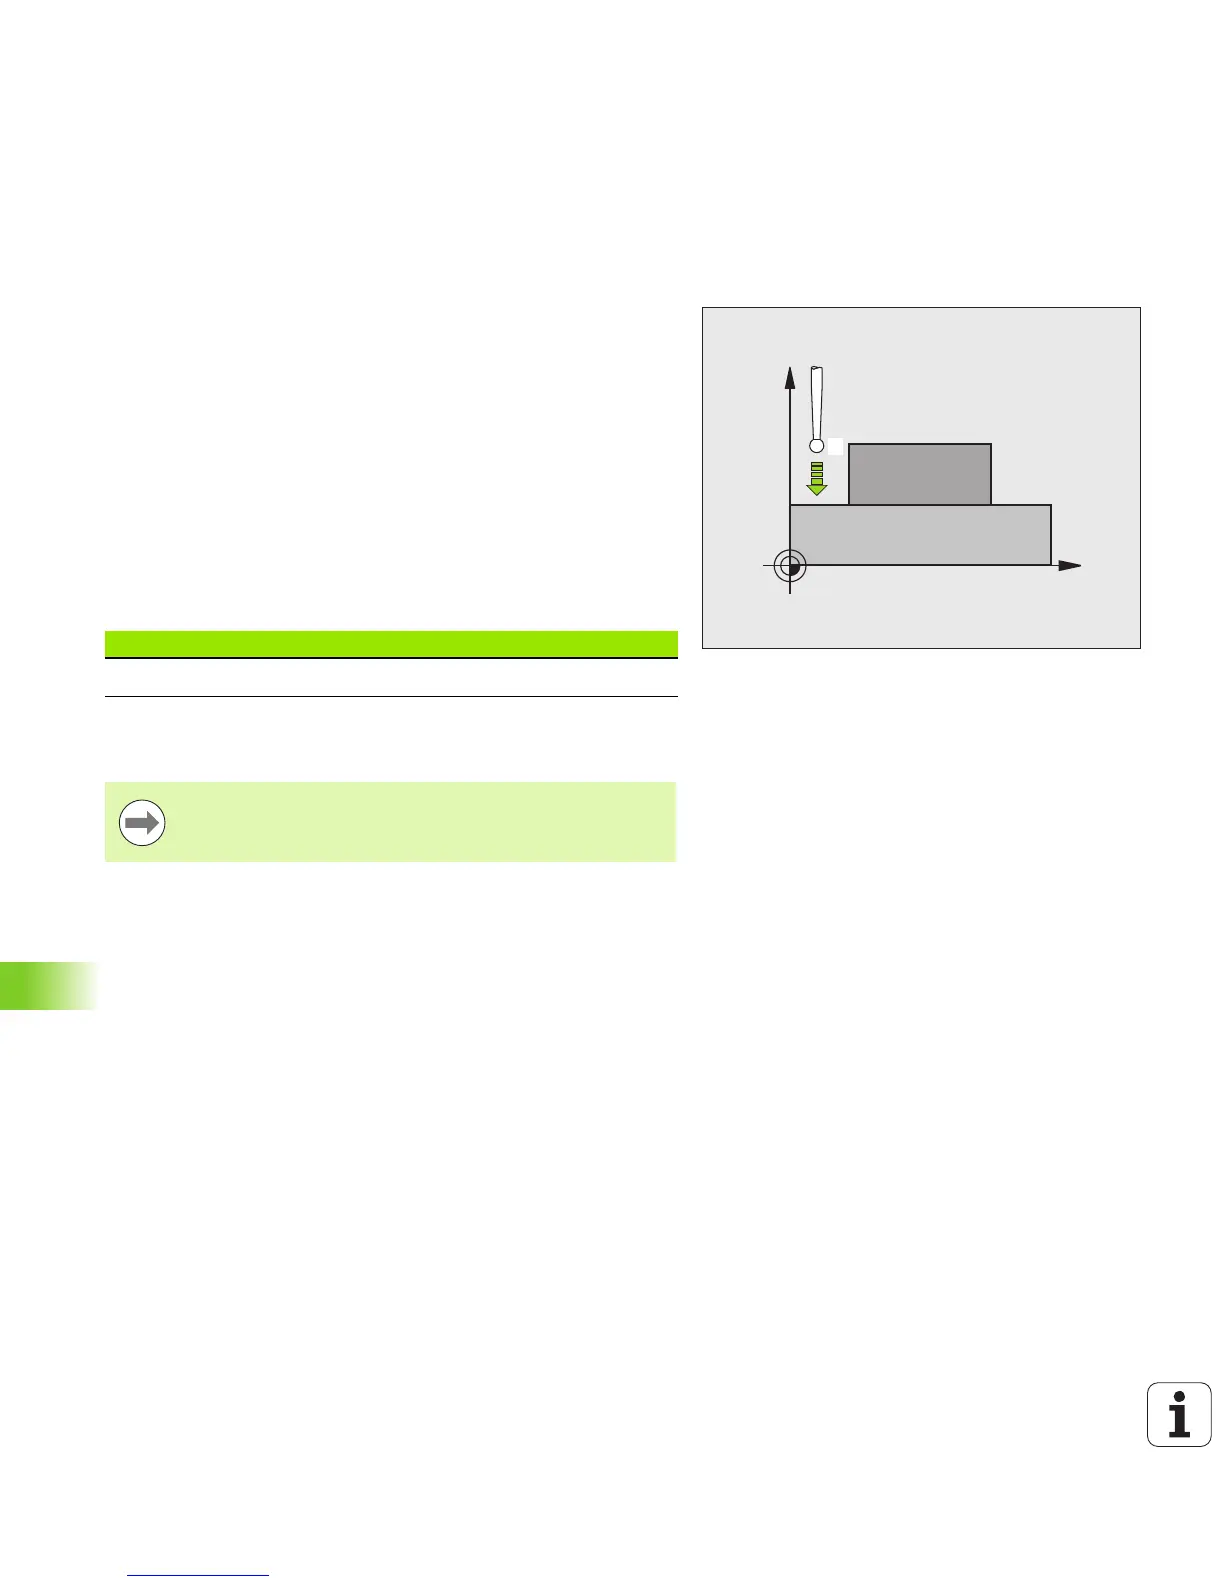
Cycle run
Touch probe cycle 427 finds a coordinate in a selectable axis and saves
the value in a system parameter. If you define the corresponding
tolerance values in the cycle, the TNC makes a nominal-to-actual value
comparison and saves the deviation value in system parameters.
1 Following the positioning logic (see “Executing touch probe
cycles” on page 318), the TNC positions the touch probe to the
probe starting point 1 at rapid traverse (value from MP6150). The
TNC offsets the touch probe by the safety clearance in the
direction opposite the defined traverse direction.
2 Then the TNC positions the touch probe to the entered touch point
1 in the working plane and measures the actual value in the
selected axis.
3 Finally the TNC returns the touch probe to the clearance height and
saves the measured coordinate in the following Q parameter:
Please note while programming:

 Loading...