User Manual of Network Video Recorder
161
11.2 Configuring Advanced Settings
11.2.1 Configuring PPPoE Settings
Purpose:
Your NVR also allows access by Point-to-Point Protocol over Ethernet (PPPoE).
Steps:
1. Enter the Network Settings interface.
Menu >Configuration> Network
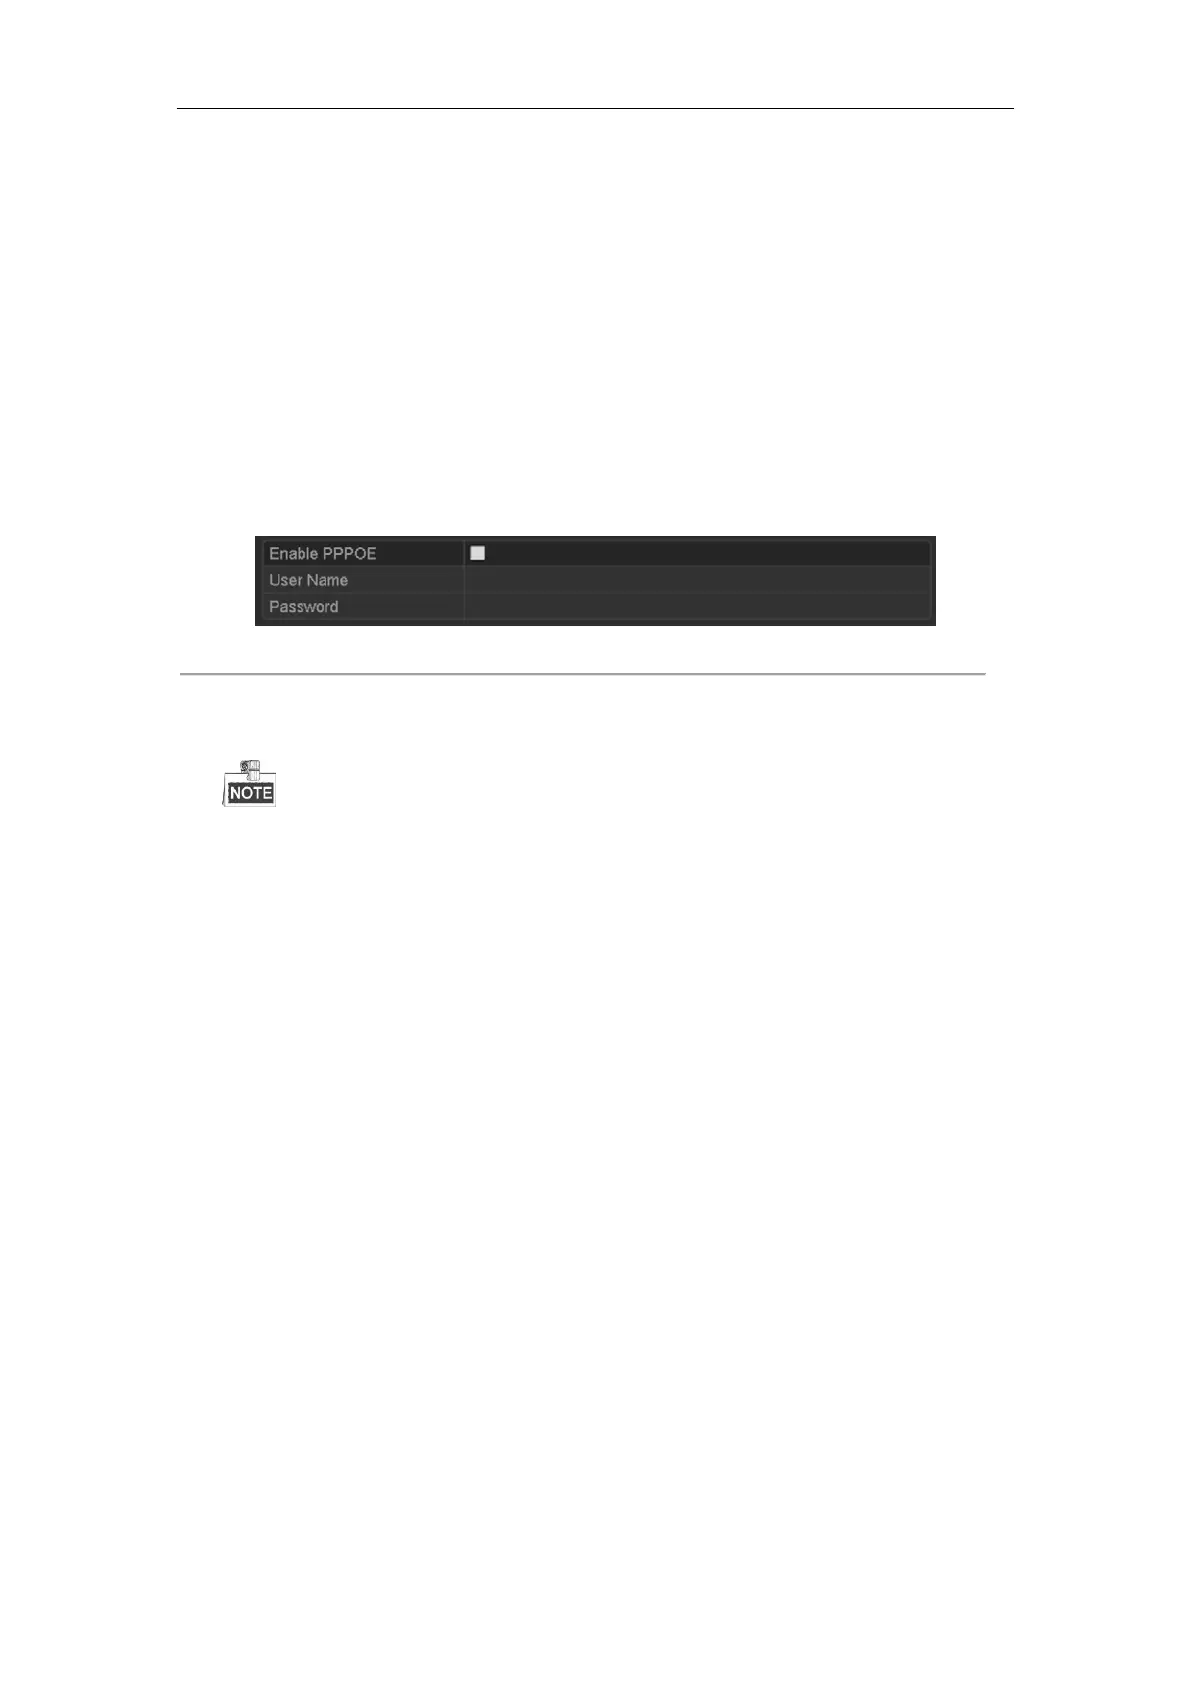
2. Select the PPPoE tab to enter the PPPoE Settings interface, as shown in Figure 11. 3.
Figure 11. 3 PPPoE Settings Interface
3. Check the PPPoE checkbox to enable this feature.
4. Enter User Name, and Password for PPPoE access.
The User Name and Password should be assigned by your ISP.
5. Click the Apply button to save and exit the interface.
6. After successful settings, the system asks you to reboot the device to enable the new settings, and the PPPoE
dial-up is automatically connected after reboot.
You can go to Menu >Maintenance>System Info >Network interface to view the status of PPPoE connection.
Please refer to Chapter Viewing System Information for PPPoE status.
11.2.2 Configuring DDNS
Purpose:
If your NVR is set to use PPPoE as its default network connection, you may set Dynamic DNS (DDNS) to be used
for network access.
Prior registration with your ISP is required before configuring the system to use DDNS.
Steps:
1. Enter the Network Settings interface.
Menu > Configuration > Network
2. Select the DDNS tab to enter the DDNS Settings interface, as shown in 错误!未找到引用源。.
3. Check the DDNS checkbox to enable this feature.
4. Select DDNS Type. Five different DDNS types are selectable: IPServer, DynDNS, PeanutHull, NO-IP and
HiDDNS.
• IPServer: Input Server Address for IPServer.

 Loading...