Digital Video Recorder User Manual
178
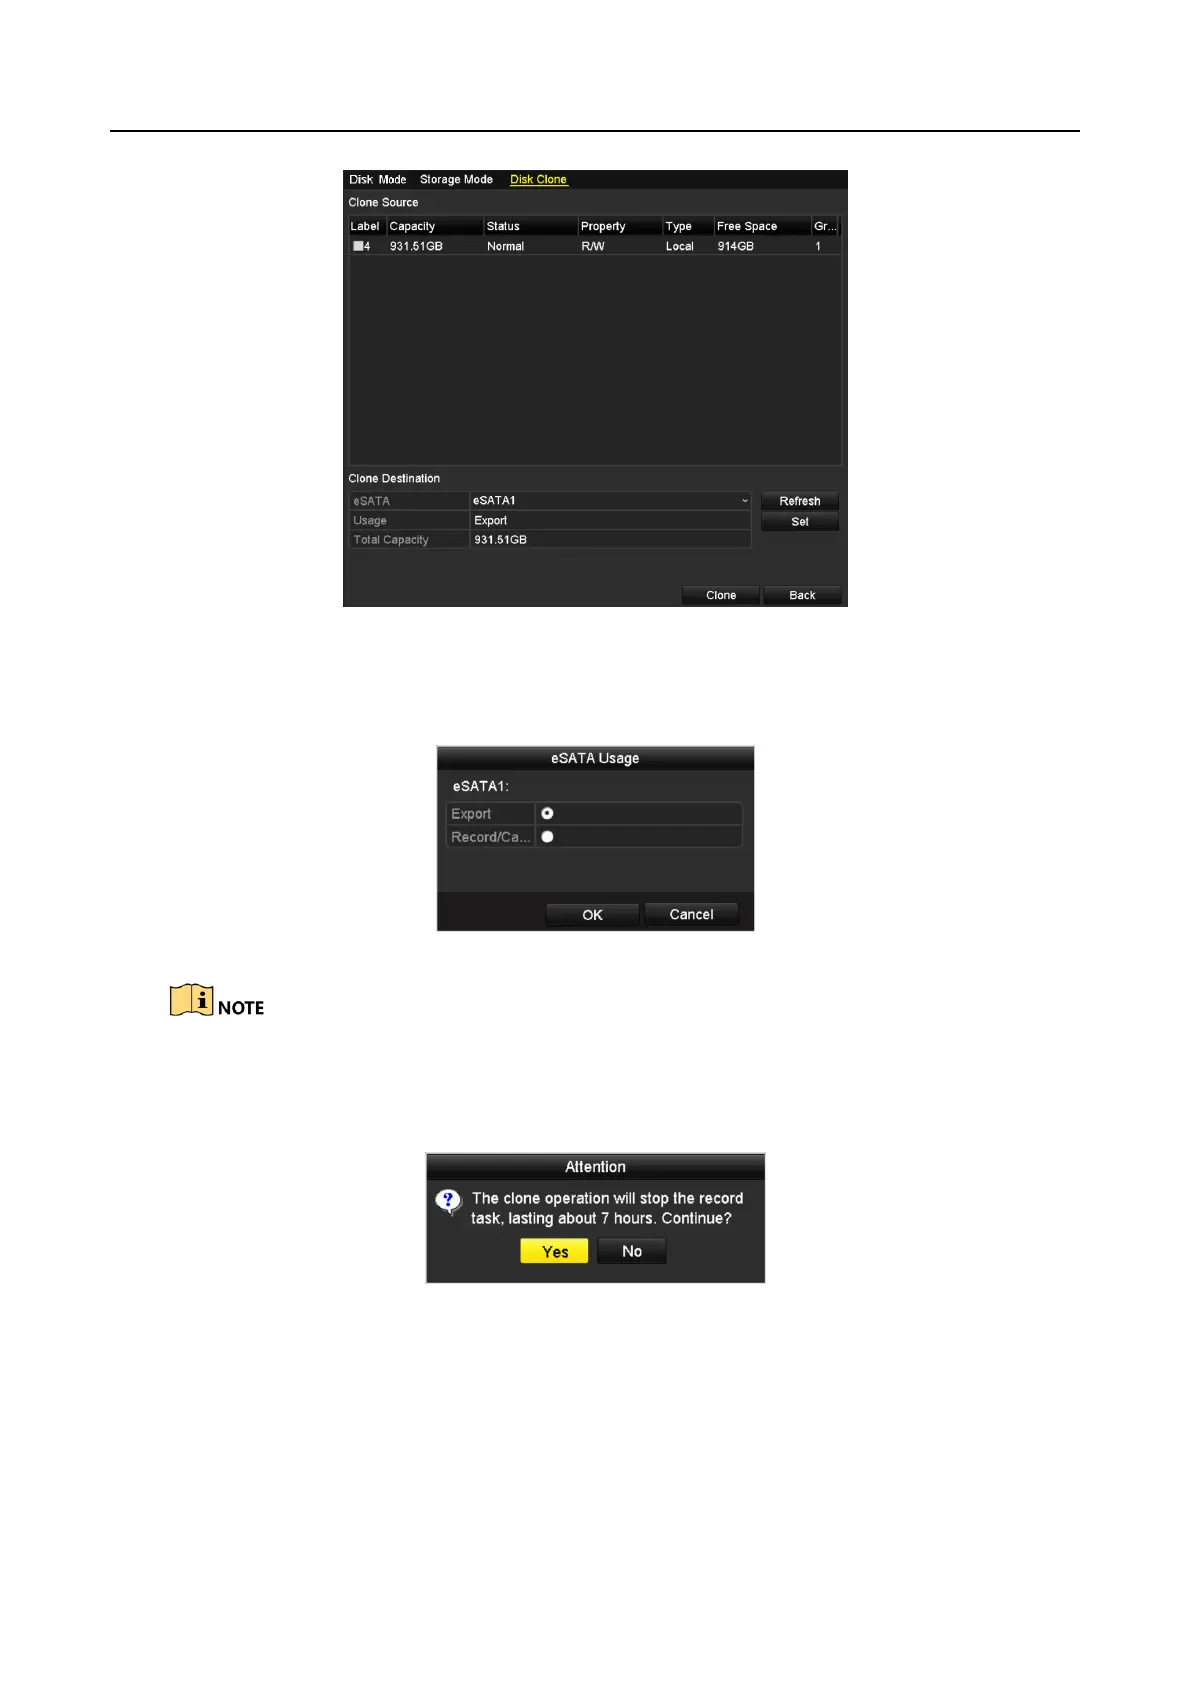
Figure 12-22 Disk Clone Configuration Interface
Step 3 Make sure the usage of the eSATA disk is set as Export.
If not, click the Set button to set it. Choose Export and click the OK button.
Figure 12-23 Setting eSATA Usage
The capacity of destination disk must be the same as that of the clone source disk.
Step 4 Check the checkbox of the HDD to be cloned in the Clone Source list.
Step 5 Click the Clone button and a message box pops up.
Figure 12-24 Message Box for Disk Clone
Step 6 Click the Yes button to continue.
You can check the clone progress in the HDD status.
 Loading...