24
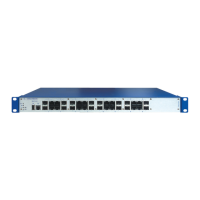
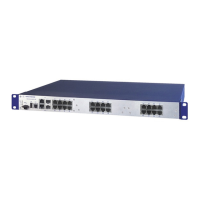
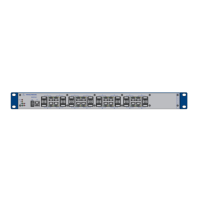
Installation MACH102
Release
06
09/2014
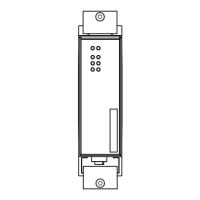
2.1.6 Installing the device and grounding
The device can be mounted on a flat surface, in a 19" standard switch
cabinet, or on the wall.
Select the assembly location according to the safety guidelines (see on
page 4 “Safety instructions”).
When selecting the assembly location, also make sure the following require-
ments are met:
The installation location should be close to a power outlet.
Adhere to the climatic threshold values listed in the technical data.
Keep the ventilation slits free to ensure good air circulation.
Make sure there is at least 3.94 inches (10 cm) of space in front of the
ventilation slits of the housing.
The assembly location can be accessed for maintenance and repair work.
The LED display elements are clearly visible.
Twisted-pair cables are at a sufficient distance from potential sources of
electrical interference, such as power cables.
The device has a separate power source with a ground connection. The
power supply can be interrupted by means of a separate isolator or power
switch. We recommend using overvoltage protection for all devices.
Note: The shielding ground of the connectable industrial twisted pair lines is
connected to the front panel as a conductor.
Mounting on a flat surface
Install the device in line with the criteria listed in “Installing the device
and grounding” on page 24.
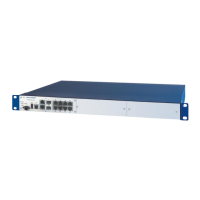
Mounting in a switch cabinet
Note: Install the device in the 19" switch cabinet using sliding or mounting
rails.
This provides a more stable position of your device in environments
subject to vibration.
For more information on sliding/mounting rails and how to install them,
please contact your switch cabinet manufacturer.
 Loading...