Mount the panel
Prior to starting the installation process call your alarm receiving centre (ARC) and ask them to
ignore any alarms during the installation and setup process.
WARNING: MOUNT THE PANEL SO THE BATTERY TERMINALS ARE AT THE
TOP. ANY OTHER ORIENTATION MAY RESULT IN LEAKS FROM THE BATTERY.
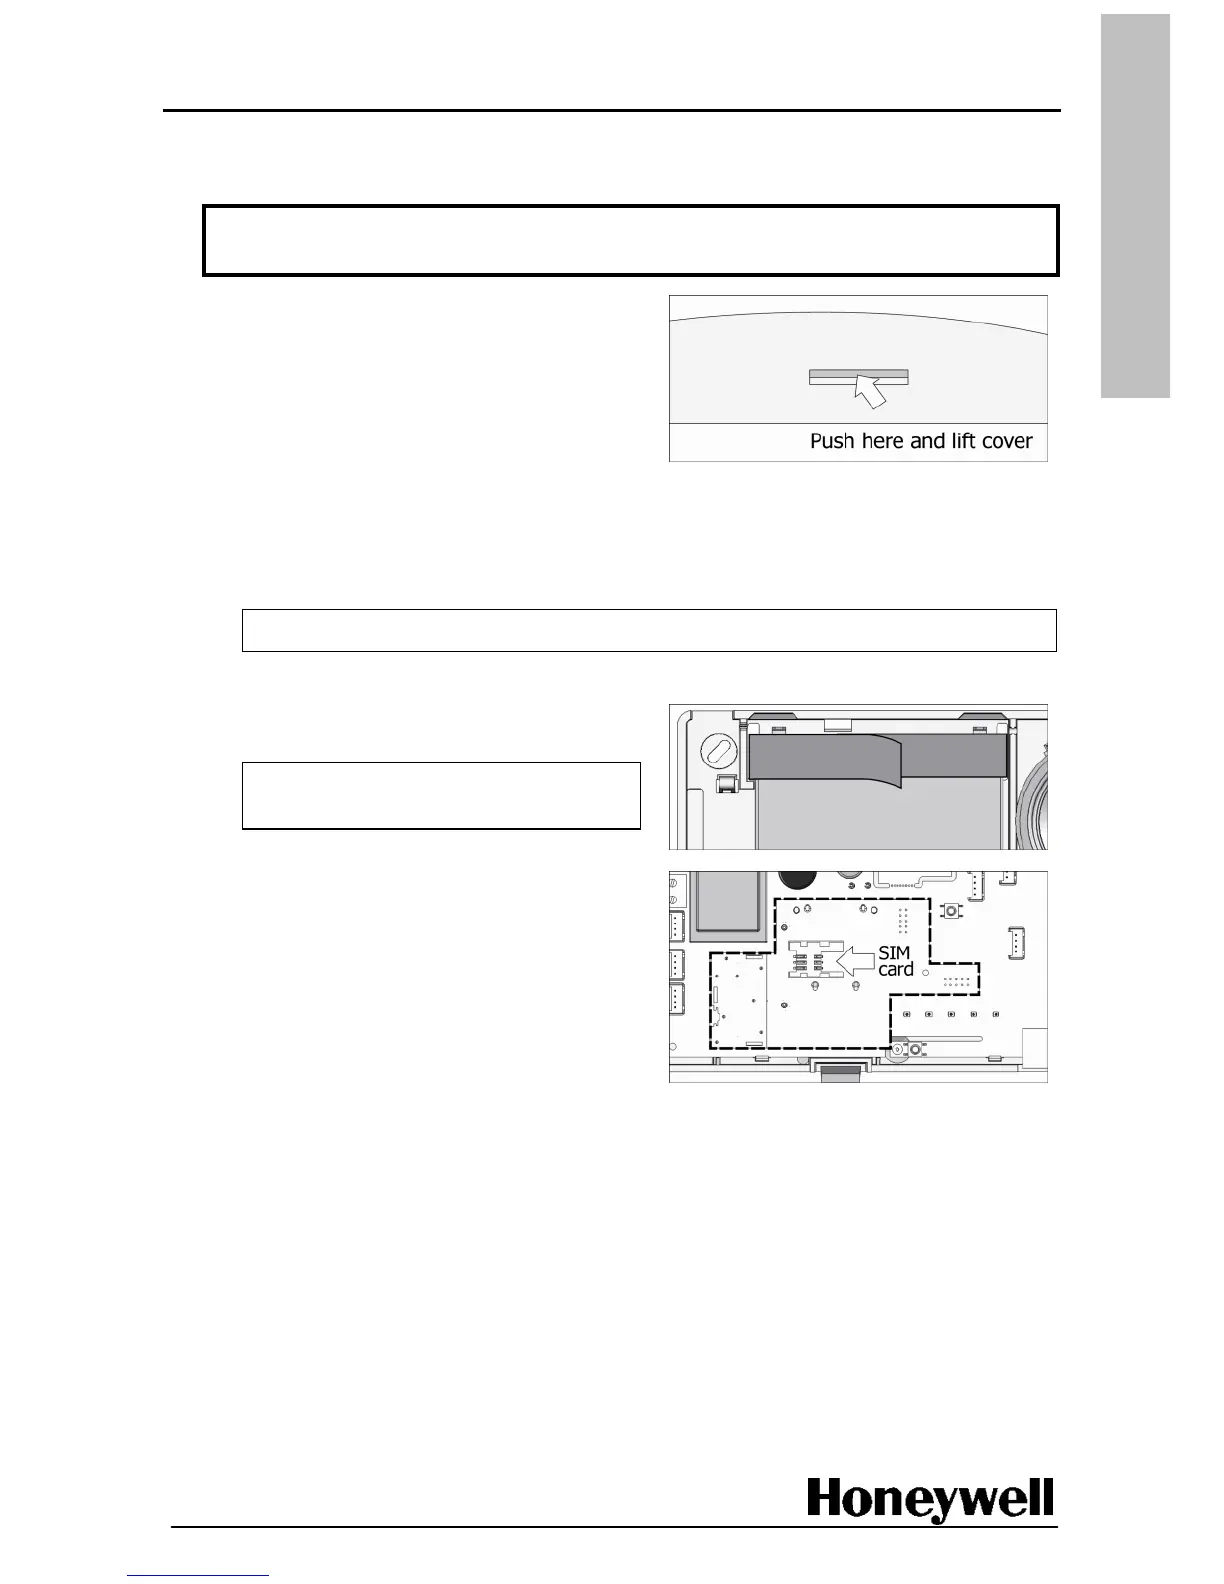
1. Remove the cover from control panel.
2. Hold the panel in its selected mounting position and mark the mounting hole locations, using
the panel as a template.
Note: Ensure the wall is flat enough to compress the tamper switch spring. Use fixings
adequate to support the weight of the panel and battery.
Caution: Do not drill holes with the panel in place.
3. Remove the panel from the wall and drill the mounting holes.
4. Insert the battery in the panel, and then
secure it with the Velcro strap as shown.
Caution: Do not connect the battery
until later.
5. If it is required, install a GSM/GPRS module
(shown), or Ethernet module, in the dashed
area on the drawing.
6. If using GSM communications, fit a SIM card
as shown.
7. Feed the mains and phone wiring through the base of panel, and screw the panel to the wall.
 Loading...