RP-2002 Series Manual — P/N 53039:E6 1/26/2017 63
Master Programming Level Programming
3.5.4 Cross Input Zones
An application may require that two or more input zones become active at the same time before a
particular releasing output activates. This is referred to as cross-zoning. For example, an installer
may want four particular zones to become active at the same time before a releasing circuit is
activated. By using the Cross Input Zone feature, the programmer can designate the input zones
that must become active and the output circuits that will be affected. Refer to “Circuit Mapping and
Cross-Zoning” on page 95 for additional information.
The Cross Input Zone option allows the user to view and program the groups of input zones that
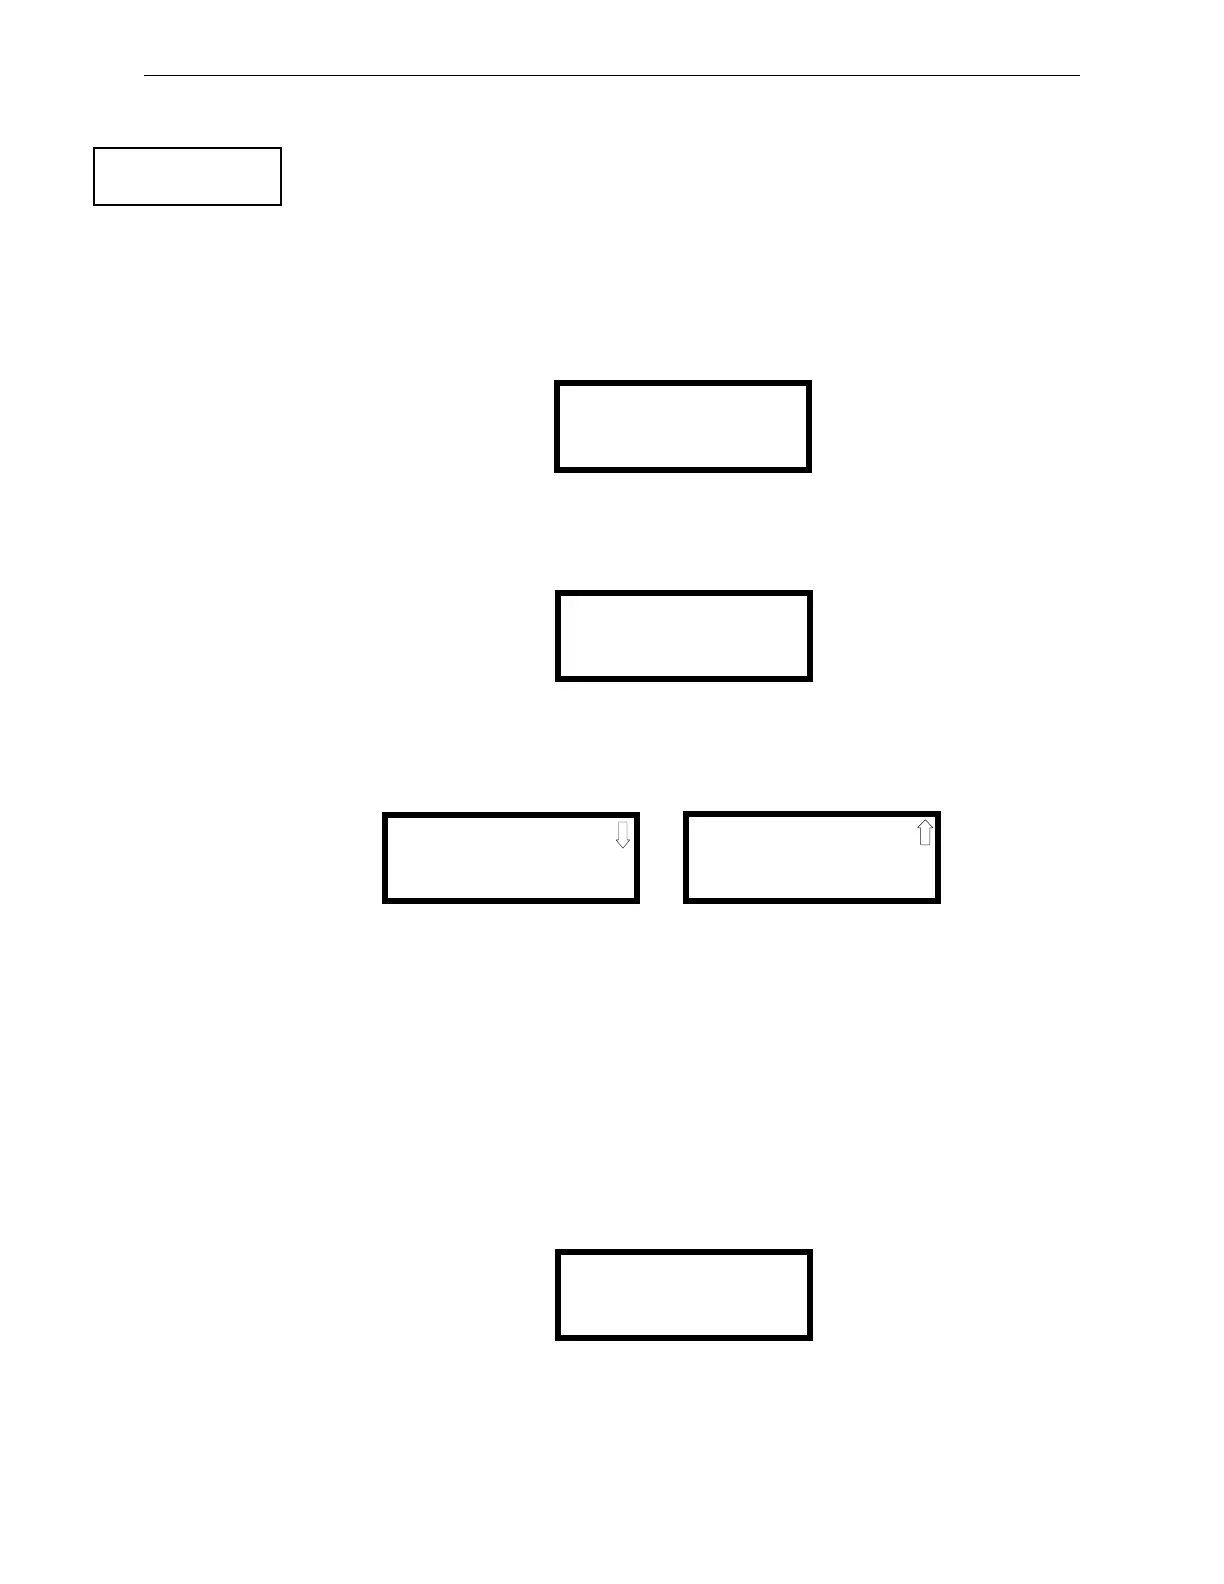
will be used to activate one of the releasing output circuits. Pressing 1 while viewing Programming
Screen #2 will display a screen similar to the following:
This screen allows the programmer to view the cross-zoned grouping for Release Circuit 1 or
Release Circuit 2. In the following example, Template 1 has been chosen as the FACP
Configuration [refer to“FACP CONFIG (Application Templates)” on page 53]. Pressing 1 for
Release 1 will display the following screen:
The display indicates that Input Zone 1 is cross-zoned with Input Zone 2. Both of these zones
active at the same time will cause Release Circuit 1 to activate.
The user can alter the cross-zoning by pressing the number key corresponding to the Zone to be
reprogrammed. Screens similar to the following will be displayed:
In this example, since the cross-zoning for Release Circuit 1 (Zone 1) is being displayed, Yes is
shown for Zone 1 which is cross-zoned with Zone 2. Zone 2 displays Yes since it is cross-zoned
with Zone 1. Zone 3 displays No for no cross-zoning. Zone 4 displays N/A since it is an Abort
Switch. Zone 5 displays No for cross-zoning. Zone 6 is a supervisory and displays N/A. By pressing
the number key corresponding to the desired zone, the display for that zone will toggle between Yes
and No indicating cross-zoning to Zone 1 or no cross-zoning to Zone 1.
Note that zones programmed as supervisory cannot be cross-zoned and will therefore indicate N/A.
3.5.5 On-Board Relays
Pressing 2 while viewing Programming Screen #2 will allow the programmer to configure the three
main circuit board Form-C relays. The following screen will be displayed:
PROGRAMMING
1=CROSS INPUT ZONES
2=ON-BOARD RELAYS
3=SYSTEM SETUP
Programming Screen #2
CROSS INPUT ZONES
1=RELEASE 1 GROUPS
2=RELEASE 2 GROUPS
REL 1 CROSS GROUPS
1= X 1 2
2= NONE
3= NONE
REL 1 CROSS GROUP 1
1=ZONE 1 YES
2=ZONE 2 YES
3=ZONE 3 NO
Select Cross Zone Screen #1
REL 1 CROSS GROUP 1
1=ZONE 4 N/A
2=ZONE 5 NO
3=ZONE 6 N/A
Select Cross Zone Screen #2
ON-BOARD RELAYS
1=RELAY 1
2=RELAY 2
3=RELAY 3
Relays Selection Screen

 Loading...