Logging In and Viewing Live Video | 37
800-21358 - A - 10/2015
Live View Window Configuration
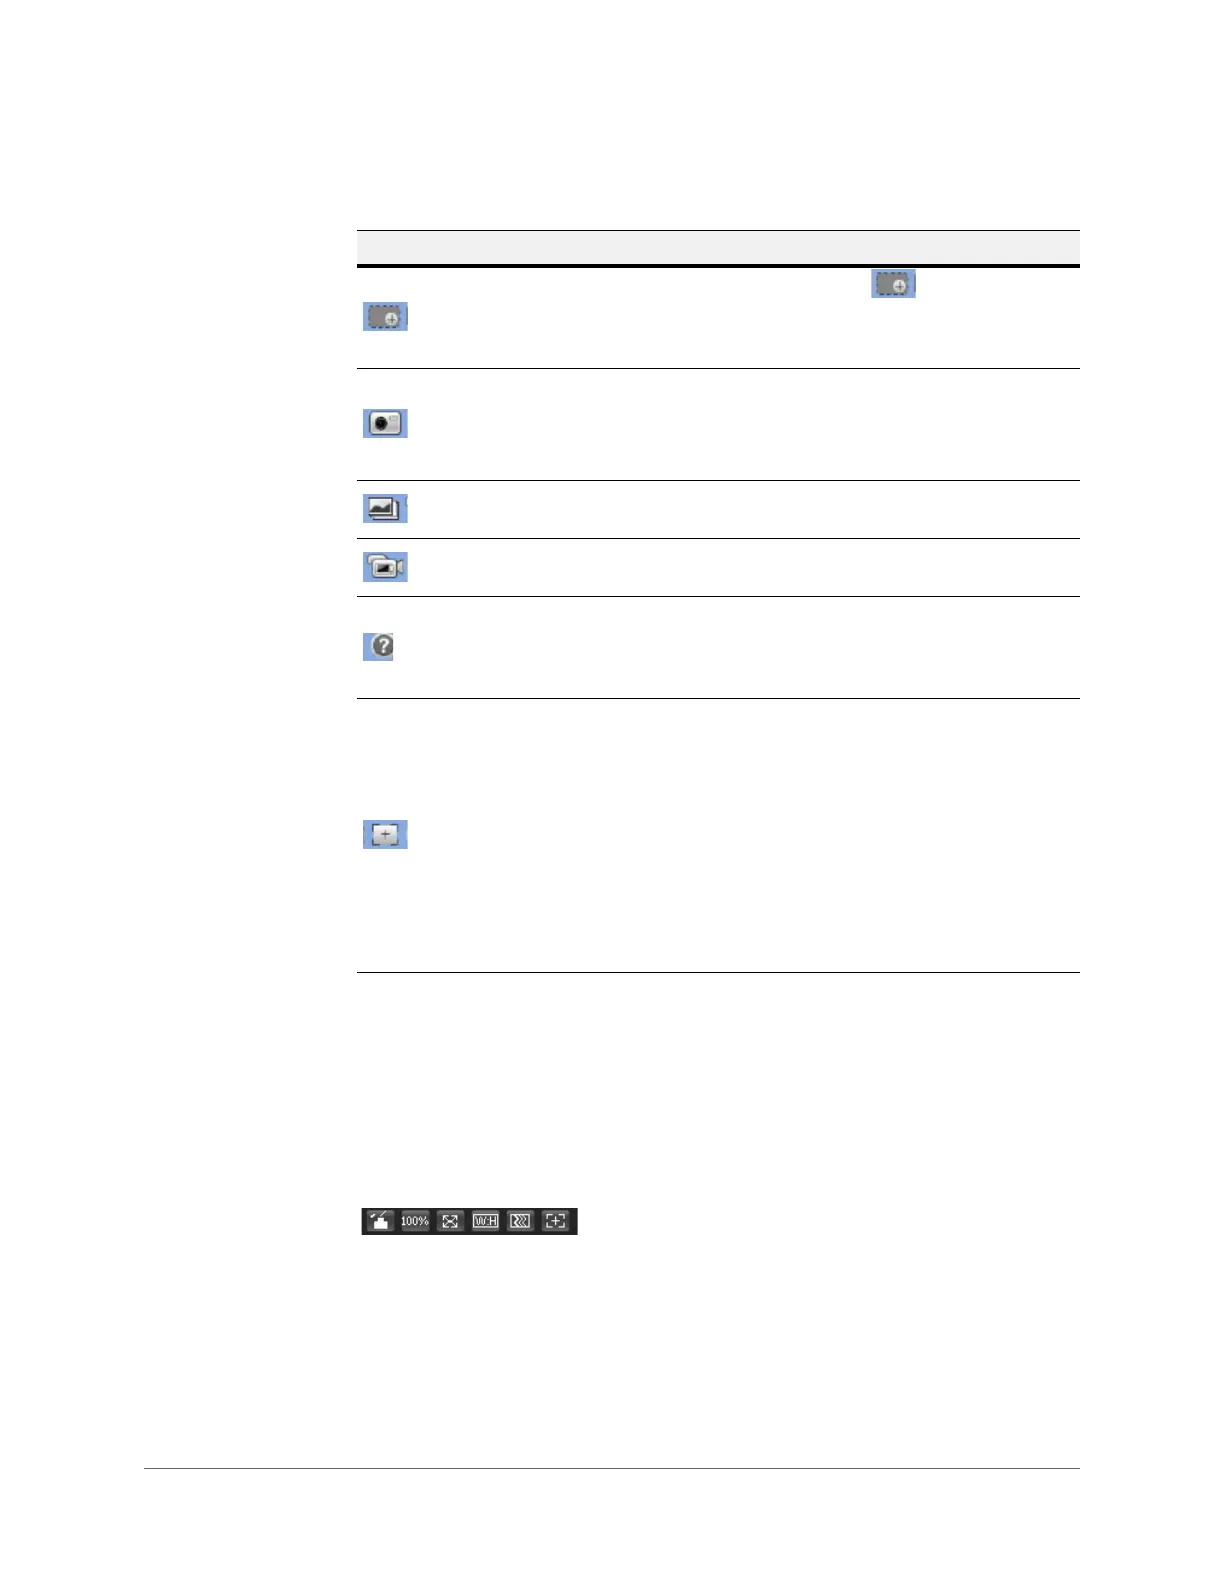
From the Live View window configuration toolbar, you can adjust the screen brightness,
contrast, hue, or saturation; change the screen size and/or aspect ratio; and adjust image
fluency. These controls are described in more detail below.
Figure 3-9 Live View Window Configuration Toolbar
Table 3-2 Live View Window Controls
Icon Control Description
Digital Zoom
While viewing live video, click and hold down the
left mouse button to zoom in on a specific area.
Right-click the mouse to return to the previous
magnification.
Snapshot
Click to take a snapshot, saved as a JPEG at the default
location (\picture download).
To change the save path, see Path on page 71. Or go
to Setup
Camera Video Path.
Triple Snap Click to take three snapshots at 1 fps. All images are
saved to Setup
Camera Video Path.
Record Click to start manual recording. All video is saved to
Setup Camera Video Path.
Help Click to open Help.
Note Help is available only for HED3PR3/HBD3PR1
/H4D3PRV3/H4D3PRV2/HBD3PR2 cameras.
Easy Focus Note Easy focus is available only for
HBD3PR2/H4D3PRV2 cameras.
Click to open. You can see AF Peak and AF Max
adjustments on the Preview window. Select from AF
Peak and AF Max.
AF Peak: Displays the video’s definition when focusing.
AF Max: Displays the most suitable focus for video
definition.
The closer AF Peak and AF Max are, the better the
focus.
 Loading...