6
Installing the Switch
1. Prepare the Installation Site
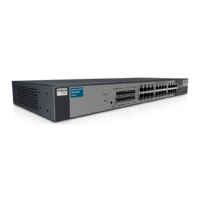
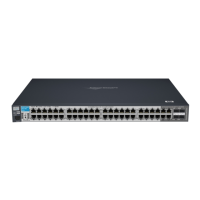
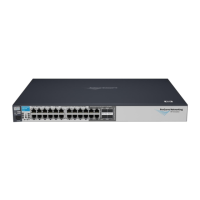
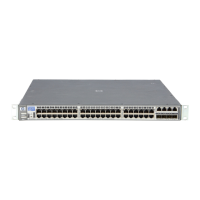
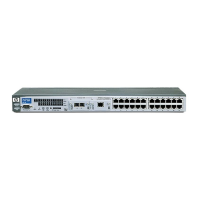
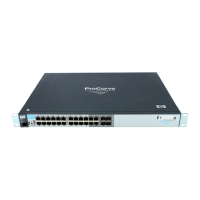
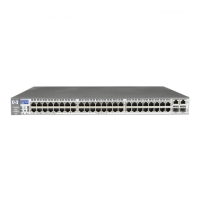
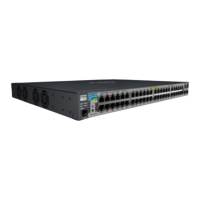
The cabling infrastructure must meet the requirements for the Switch 2810
ports. See the ProCurve Series 2810 Installation Guide on the ProCurve Web
site for more information, www.procurve.com.
Installation Space Requirements
2. Verify the Switch Passes Self Test
Before mounting the switch, verify it is working properly by plugging it into a
power source and confirming that it passes self test.
Note The Series 2810 Switch devices do not have a power switch. They are powered
on when the power cord is connected to the switch and to a power source. For
safety, the power outlet should be located near the switch installation.
The switch automatically adjusts to any voltage between 100-240 volts and
either 50 or 60 Hz. No voltage range settings are required.
If your installation requires a different power cord than the one supplied with
the switch, be sure to use a power cord displaying the mark of the safety agency
that defines the regulations for power cords in your country. The mark is your
assurance that the power cord can be used safely with the switch.
Switch
Orientation
Clearance Requirements
Front
At least 7.6 cm (3 inches) of space for the twisted-pair and fiber-optic
cabling.
Back
At least 3.8 cm (1 1/2 inches) of space for the power cord and switch cooling.
Sides At least 7.6 cm (3 inches) for cooling, except if the switch is installed in an
open EIA/TIA rack.
 Loading...
