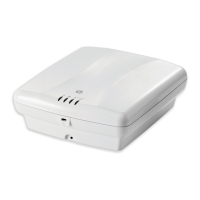
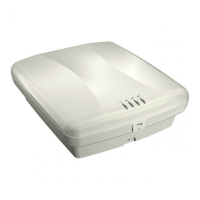
Standard Electrical Box Mounting
You can mount the access point on a standard electric receptacle box as shown
in the illustration on the next page.
1. Position the mounting bracket on the electrical box with the two center
holes positioned over the screw holes on the box. The orientation shown
in the following figure is the most secure position for mounting the access
point. Look for the marking “THIS SIDE UP” on the bracket. Do not mount
the access point with its ports and connectors pointing down.
2. Insert two 6-32 machine screws in the center holes and tighten down the
screws.
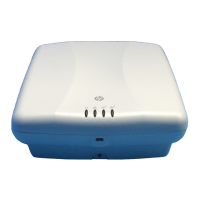
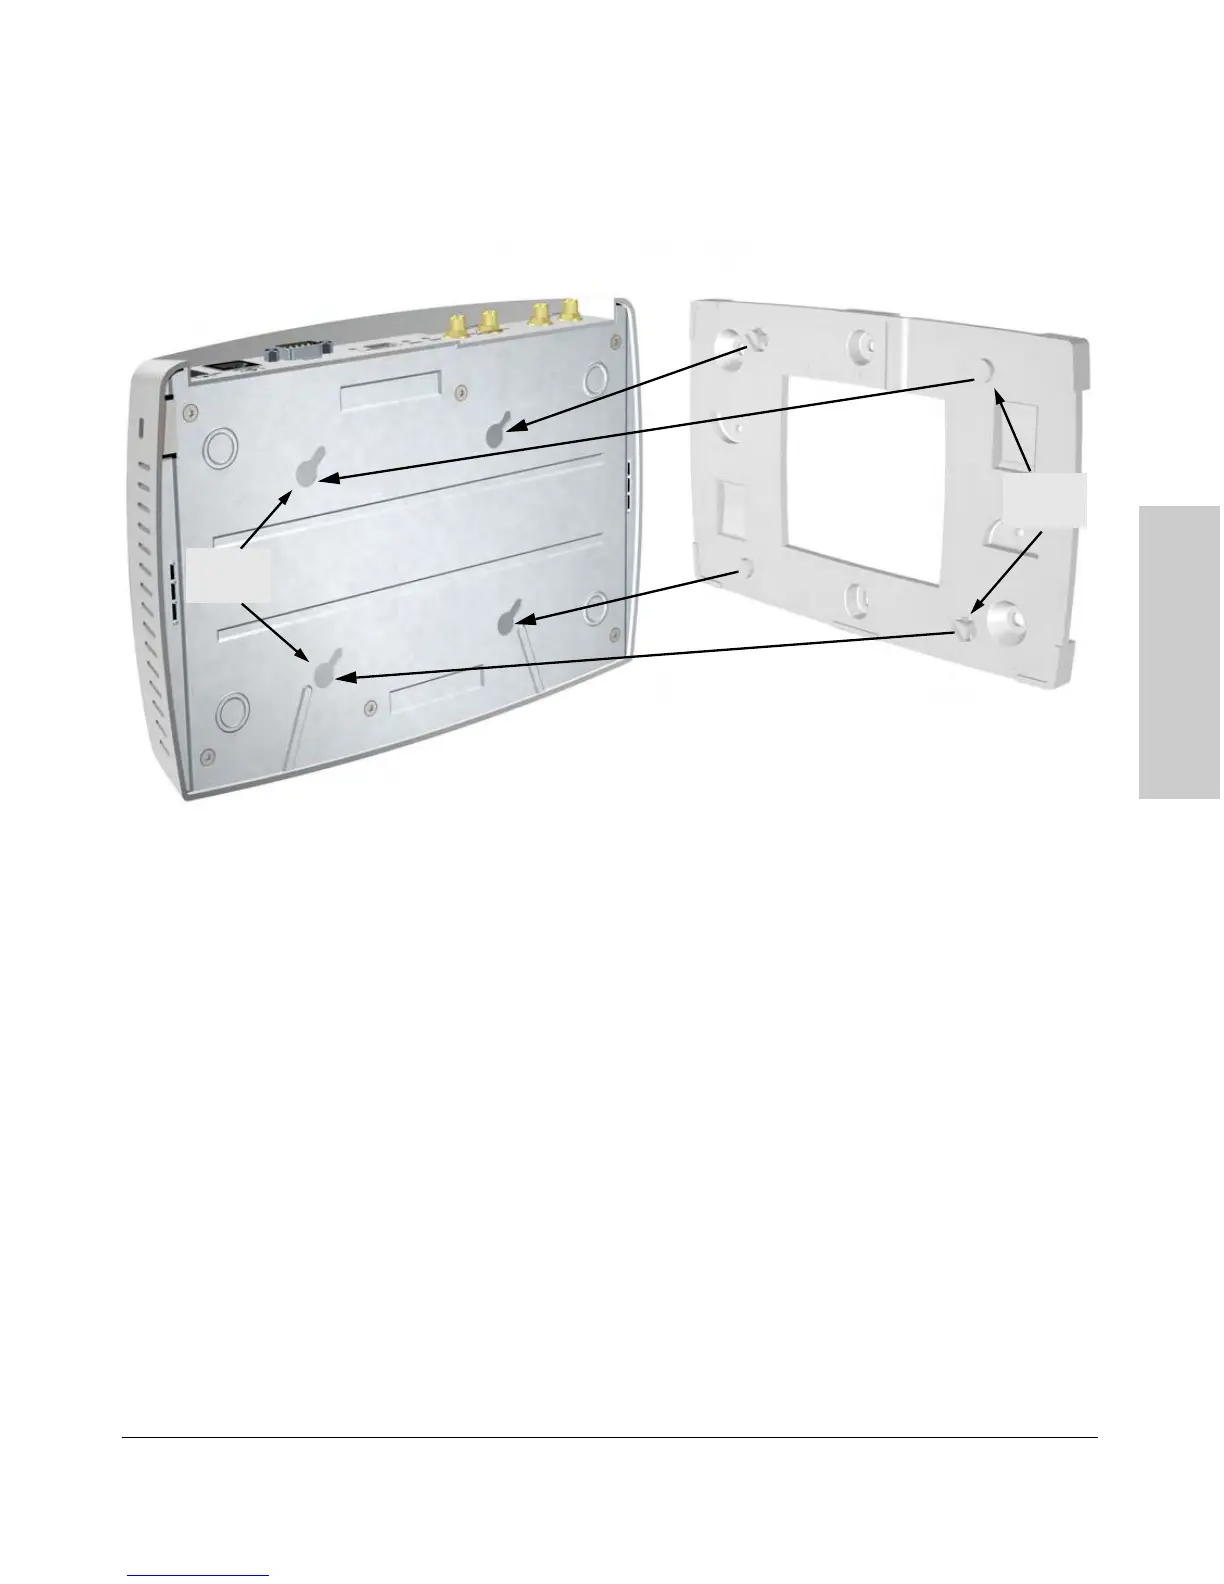
3. There are four recess slots on the bottom of the access point that match
up with four protrusions on the mounting bracket, as shown in the
illustration for normal wall mounting.
Slide the access point down onto the bracket so that the four protrusions
on the bracket enter the four recess slots on the bottom of the access
point. Push the access point firmly down onto the bracket until clicks into
a locked position.
 Loading...