System Configuration
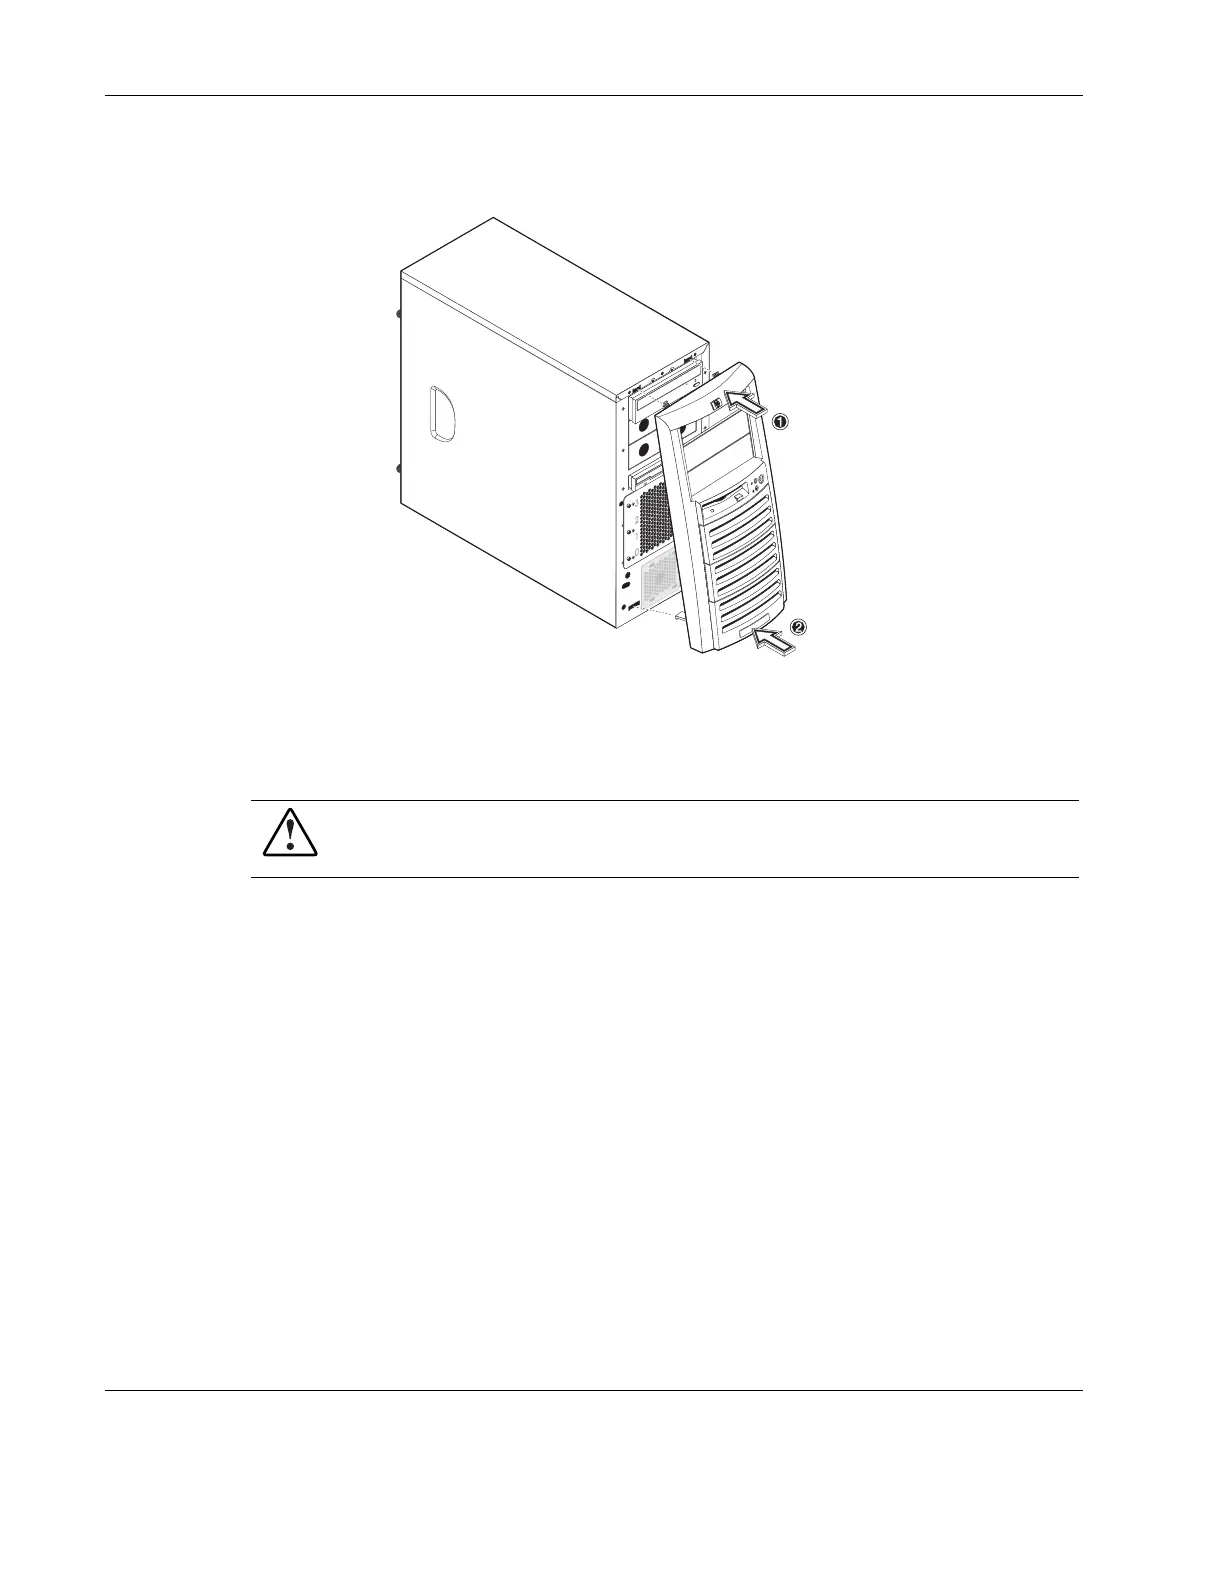
2. Align then insert the two plastic retention clips to their notch on the front panel, then
press them firmly until they snap into place.
Figure 4-4: Reinstalling the front bezel
Hardware Configuration Procedures
WARNING: To avoid any damage to the system as well as to prevent any bodily harm,
always observe the pre- and post-installation procedures described in this chapter, and
the ESD precautions listed in Appendix B.
Default Mass Storage Devices
CD-ROM Drive
To Replace the CD-ROM Drive
1. Perform steps 1-3 of the pre-installation instructions.
2. Remove the left-side cover.
3. Remove the front bezel.
4. Remove the currently installed CD-ROM drive from the server:
a. Disconnect the IDE power cable from the rear of the CD-ROM drive.
b. Disconnect the IDE data cable from the rear of the CD-ROM drive.
c. Press the drive-retaining lever.
d. Move the lever downward to release the bar from its retaining hook.
e. Gently pull out the CD-ROM drive from the chassis.
4-6 HP ProLiant ML110 Server Operations and Maintenance Guide
 Loading...