Rack Installation
22 1U Rackmount Tape Enclosure Reference Guide
Completing the installation
1. Extend the stabilizing feet if provided on your rack.
2. Extend the left and right rack rails from the front of the rack.
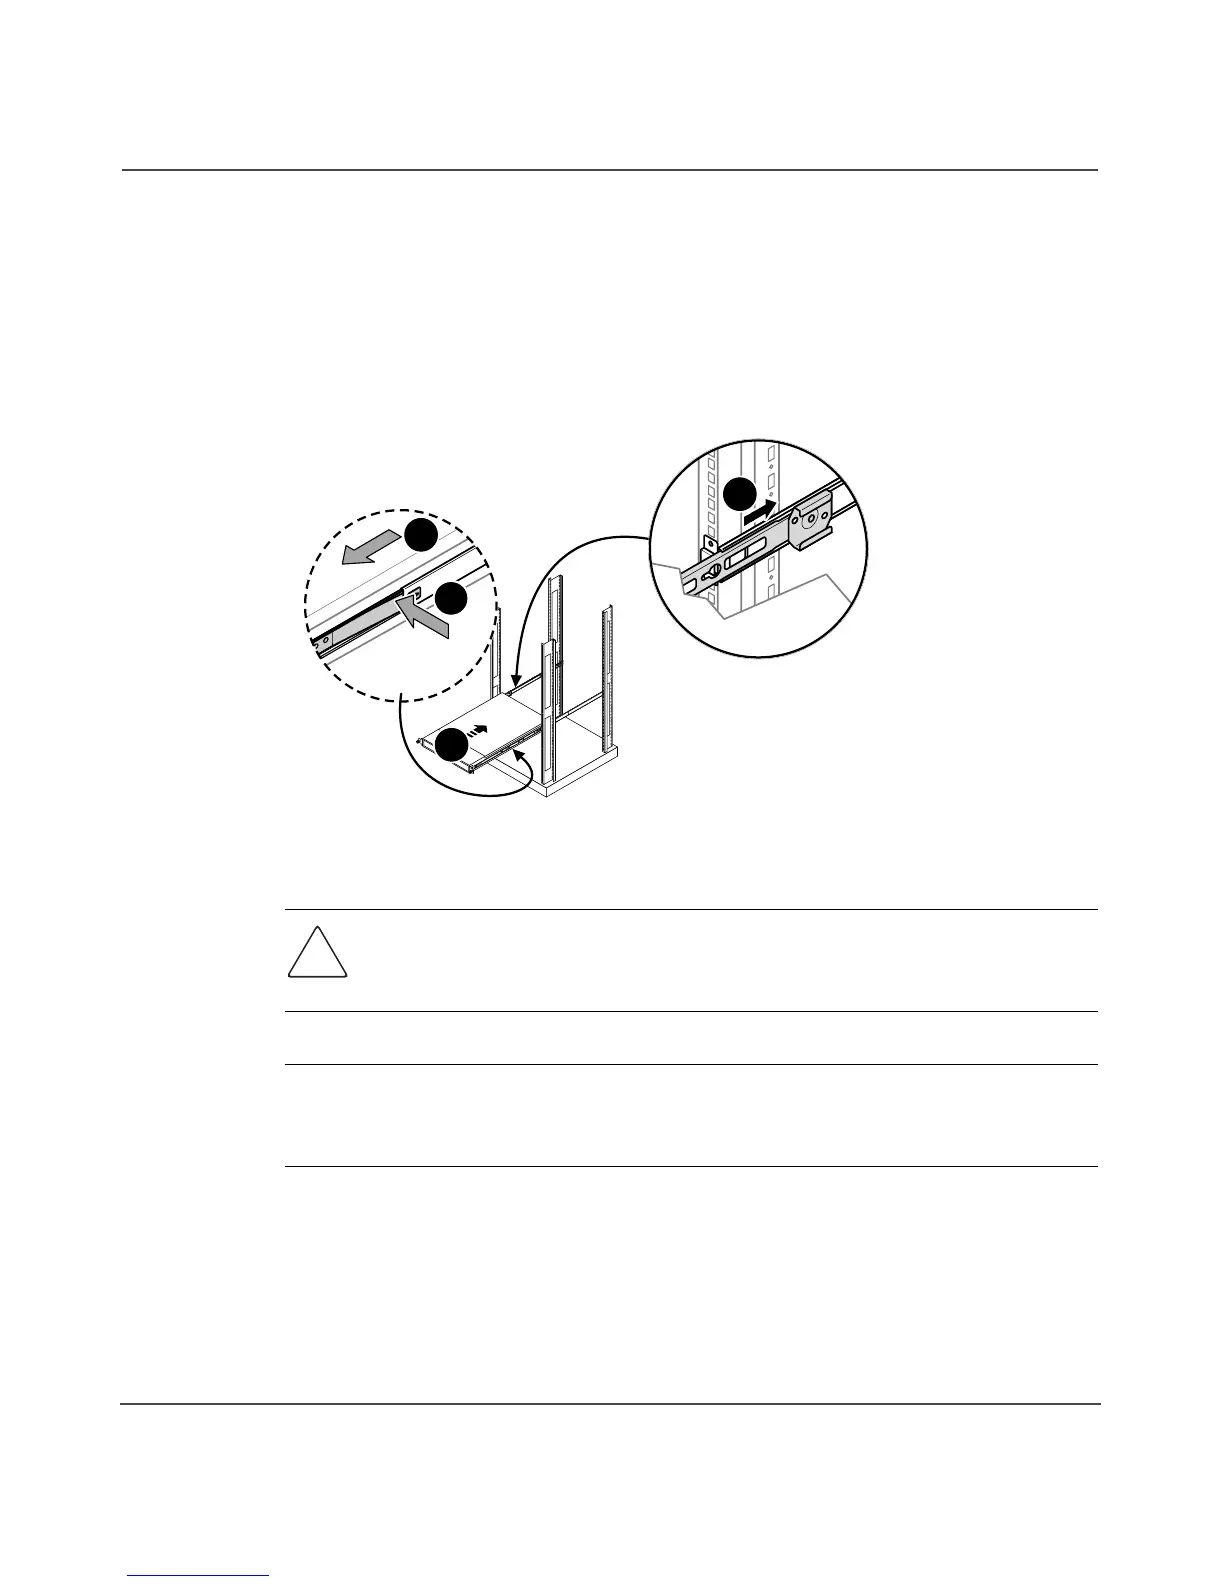
3. Align the rear of the component rails on the tape enclosure with the front ends
of the rack rails, then slide the unit fully into the rack. See Figure 12.
Figure 12: Slide 1U tape enclosure into rack
Caution: Be sure to keep the enclosure parallel to the floor when sliding the
component rails into the rack rails. Tilting the enclosure up or down could
damage the rails.
Note: To remove the enclosure from the rack, disconnect the cables from the back of
the unit. Press the latches on each side
3 and pull the enclosure from the rack 4. See
Figure 12 for the location of the latches.
4. Tighten the front panel thumbscrews.
5. If used, retract the stabilizing feet of the rack.
15111
FRONT
3
1
2
4
 Loading...