Mounting Clip
Figure 1 Hunter Model Mini-Clik
®
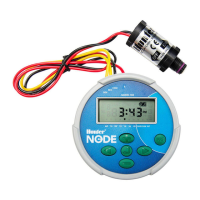
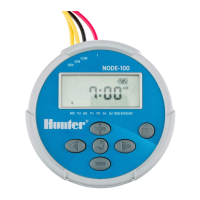
The NODE can easily be mounted on any Hunter plastic valve.
A specially designed valve mounting clip makes installation a
snap. A protective rubber cover is provided to prevent dirt from
accumulating on the face of the NODE.
To Mount the NODE to a Valve (Figure 1)
1. Unscrew the existing solenoid from the valve.
2. Screw the Hunter DC latching solenoid (P/N 458200) into the
valve bonnet.
3. Attach the large end of the valve mounting clip to the middle
of the NODE body.
4. Snap the small end of the valve mounting clip to the solenoid.
A Hunter Mini-Clik
®
or Rain-Clik
®
rain sensor can be connected to
the NODE. The purpose of this sensor is to stop watering when
weather conditions dictate.
1. Cut the yellow wire loop attached to the NODE at
approximately the middle of the loop.
2. Remove approximately ½" (13 mm) of insulation from each
wire. Attach one yellow wire to each of the wires of the weather
sensor. You can mount the rain sensor up to 100 ft (30 m) from
the NODE controller (18AWG/1.0 mm minimum wire size).
3. Secure wire connections with waterproof connectors.
CONNECTING A WEATHER SENSOR
NOTE: When the Rain Sensor is interrupting the
watering, the display will show the System Off
icon , “OFF” and on the display.
MOUNTING THE NODE
6
 Loading...