Pre-operation
1. You must read the Safety section thoroughly before attempting to operate this system!! Be certain that
the cutting environment and clothing meet the requirements outlined in the Safety section.
2. Refer to the Cut Charts (later in this section) for the type and width of material you plan to cut and to select the
gas combination that will create the desired results.
• Check to see if your gas supplies are input to the power supply at the proper pressure and that there is an
adequate amount for your cutting needs.
Caution: Input gas pressures below 60 psi (plasma) and 70 psi (shield/cap) will cause the
safety interlock circuit to shut down the power supply. If the low pressure
interlocks are bypassed for any reason and low gas pressures occur, the
consumables and torch can burn out.
3. Select the proper torch parts from the Cut Charts.
• Install the parts in the torch. (Refer to Changing Consumable Parts )
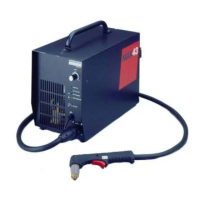
4. Attach the MAX200 work clamp to the workpiece.
• Do not attach the work clamp to the section of workpiece that will fall away.
• Do not attach the work clamp to the work table.
• Make sure that there is good metal-to-metal contact between the work clamp and the workpiece.
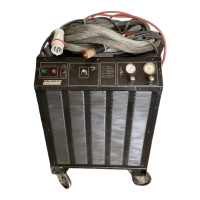
5. Apply power to the MAX200 power supply via the wall disconnect switch. See Status Indicators Before Startup
earlier in this section.
4-4 MAX200 Instruction Manual
1-97
OPERATION
Operation
1. Press the green ON power button until it lights (approximately 5 seconds).
• If the ON button does not light, refer to Troubleshooting in Section 5.
2. Move the RUN/TEST switch to the TEST position.
3. Adjust and display the PLASMA and SHIELD gas flow pressures. Refer to the Cut Charts to determine the
correct gas pressures. See caution above.
4. Move the RUN/TEST switch to the RUN position.
5. Set the AMP thumbwheel switch to the correct amperage.
• Refer to the Cut Charts to determine the correct amperage.
 Loading...