4-8 MAX200 Instruction Manual
OPERATION
Changing the Water Tube
Problems and causes you may find with a defective or improperly installed water tube:
• Short electrode life: Water tube not screwed in tightly
• Flow switch interlock shutting down the system: Water flow restricted due to loose water tube.
• Humming or rattling sound coming from the torch: Water tube bent or loose
• Electrode will not screw down into torch: Gouging water tube in cutting torch
If you suspect a problem with the water tube, you may need to replace it.
1. Disconnect power supply from power source.
2. Remove all consumables from torch (see Changing Consumable Parts – pg. 4-6).
3. Verify that the correct water tube is installed - The cutting water tube (020963) extends about .2 inches (5 mm)
from the end of the cutting torch head. The gouging water tube (020913) extend about .2 inches (5 mm) from
the end of the gouging torch head. Note: part numbers are laser engraved on the water tubes.
4. Look for any damage or bends in the water tube.
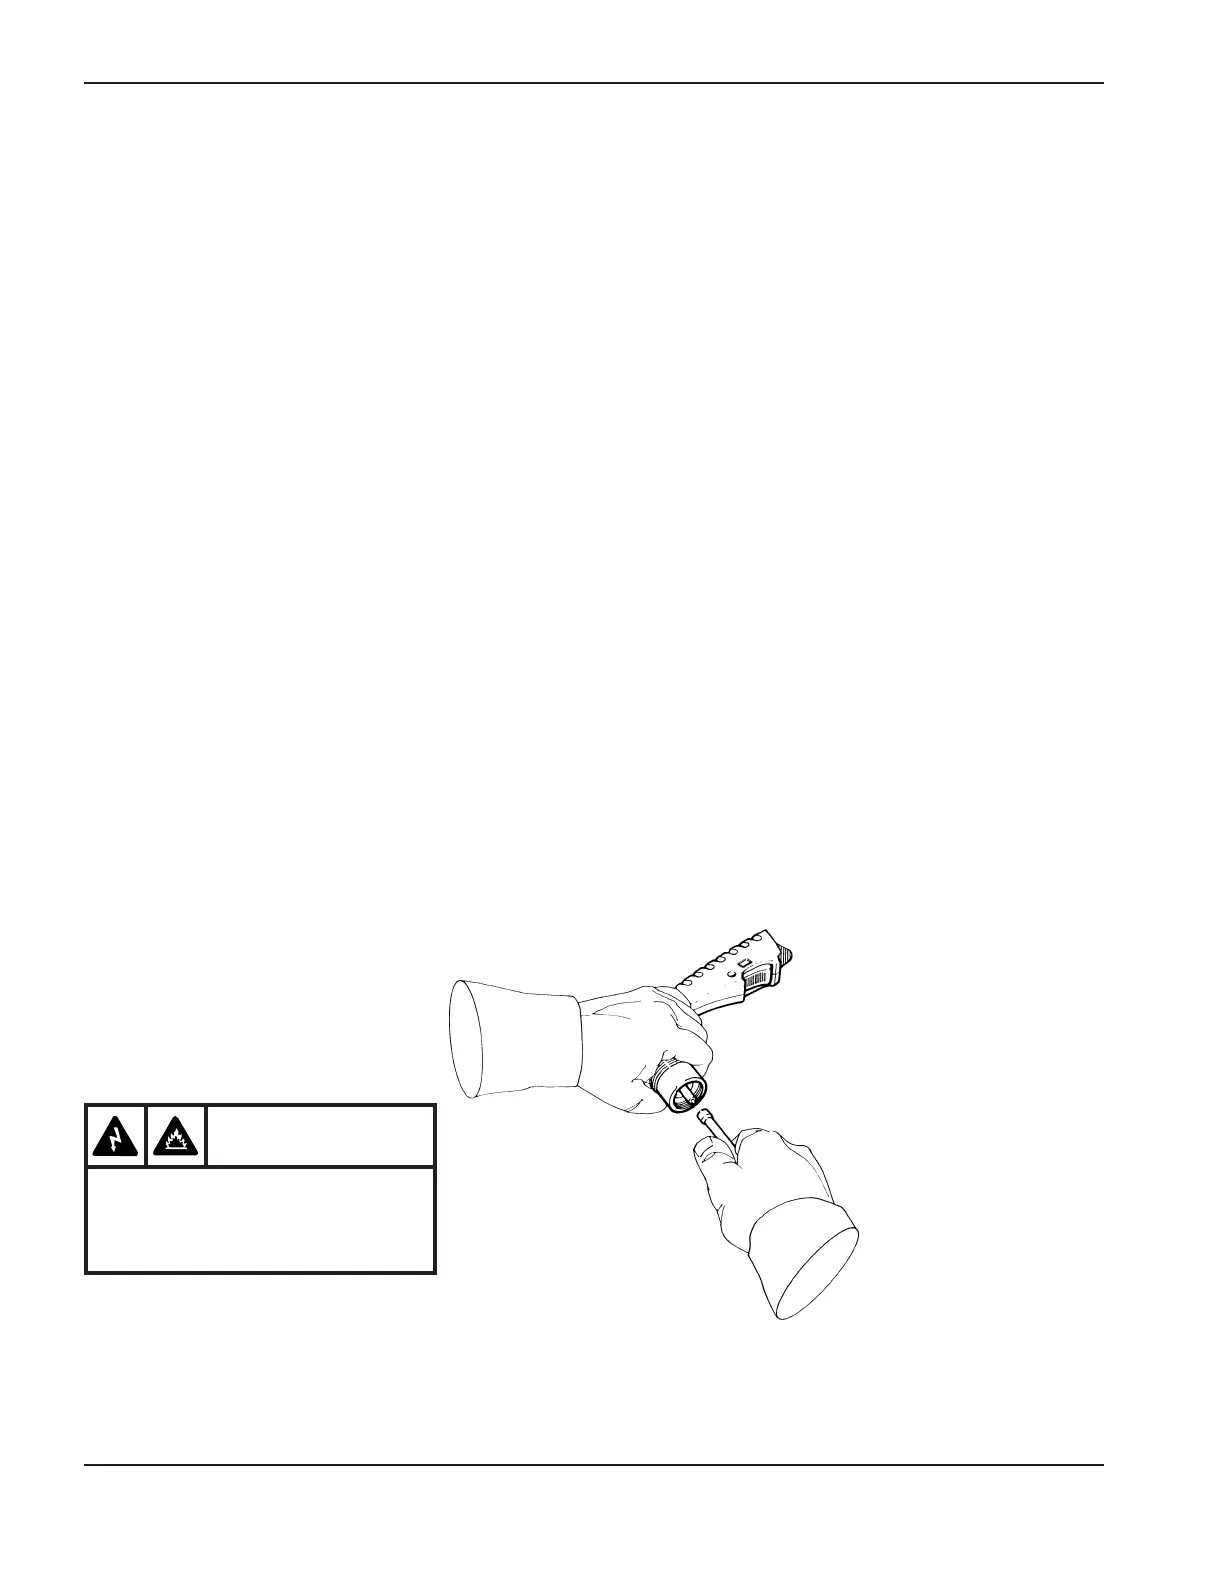
5. Remove and replace the water tube by using the water tube wrench (027347) supplied by Hypertherm
(Fig. 4-3). When installing water tube, do not over tighten! Snug down by hand only.
Operating Tips (cont.)
Figure 4-3 Changing the Water Tube
WARNING
Always unplug the power supply
before inspecting or changing the
torch parts.
 Loading...