Powermax125 Operator Manual 808080 Revision 0 67
6 – Machine Torch Setup
Disassemble the machine torch
You may need to disassemble the machine torch in order to mount it on a cutting table (see Mount the torch on page 70).
Another reason to disassemble the machine torch is to convert it from the full-length machine torch to a mini machine
torch (see Convert a full-length machine torch to a mini machine torch on page 69).
While disconnecting and reconnecting the torch parts, maintain the same orientation
between the torch head and torch lead. Twisting the torch head in relation to the torch
lead can cause damage to the torch wires.
1. Disconnect the torch lead from the power supply, and remove the consumables from the torch.
2. Unscrew the strain relief nut from the strain relief, and slide the nut back along the torch lead.
3. If you are disassembling the full-length machine torch, unscrew the strain relief from the positioning sleeve. If you are
disassembling the mini machine torch, unscrew the strain relief from the adapter. Slide the strain relief back along the
torch lead.
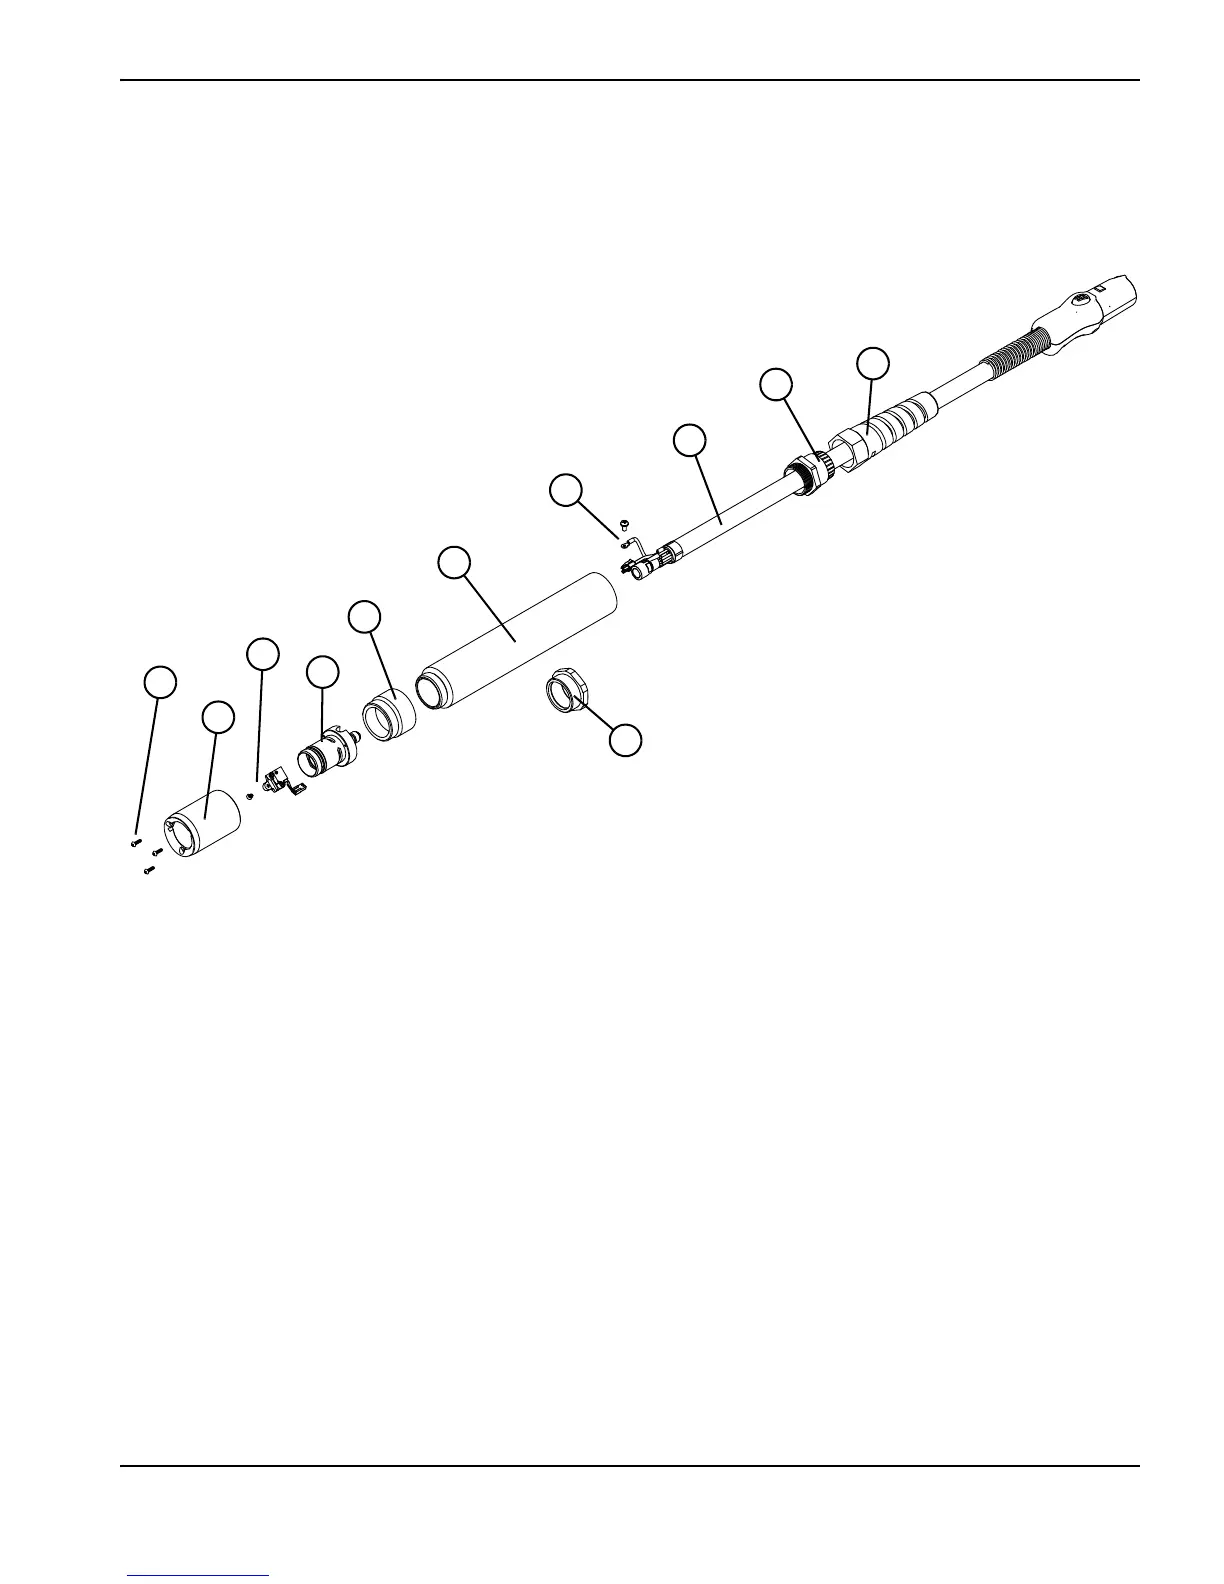
1 Mounting sleeve screws
2 Mounting sleeve
3 Cap-sensor switch and screw
4 Torch body
5 Coupler
6 Positioning sleeve (full-length machine torch only)
7 Adapter (mini machine torch only)
8 Pilot arc wire and screw
9 Torch lead
10 Strain relief
11 Strain relief nut

 Loading...


