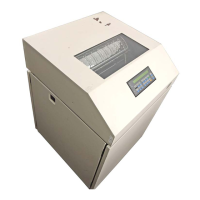
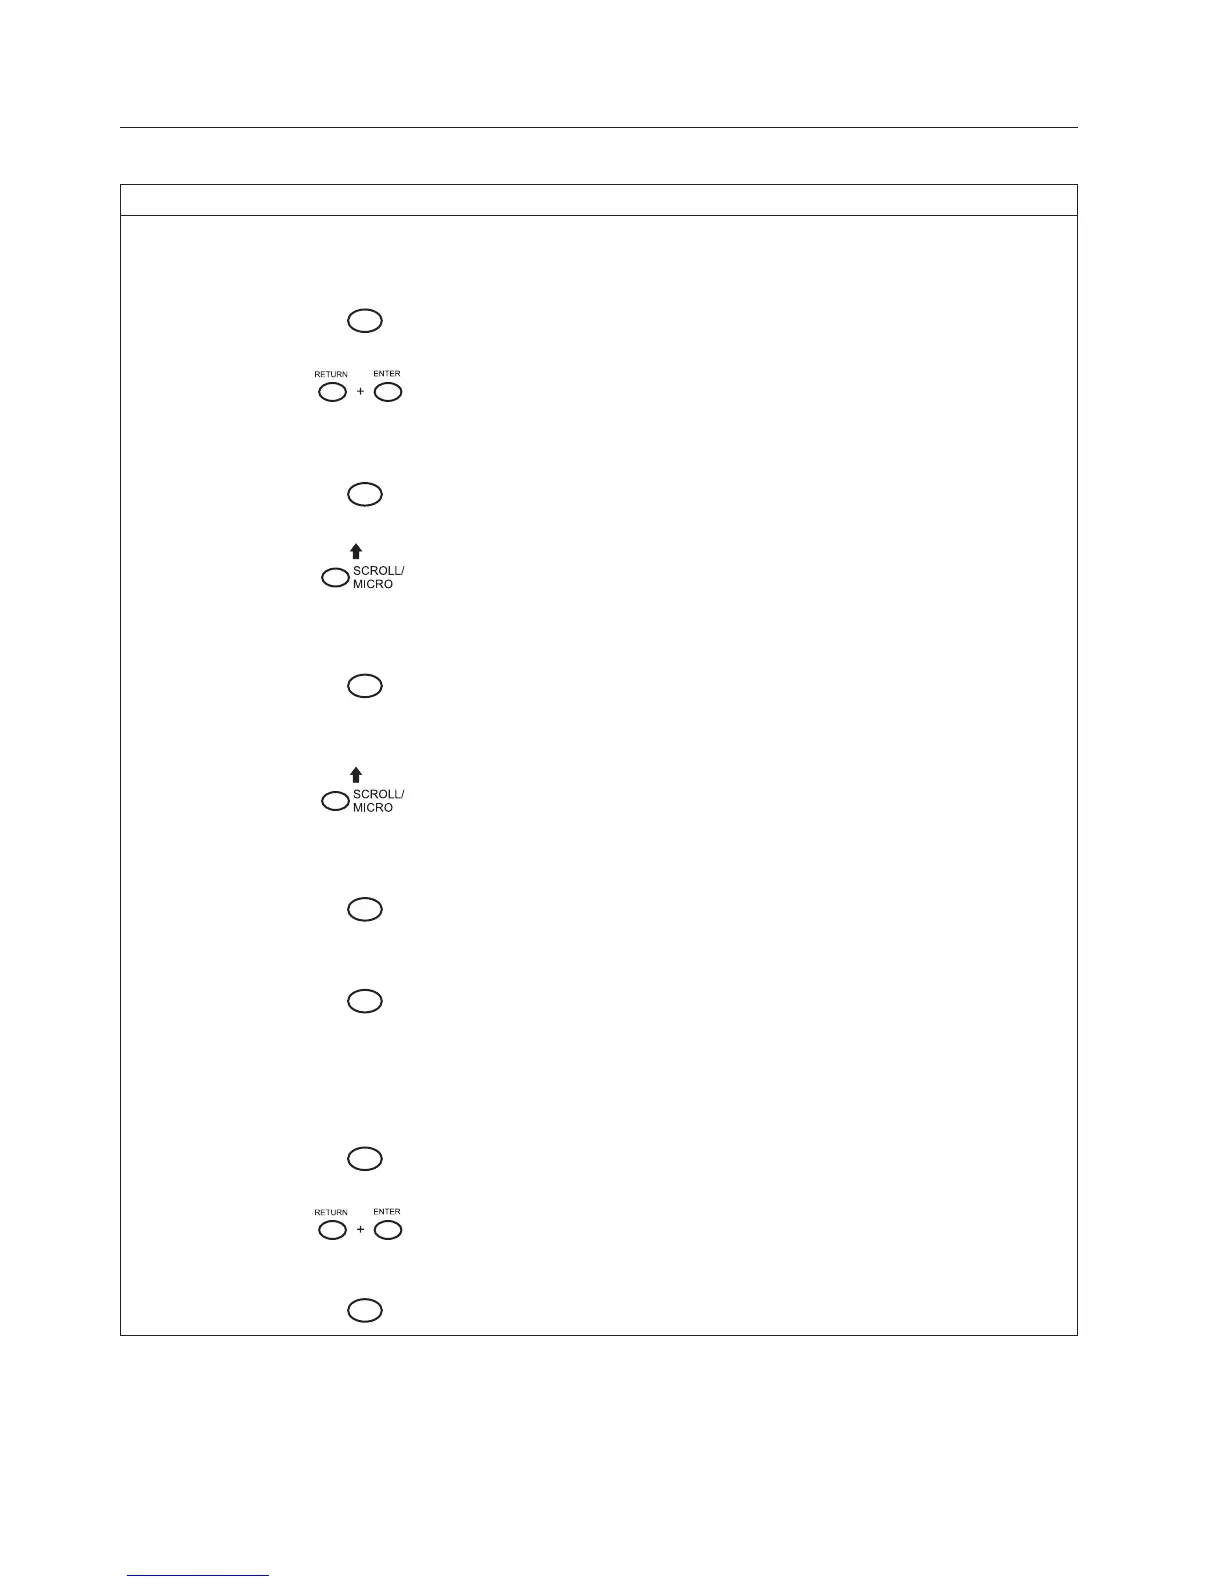
Running the Printer Self-Tests
Step Key Result Notes
1. Make that the ribbon is installed and the printer is powered on and loaded with paper.
2. Press
STOP
NOT READY Places the printer in NOT
READY mode.
3.
OPERATOR MENU
UNLOCKED
Press both keys at the same time.
Unlocking the Operator Menu
allows you to test your printer.
4.
MENU
OPERATOR MENU
PRINTER CONTROL
First of the series of
configuration menus.
5.
UNTIL
OPERATOR MENU
OPERATOR PRINT TESTS
Advances to the OPERATOR
PRINT TESTS menu.
6.
ENTER
OPERATOR PRINT TESTS
PRINTER DEMONSTRATION*
Advances to PRINTER
DEMONSTRATION, the first
option in OPERATOR PRINT
TESTS menu.
7.
UNTIL
OPERATOR PRINT TESTS
[TEST NAME]
Cycles through the list of print
tests until you reach the name of
the test you wish to run.
8.
ENTER
OPERATOR PRINT TESTS
[TEST
NAME]
The print test you have selected
starts printing at either 80 or 136
columns, as specified.
9.
ENTER
OPERATOR PRINT TESTS
[TEST NAME]
The print tests stops printing.
10. Examine the print quality of the characters. They should be fully formed and of uniform density. If the test
does not run or if text characters do not appear correctly formed, contact your IBM service representative.
11.
STOP
NOT READY Returns the printer to the NOT
READY mode.
12.
OPERATOR MENU
LOCKED
Locks Program mode and the
Operator Menu.
13.
STOP
READY Returns the printer to the
READY mode.
226 Infoprint 6500 User’s Manual
 Loading...