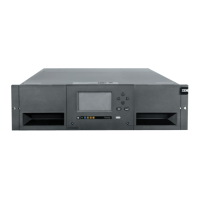
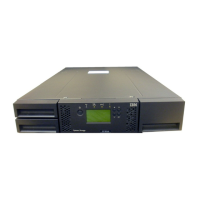
Tape Unit
1 Power off the system. See Powering Off
the System
in
Chapter
3,
"Service Refer-
enced Procedures"
on
page 3-1.
2 Disconnect the power cord.
3 Remove the covers. See "Covers"
on
page 1-10.
4 Remove the access plate. See "Access
Plate"
on
page 1-2.
5 Remove the tape unit cables.
6 If you are removing a tape unit from the
system unit, do the following:
a.
Remove the screw II.
b.
Pull the tape unit from the frame.
1-22
AS/400
940219404 Models 2xx Repair and Parts
7
If
you are removing a tape unit from the
expansion unit, do the following:
a.
Label or write down each disk unit and
the slot where
it
is
located.
b.
Remove all of the disk units
in
the
expansion unit. See "Disk Unit"
on
page 1-12.
c.
Remove the upper disk unit holder
m.
d.
Remove the screws
II.
e.
Pull the tape unit from the frame.
8 Install the tape unit by reversing the
removal procedure. Ensure that the
address jumpers from the original tape unit
are installed correctly
on
the new tape unit.
See the
940219404 Models
2xx
Problem
Analysis
documentation for information
about address jumper locations.
Push the tape unit into the frame just far
enough to align the screw holes.
This ends the procedure.

 Loading...