Replacing a midplane assembly
The midplane assembly must be replaced only by a trained service provider.
Before you begin, ensure that you wear an anti-static wrist strap.
To replace the midplane assembly, complete the following steps.
Attention: To prevent data loss, you must shut down the storage subsystem or
storage enclosure before you begin the procedure to replace the midplane
assembly.
1. Read the safety information that begins on page “Safety” on page ix and “Best
practices guidelines” on page 8.
2. (DS3512 and DS3524) Turn off the storage subsystem (see “Turning off the
storage subsystem” on page 95).
3. Remove the drives (see “Removing a hard disk drive” on page 122).
4. Remove the power supplies (see “Replacing an ac power supply” on page
132).
5. (DS3512 and DS3524) Remove the controllers (see “Removing a controller” on
page 106).
6. (EXP3512 and EXP3524) Remove the ESMs (see “Replacing an ESM” on page
158).
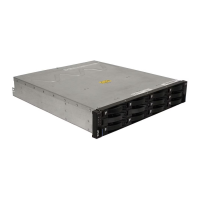
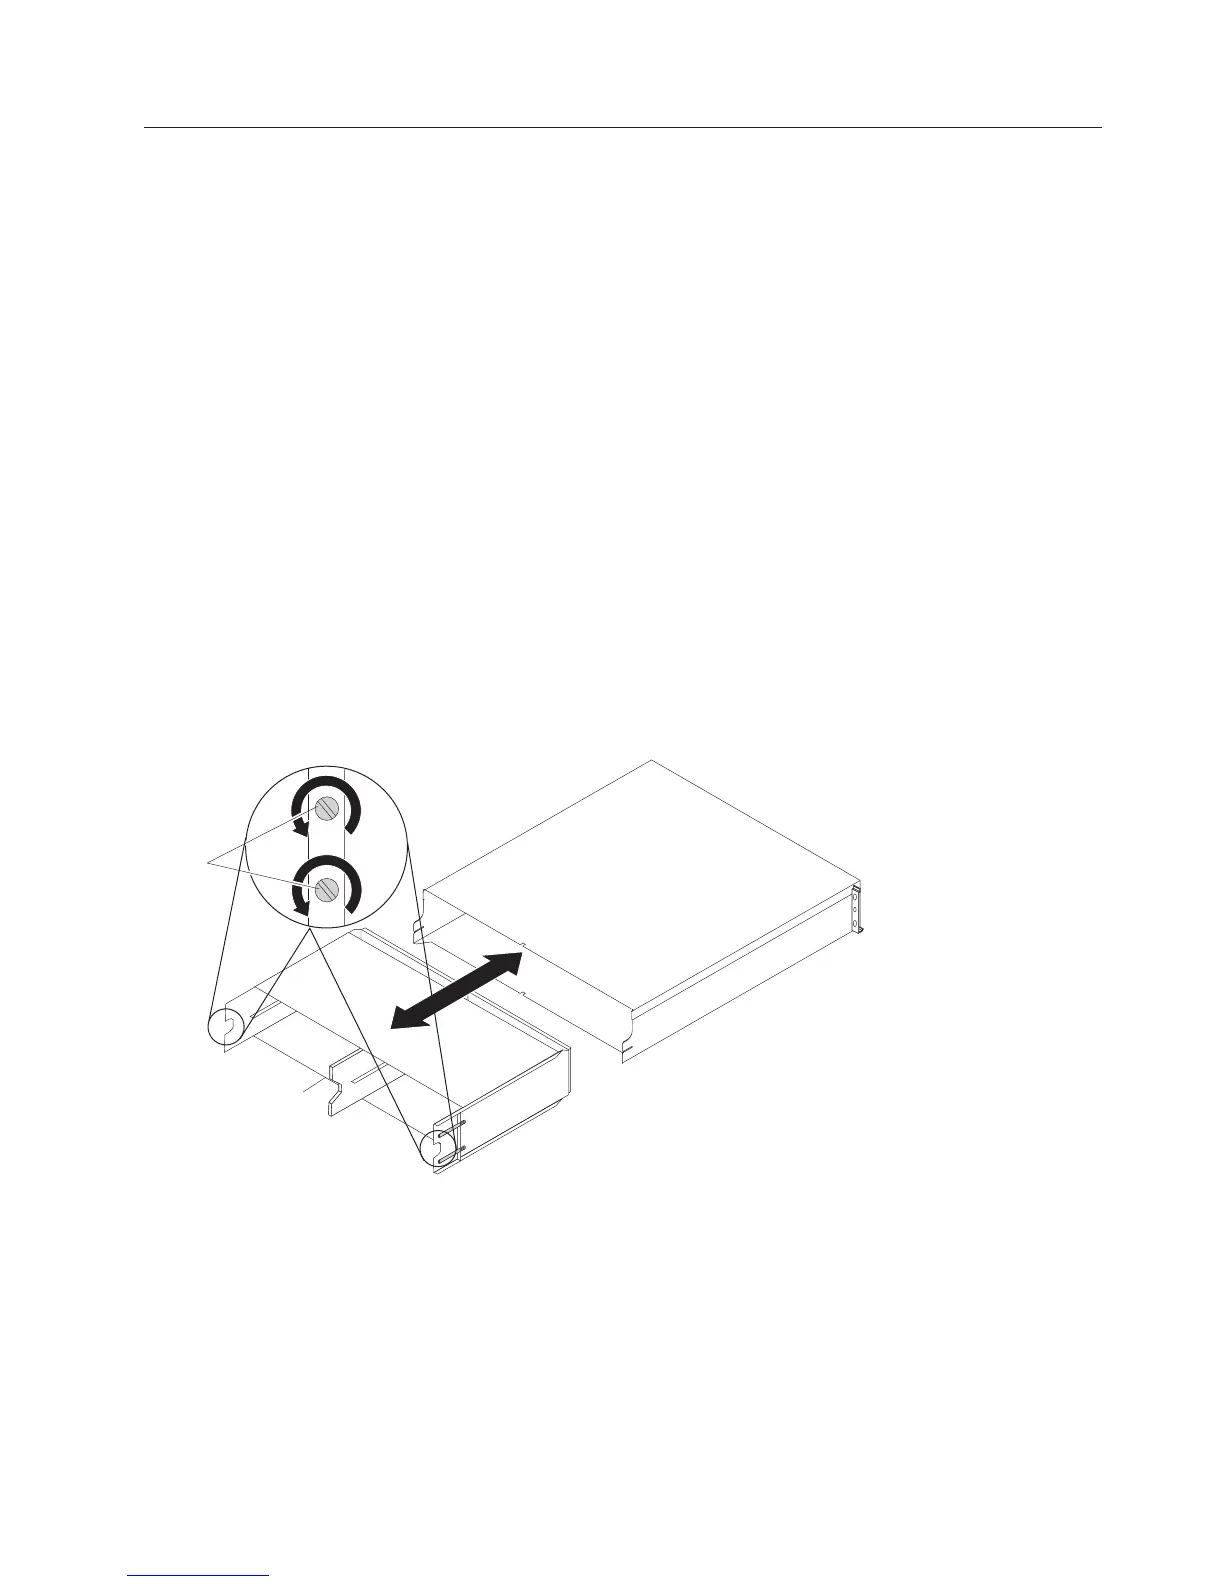
7. (DS3512 AND EXP3512) Replace the midplane assembly.
a. Loosen the four captive screws at the rear of the chassis.
b. Remove the failed midplane from the chassis and insert the replacement
midplane.
c. Tighten the four captive screws.
8. (DS3524 AND EXP3524) Replace the midplane assembly.
Midplane
assembly
Captive
screws
Figure 124. Replacing the midplane assembly in a DS3512 or EXP3512
Chapter 5. Replacing components 159
 Loading...