Important
To operate the computer within FCC Class A or Class B limits, use a
category 5 Ethernet cable.
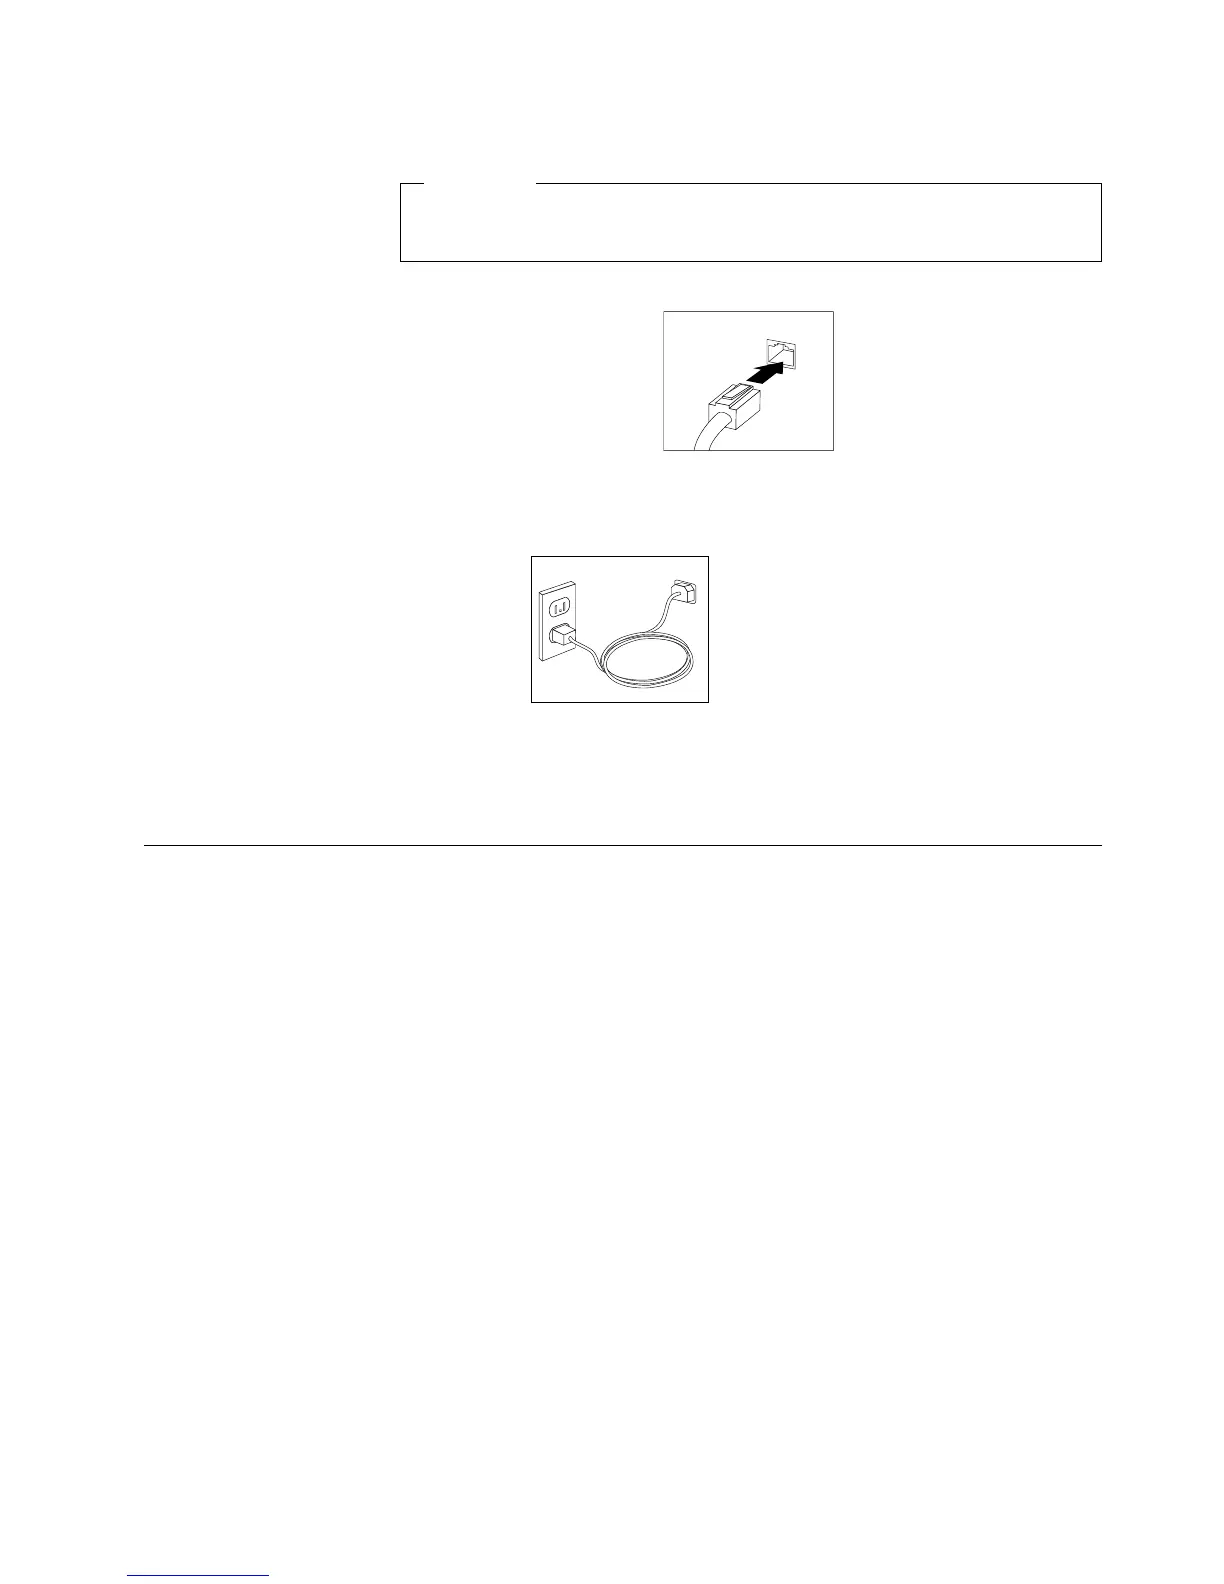
v Connect the Ethernet cable to the RJ45 Ethernet connector.
Ethernet
3. If there is a label covering the power connector, remove it. Connect the power
cord to the power connector on the rear of the computer.
4. Connect all other power cords into properly grounded electrical outlets.
Note: When the computer power cord is first plugged in, the computer might turn
on for a few seconds, and then turn off. This is normal.
Starting your computer the first time
Do the following to start your computer.
1. Turn on all peripheral devices, such as printers, scanners, external SCSI devices,
and so on, first.
2. Press the power control button on your computer. For the location of the power
control button, see “Computer controls and indicators” on page 6.
If you experience any problems during startup, such as numeric error codes or a
series of beeps, see “Chapter 6. Solving problems” on page 49 and “Chapter 7.
Getting help, information, and service” on page 75 for more information.
During start up, a message might be displayed to prompt you to press a function
key to start other programs. These other programs might include the BIOS Setup
Utility and SCSISelect Utility. See “Using the BIOS Setup Utility program” on
page 23 and “Using the SCSISelect Utility program” on page 24 for information on
these programs.
Running the operating system setup program
If you are starting your computer for the first time, the Microsoft Windows setup
program runs automatically when you start the computer. The program will
prompt you to make choices or type information. If you need more detailed
information than is provided in this User Guide, see your Microsoft
operating-system manual.
Power
Chapter 2. Setting up your computer 11
 Loading...