1. Restart the computer.
2. Press and hold the F2 key to launch the BIOS Setup Utility.
3. On the BIOS Setup Utility menu, use the cursor keys on the keyboard to select
Advanced→Peripheral Configuration→Parallel Port.
Note: When you configure the parallel connector as bi-directional, use an IEEE
1284-compliant cable. The cable must not exceed 3 meters (9.8 ft.).
4. Follow the instructions on the screen to save your changes and exit from the
BIOS Setup Utility menu.
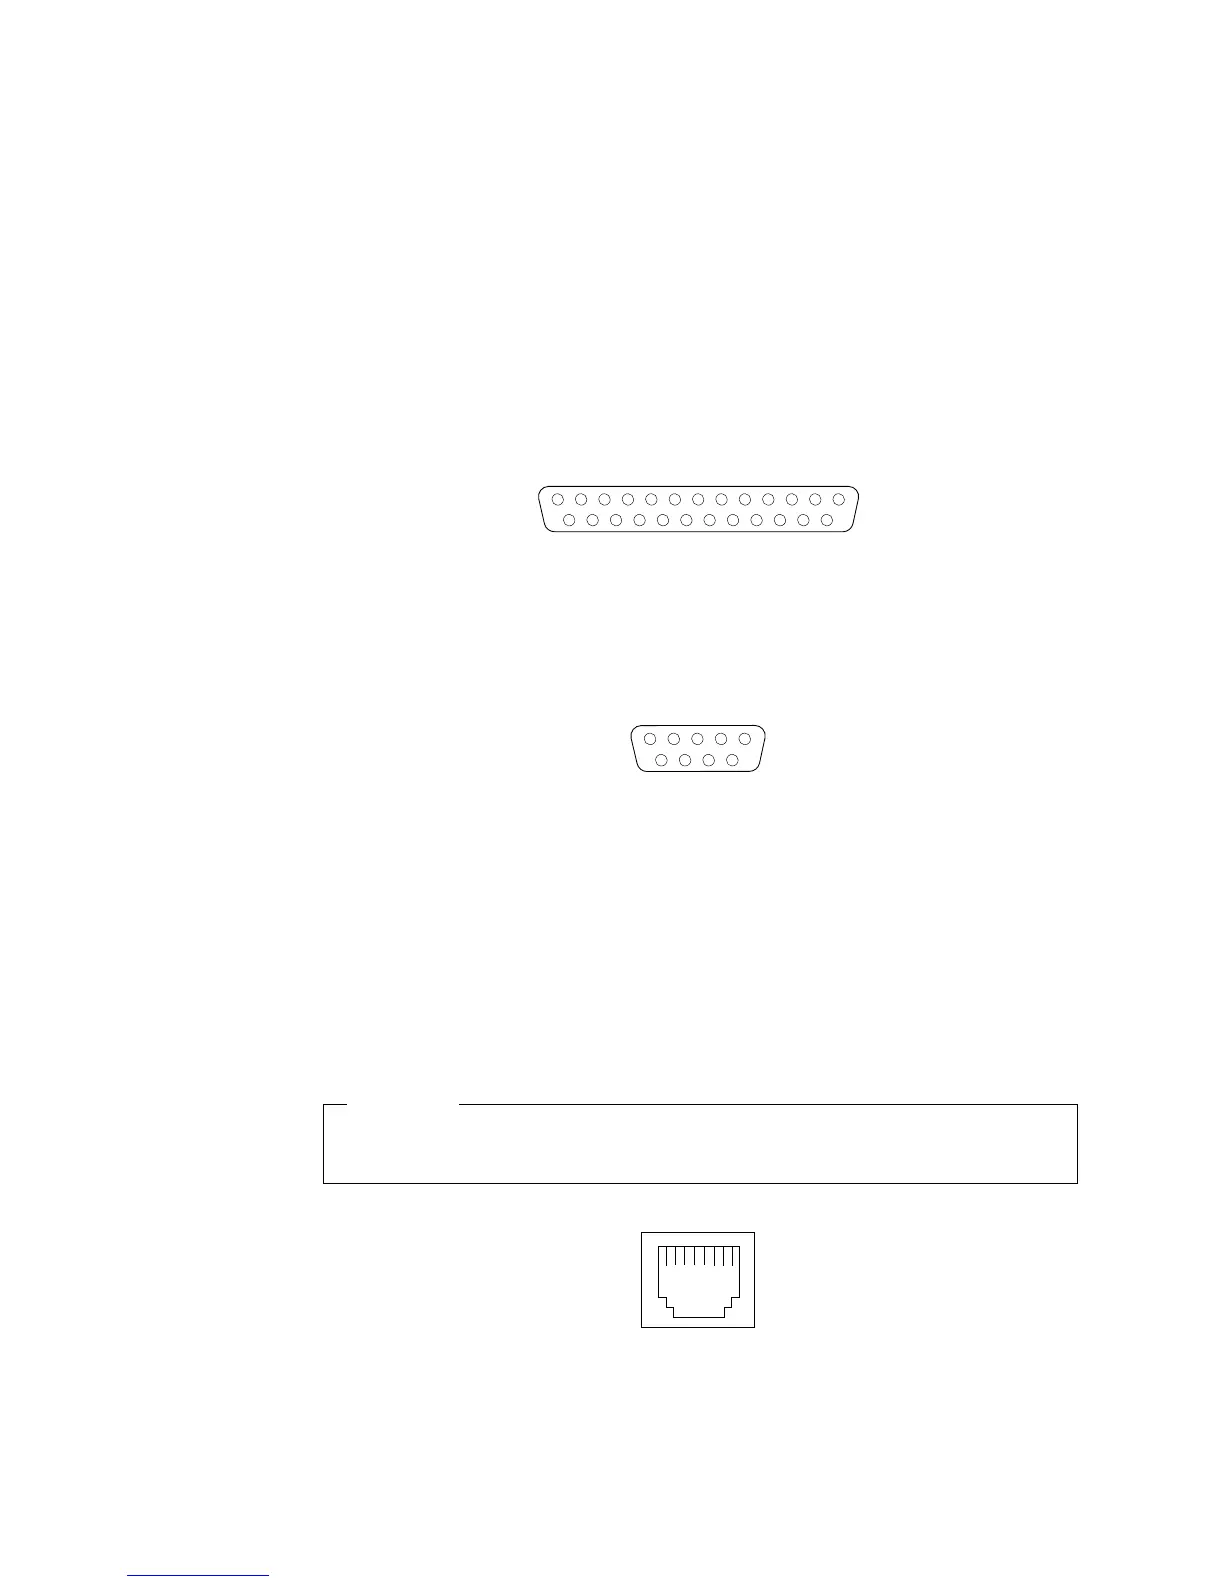
Parallel connector
There is a 25-pin, female D-shell parallel connector on the rear of your computer,
see “Input/Output connector locations” on page 9 for the location of this connector.
13
1
25
14
Serial connectors
Your computer has two standard 9-pin D-shell serial connectors: Serial connector 1
and Serial connector 2. See “Input/Output connector locations” on page 9 for their
location.
1
5
69
Ethernet connector
Your computer comes with an integrated Ethernet controller. This controller
provides an interface for connecting to 10-Mbps or 100-Mbps networks and
provides full-duplex capability, which enables simultaneous transmission and
reception of data on an Ethernet LAN.
To access the Ethernet connector, attach a Category 3, 4, or 5 unshielded
twisted-pair (UTP) cable to the RJ-45 connector on the rear of your computer, see
“Input/Output connector locations” on page 9.
Important
To operate the computer within FCC Class A or Class B limits, use a category
5 Ethernet cable.
Universal Serial Bus connectors
Your computer has two Universal Serial Bus (USB) connectors, which configure
automatically when you use any USB device. USB is a serial interface standard for
46 IntelliStation M Pro: User Guide
 Loading...