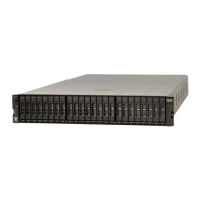
Installing options in the control enclosure
If you have purchased host interface adapters or cache memory upgrades for your
control enclosure and those options were not preinstalled for you, you must open
each node canister and install the options.
Note: You must install the same options in all node canisters.
First, open the canister as described in “Opening the node canister.” Then refer to
the procedure for the option you are installing.
v “Installing an 8 Gbps Fibre Channel 4-port host interface adapter” on page 28
v “Installing a 10 Gbps iSCSI-FCoE 2-port host interface adapter” on page 30
v “Installing a 1 Gbps iSCSI 4-port host interface adapter” on page 32
v “Installing a SAS 4-port host interface adapter” on page 34
v “Installing an 8 GB cache memory update” on page 35
Finally, close the canister and install it in the control enclosure (see “Closing the
node canister” on page 38).
Note: Disk drives can also be installed in the control enclosure, but that procedure
does not involve opening any node canisters. See “Installing disk drives” on page
40 for details.
Opening the node canister
Before you can install options in a node canister, you must gain access by opening
the canister cover.
Procedure
To open the canister, complete the following steps.
1. If the canister is already installed in the enclosure, remove it as shown in
Figure 15 on page 27.
a. Unlatch the release levers and pull them open. The canister moves out of
the slot approximately 0.6cm (0.25 inch).
b. Slide the canister out of the enclosure.
26 Storwize V3700: Quick Installation Guide
 Loading...